
How to Set Up Shopify Automation to Auto-Post your Products to Social Media
This guide shows you how to automatically turn your Shopify products into social media posts with Nuelink. Once set up, every product you add to your store can be shared to your social channels, no manual posting needed.
Note: To follow this guide, you'll need a Nuelink account, a Shopify store, and at least one social channel connected to Nuelink.
Table of Contents
Step-by-Step Guide
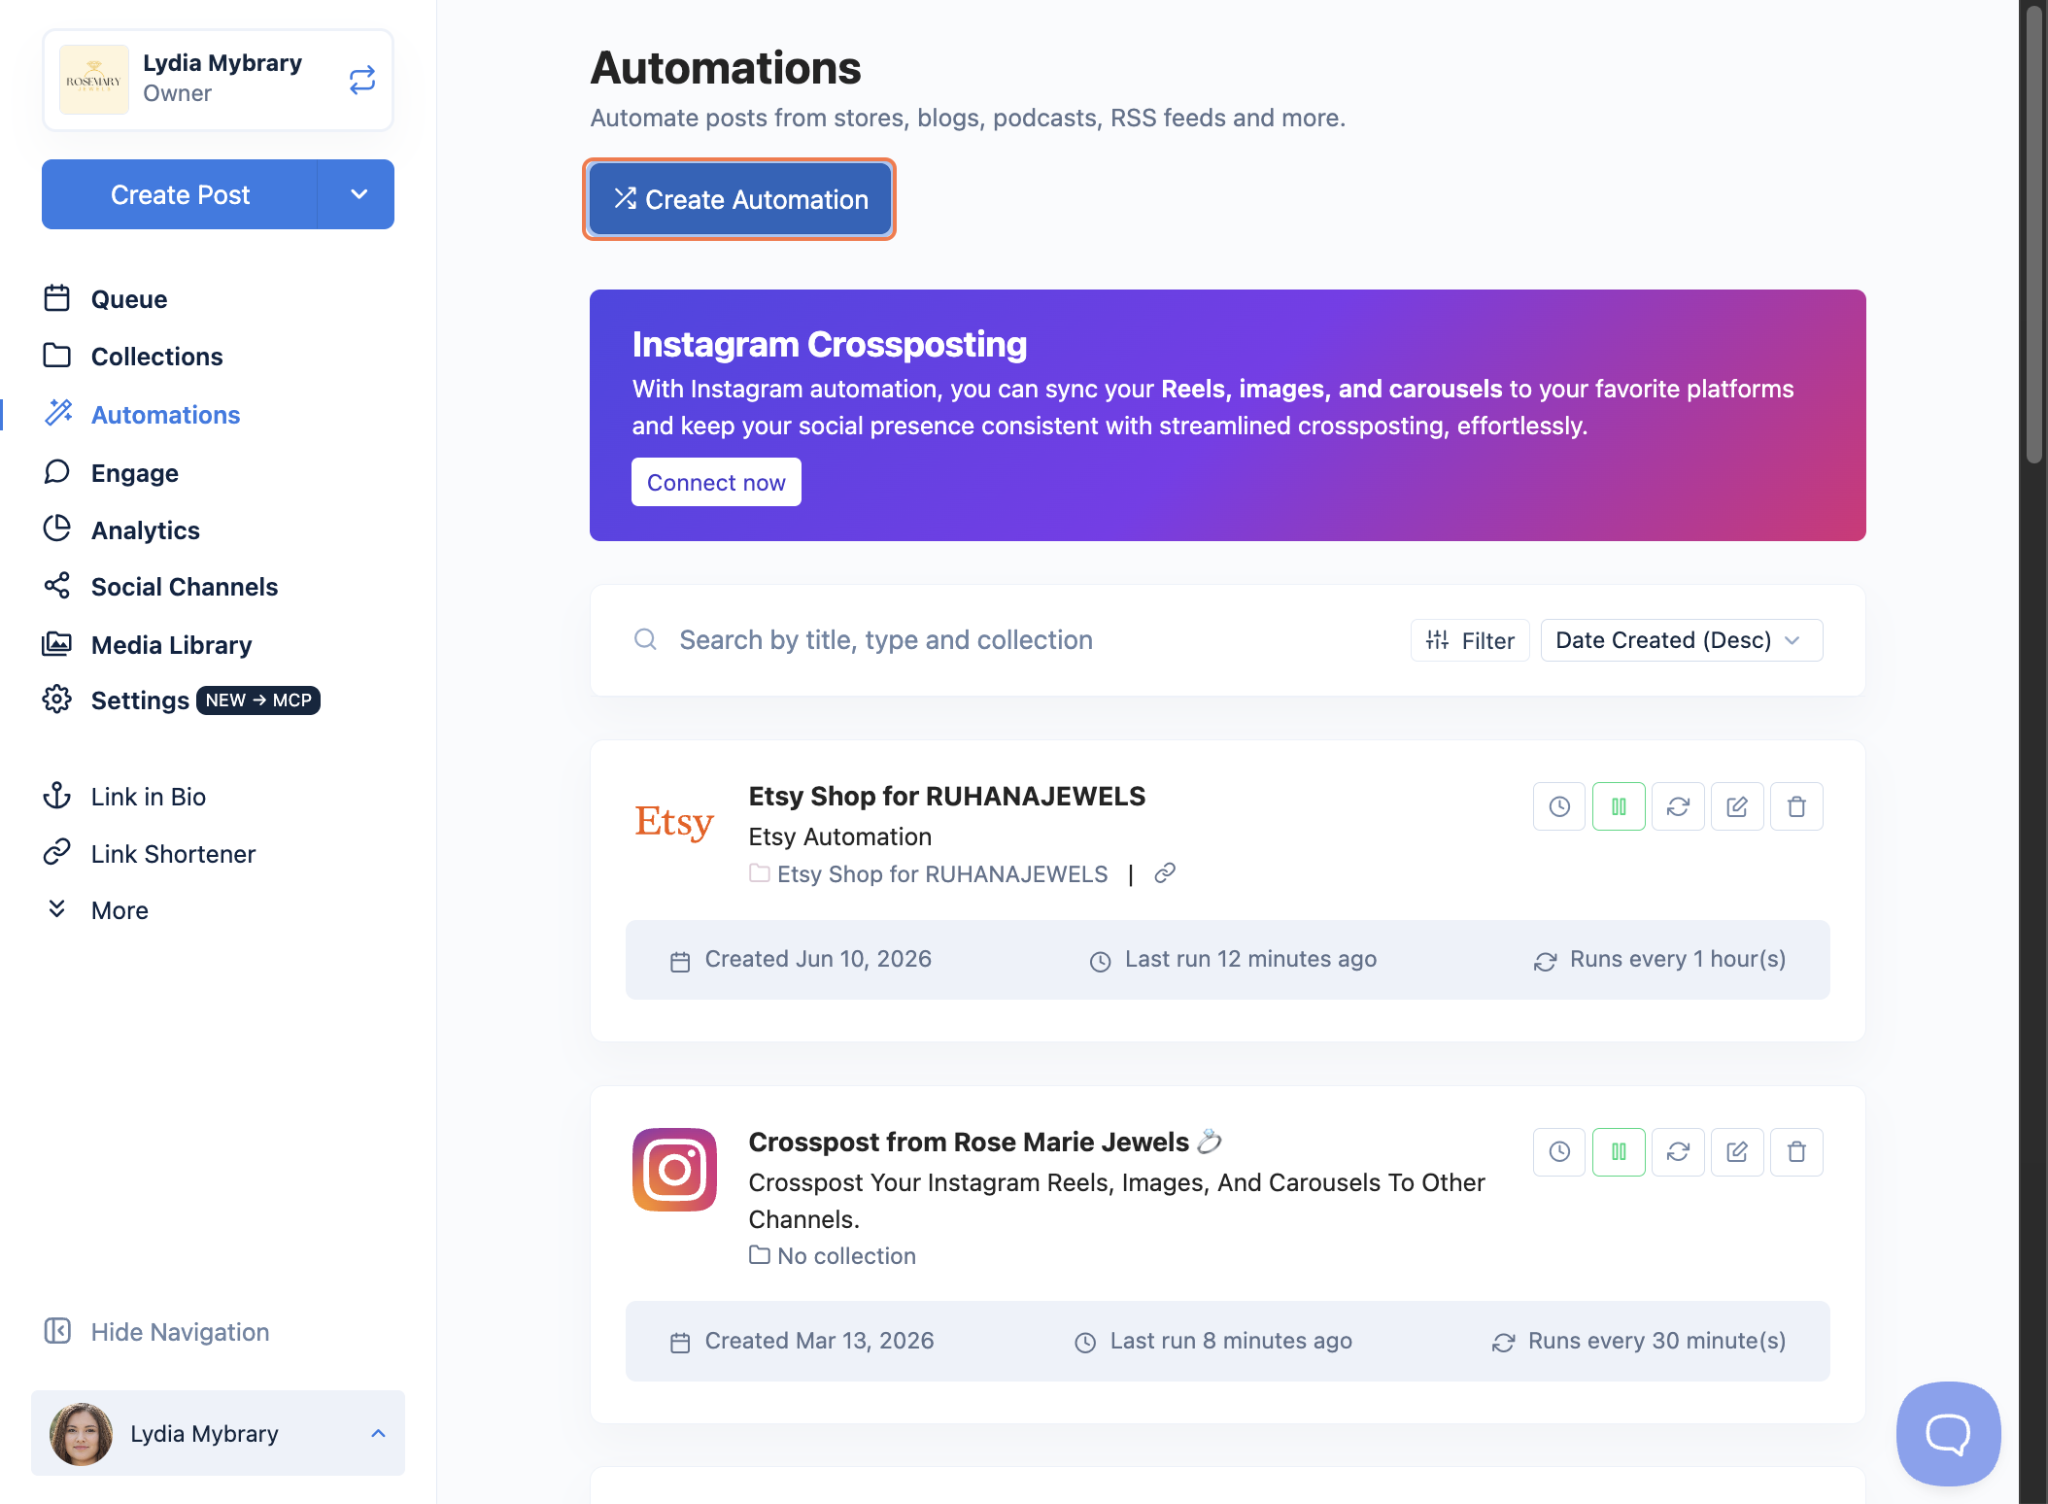
- Go to Automations in the left sidebar, then click Create Automation.
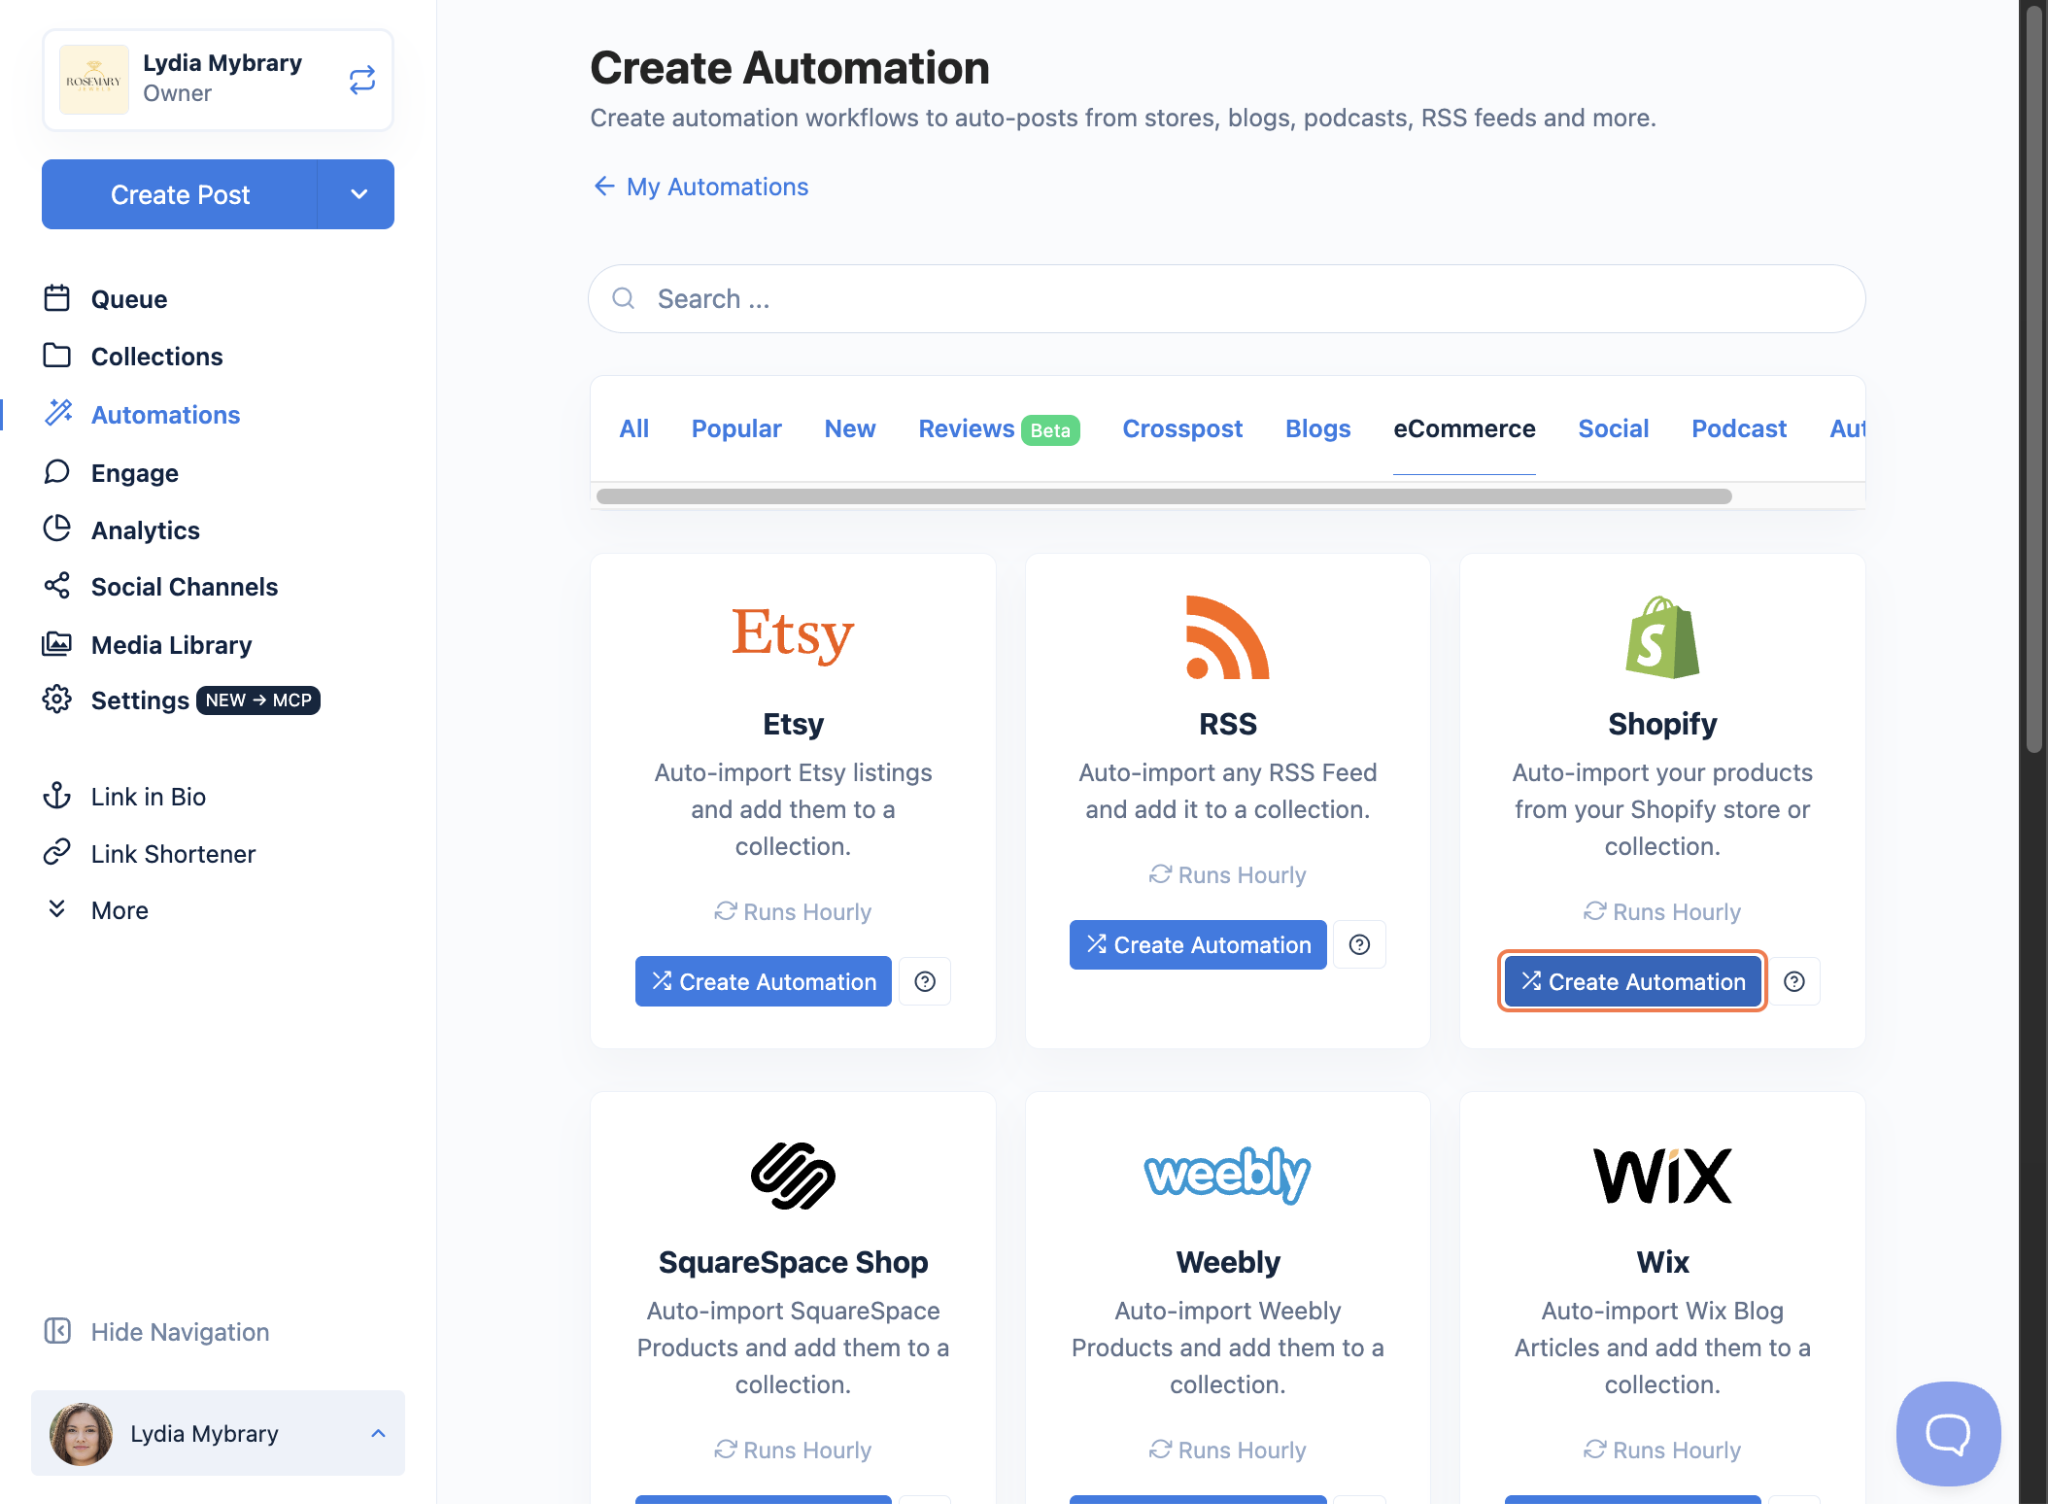
- Select the eCommerce tab (or search for "Shopify"), then click Create Automation on the Shopify card.
- In the Add Shopify Automation window, paste your Shopify Store Link. You can add your full store link (e.g., https://store.com) or a specific collection link (e.g., https://store.com/collections).
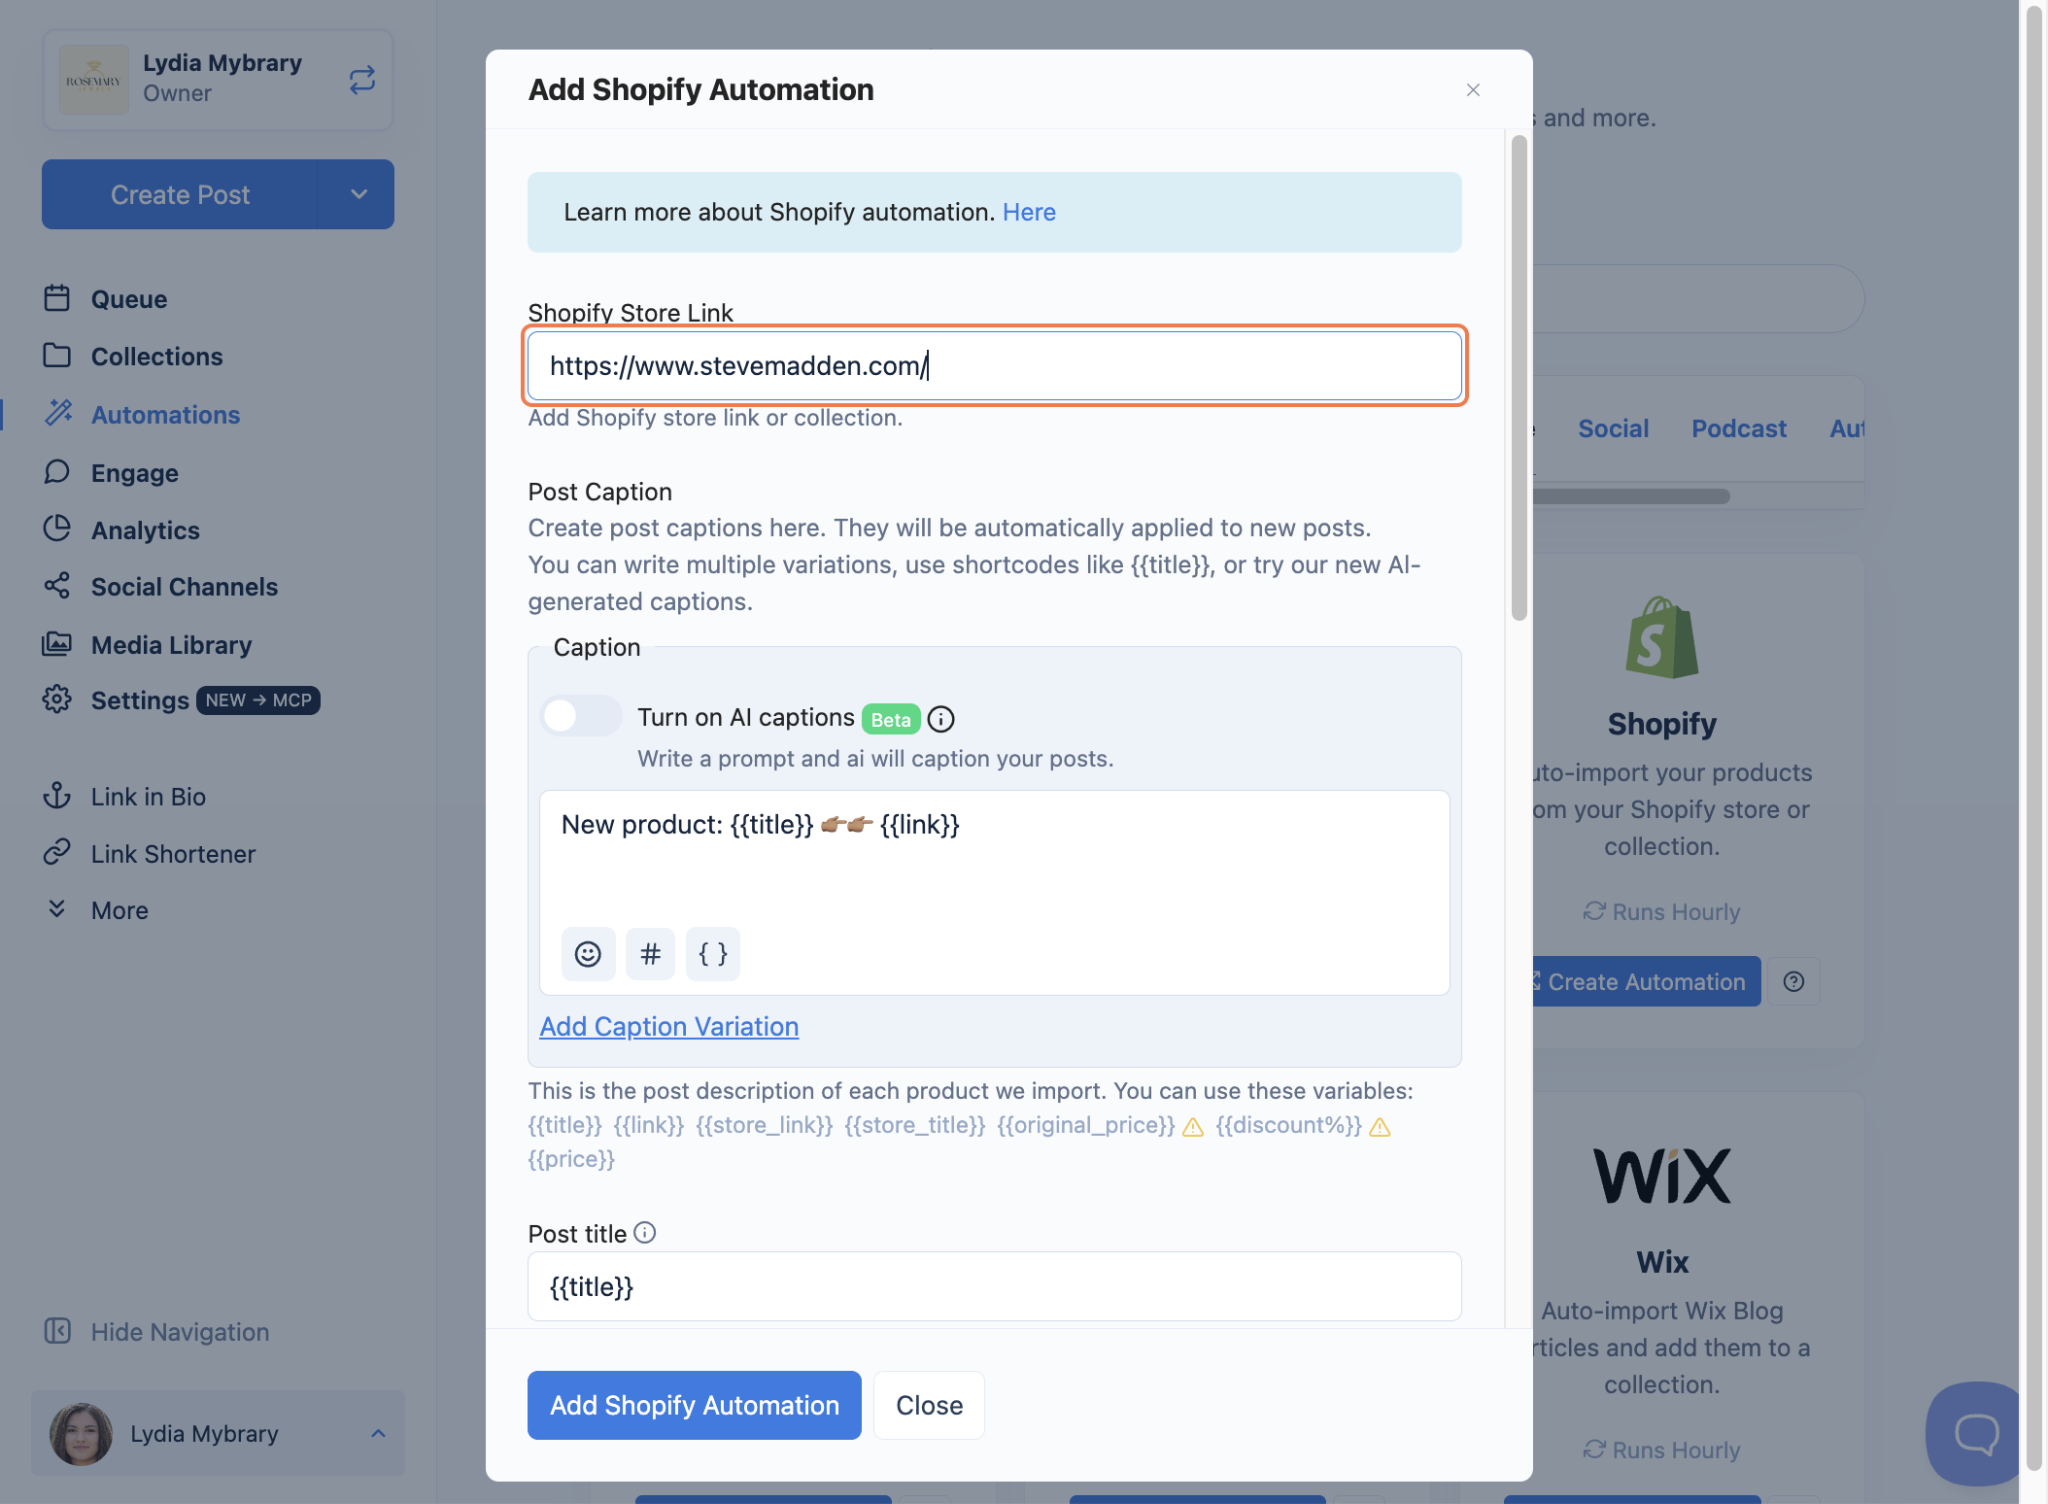
- Write your Post Caption. This caption is automatically applied to every new post. You have two options:
- Write it yourself using variables like {{title}}, {{link}}, {{store_link}}, {{store_title}}, {{original_price}}, {{discount%}}, and {{price}}. You can write multiple variations, and Nuelink will rotate between them.
- Turn on AI captions (Beta) and write a prompt instead. AI will write a unique caption for each product based on your instructions. Click Add Fallback Caption to set a backup caption in case the AI can't generate one.
- Enter a Post title (optional). The default is {{title}}, which uses each product's name. This title is used on YouTube, Pinterest, and Facebook videos.
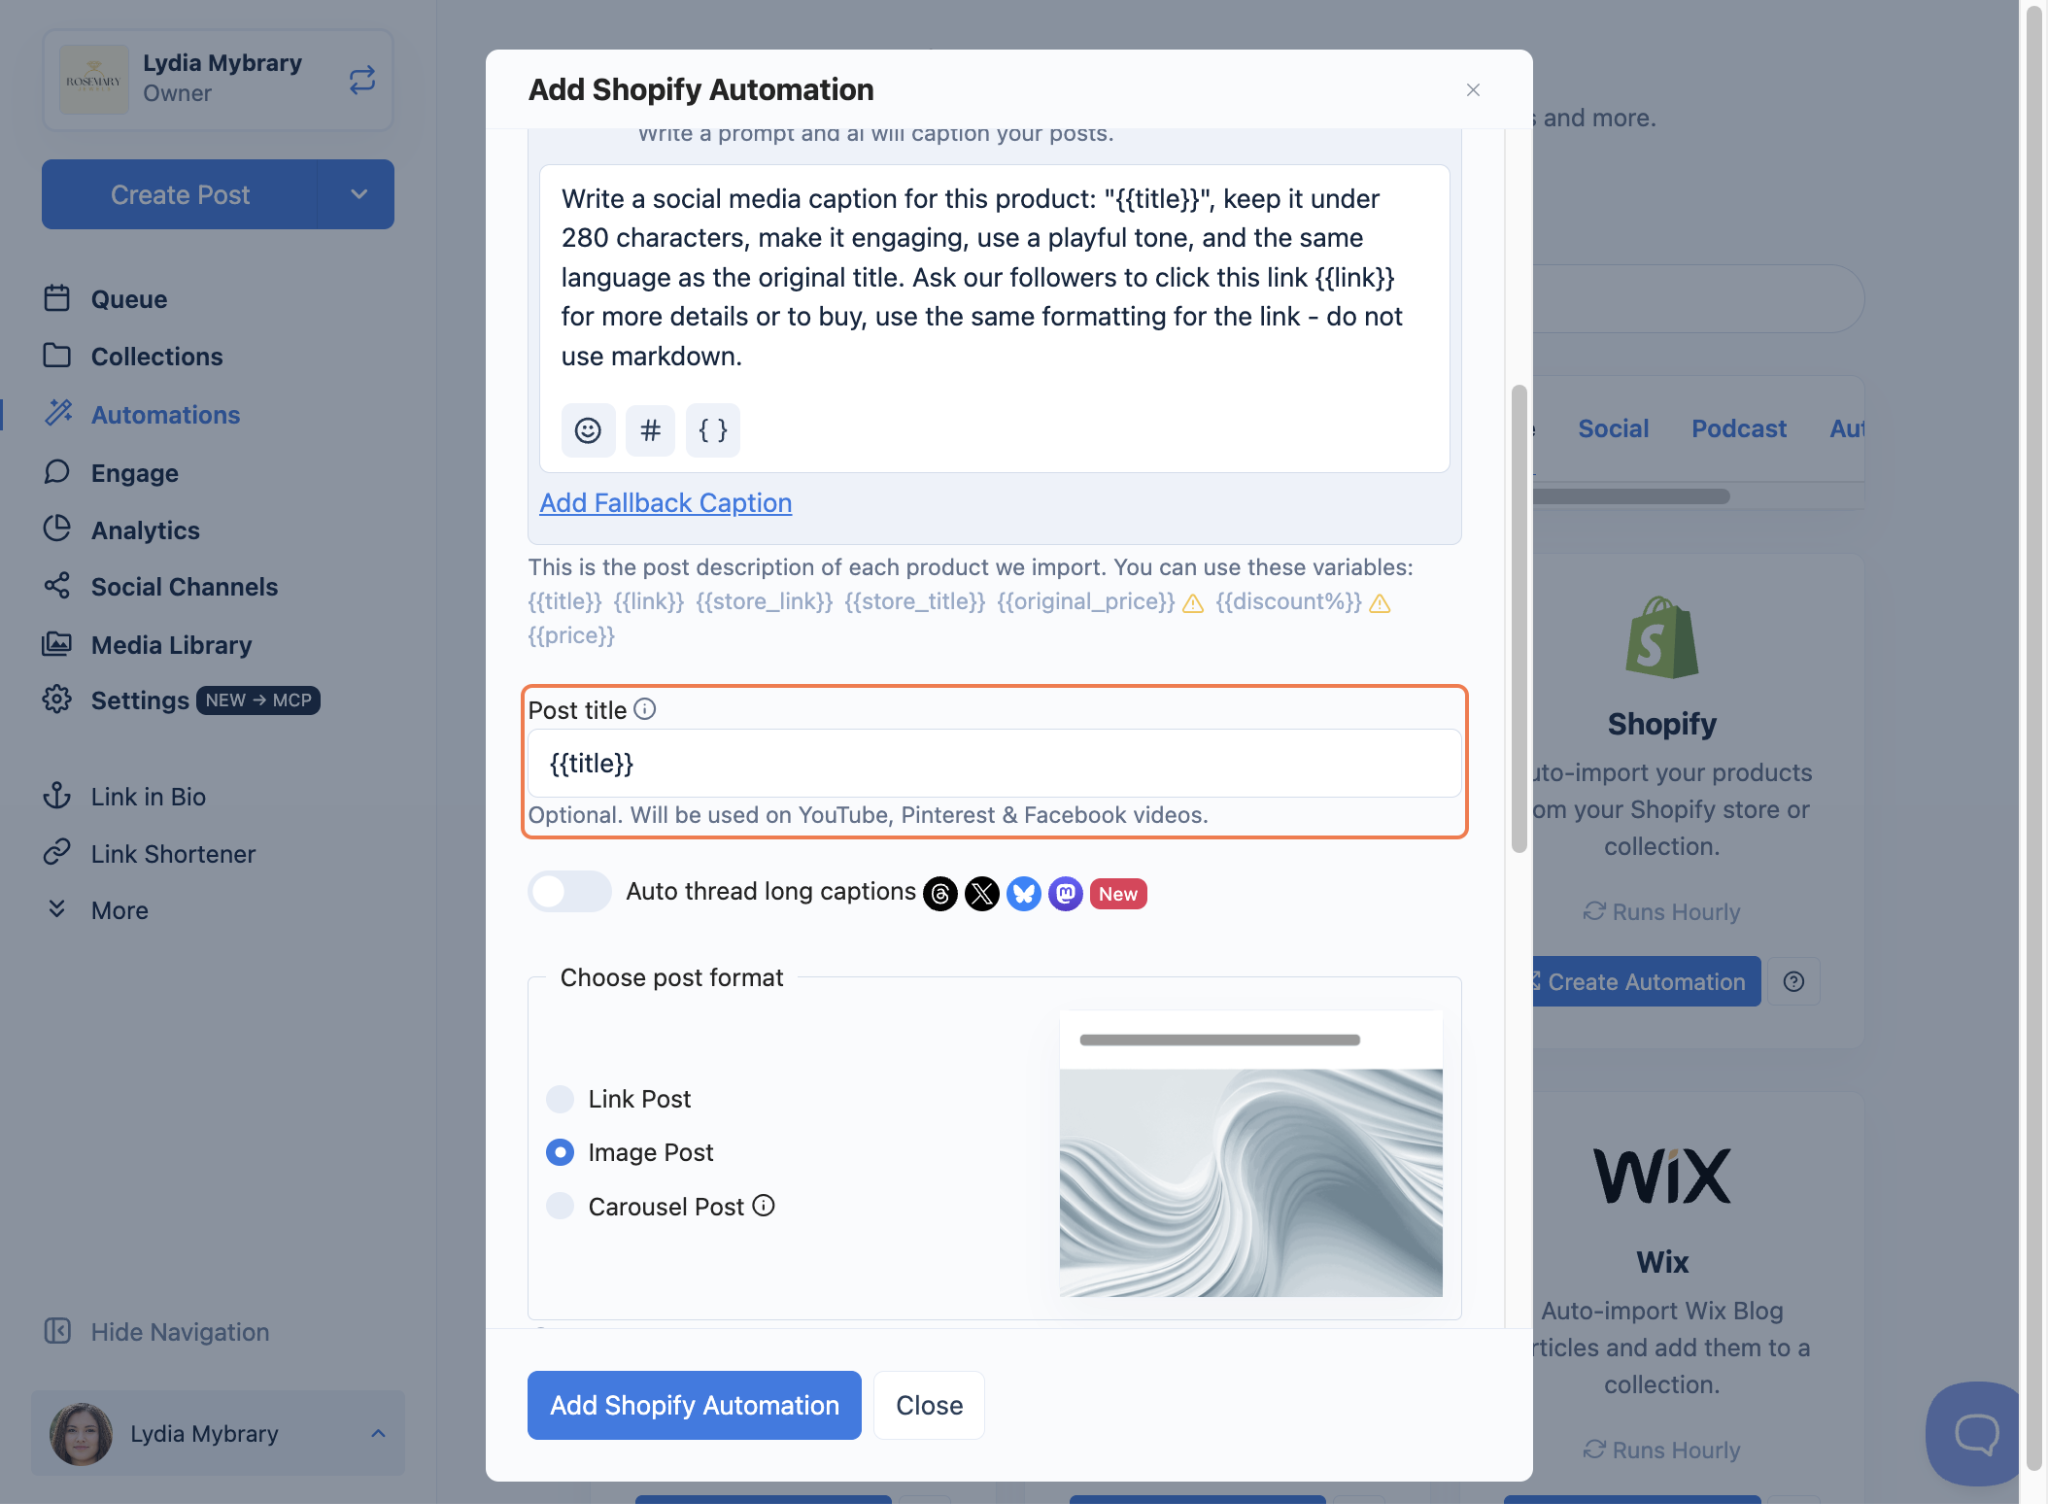
- Toggle Auto thread long captions if you want captions that are too long for Threads, X, Bluesky, or Mastodon to be split into a thread automatically.
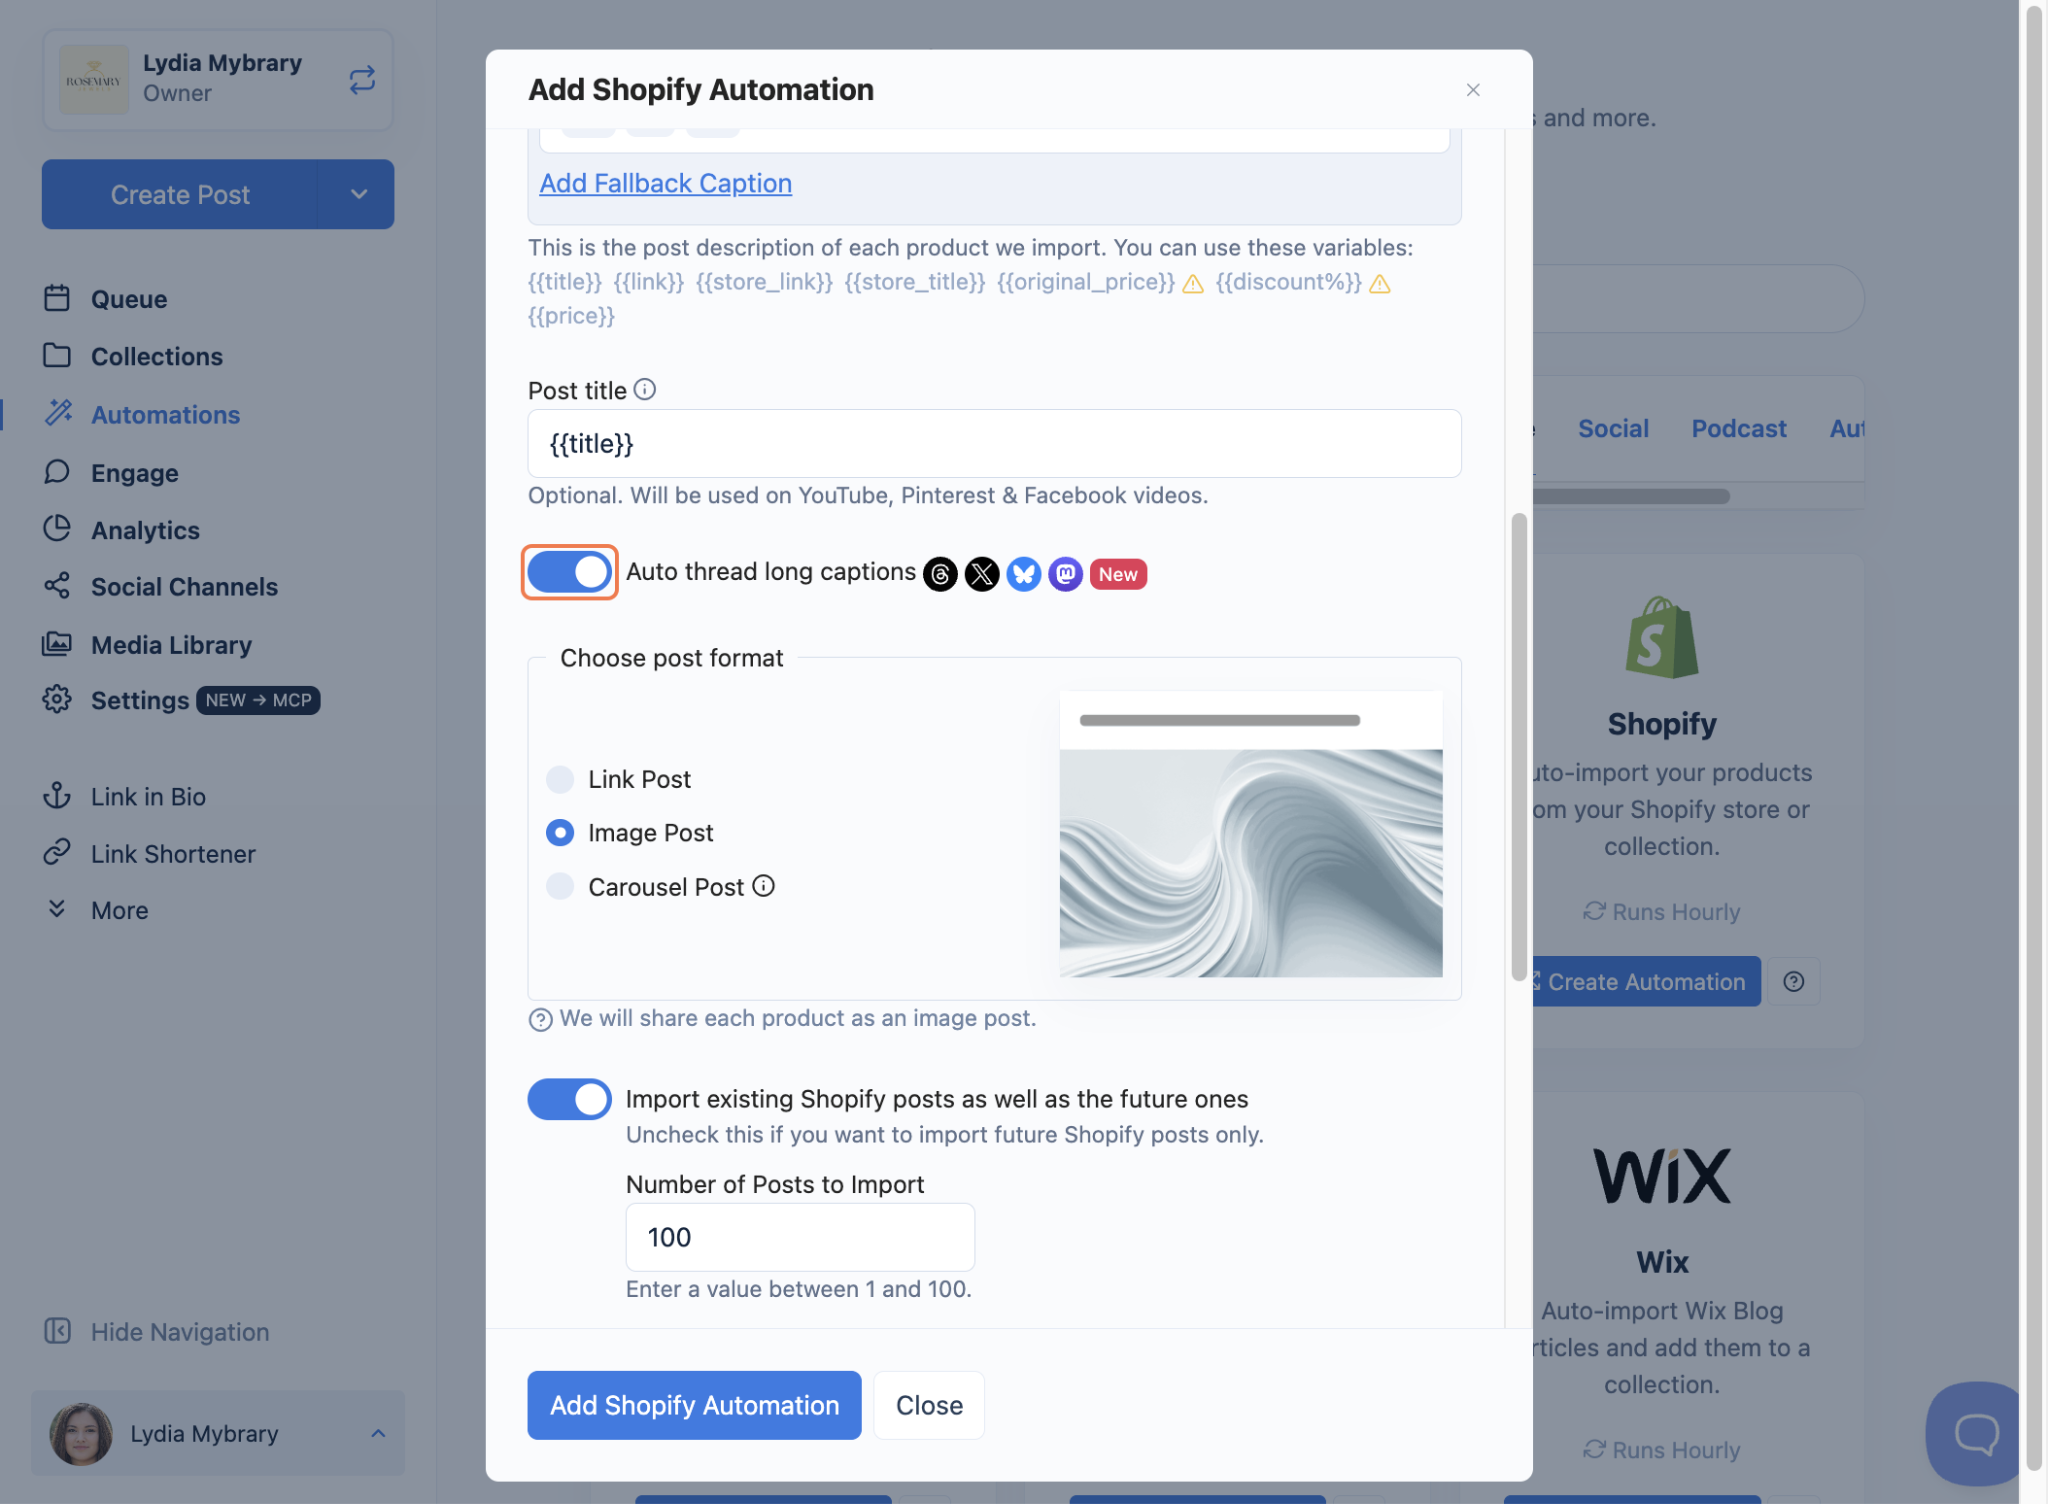
- Choose your post format: Link Post, Image Post, or Carousel Post. Carousel posts share several product photos in one swipeable post.
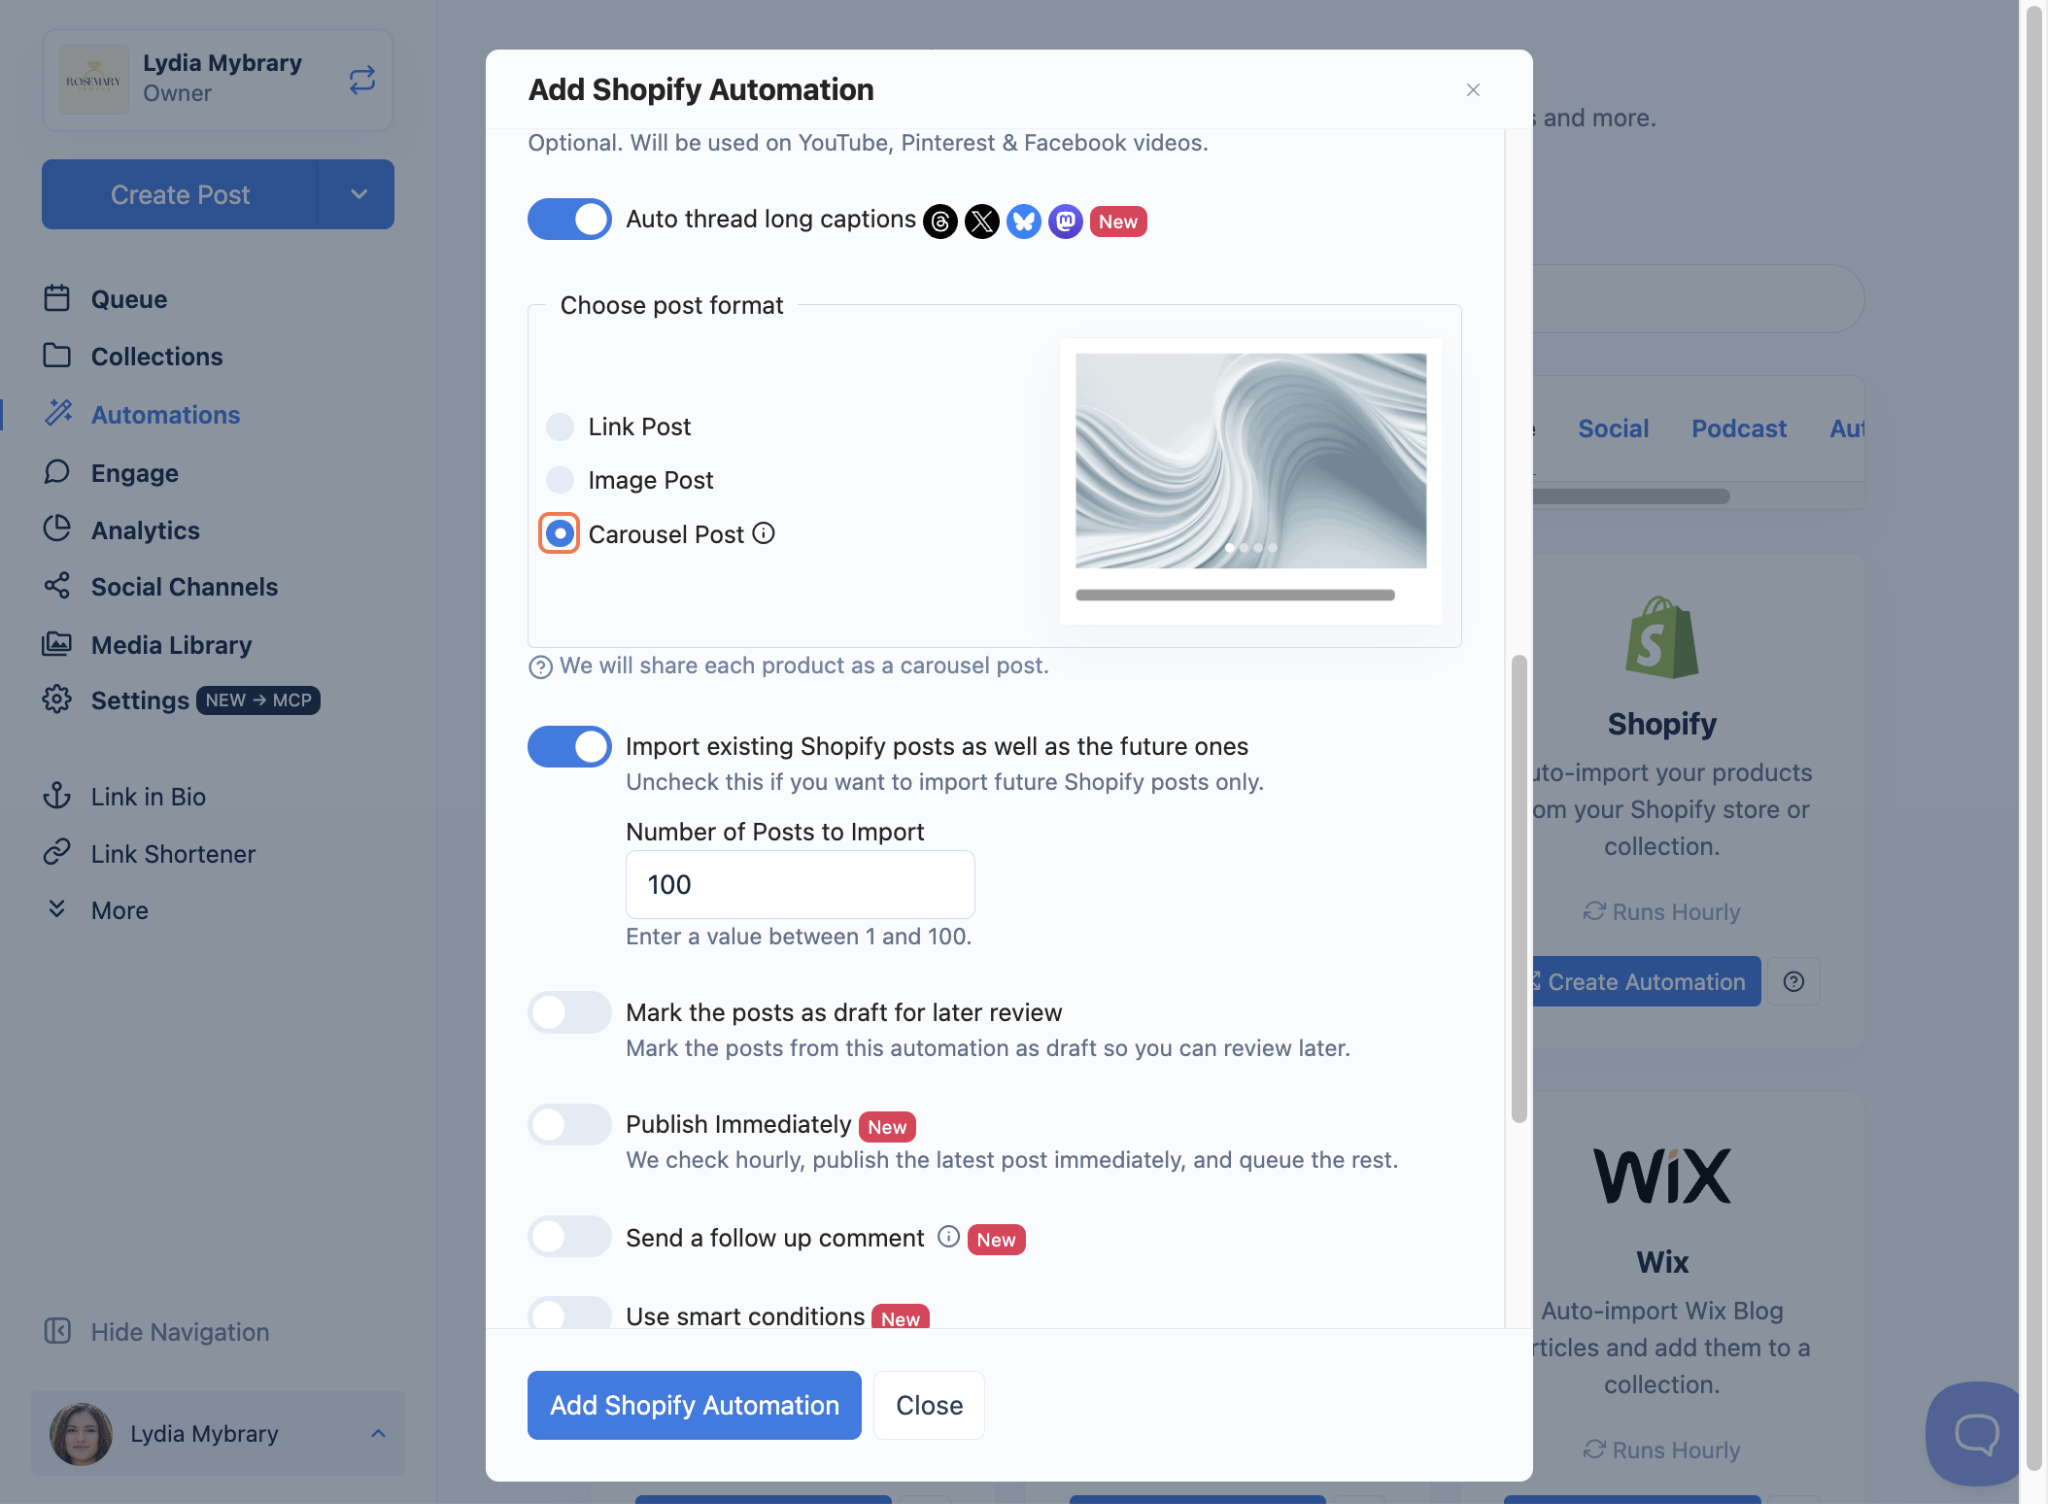
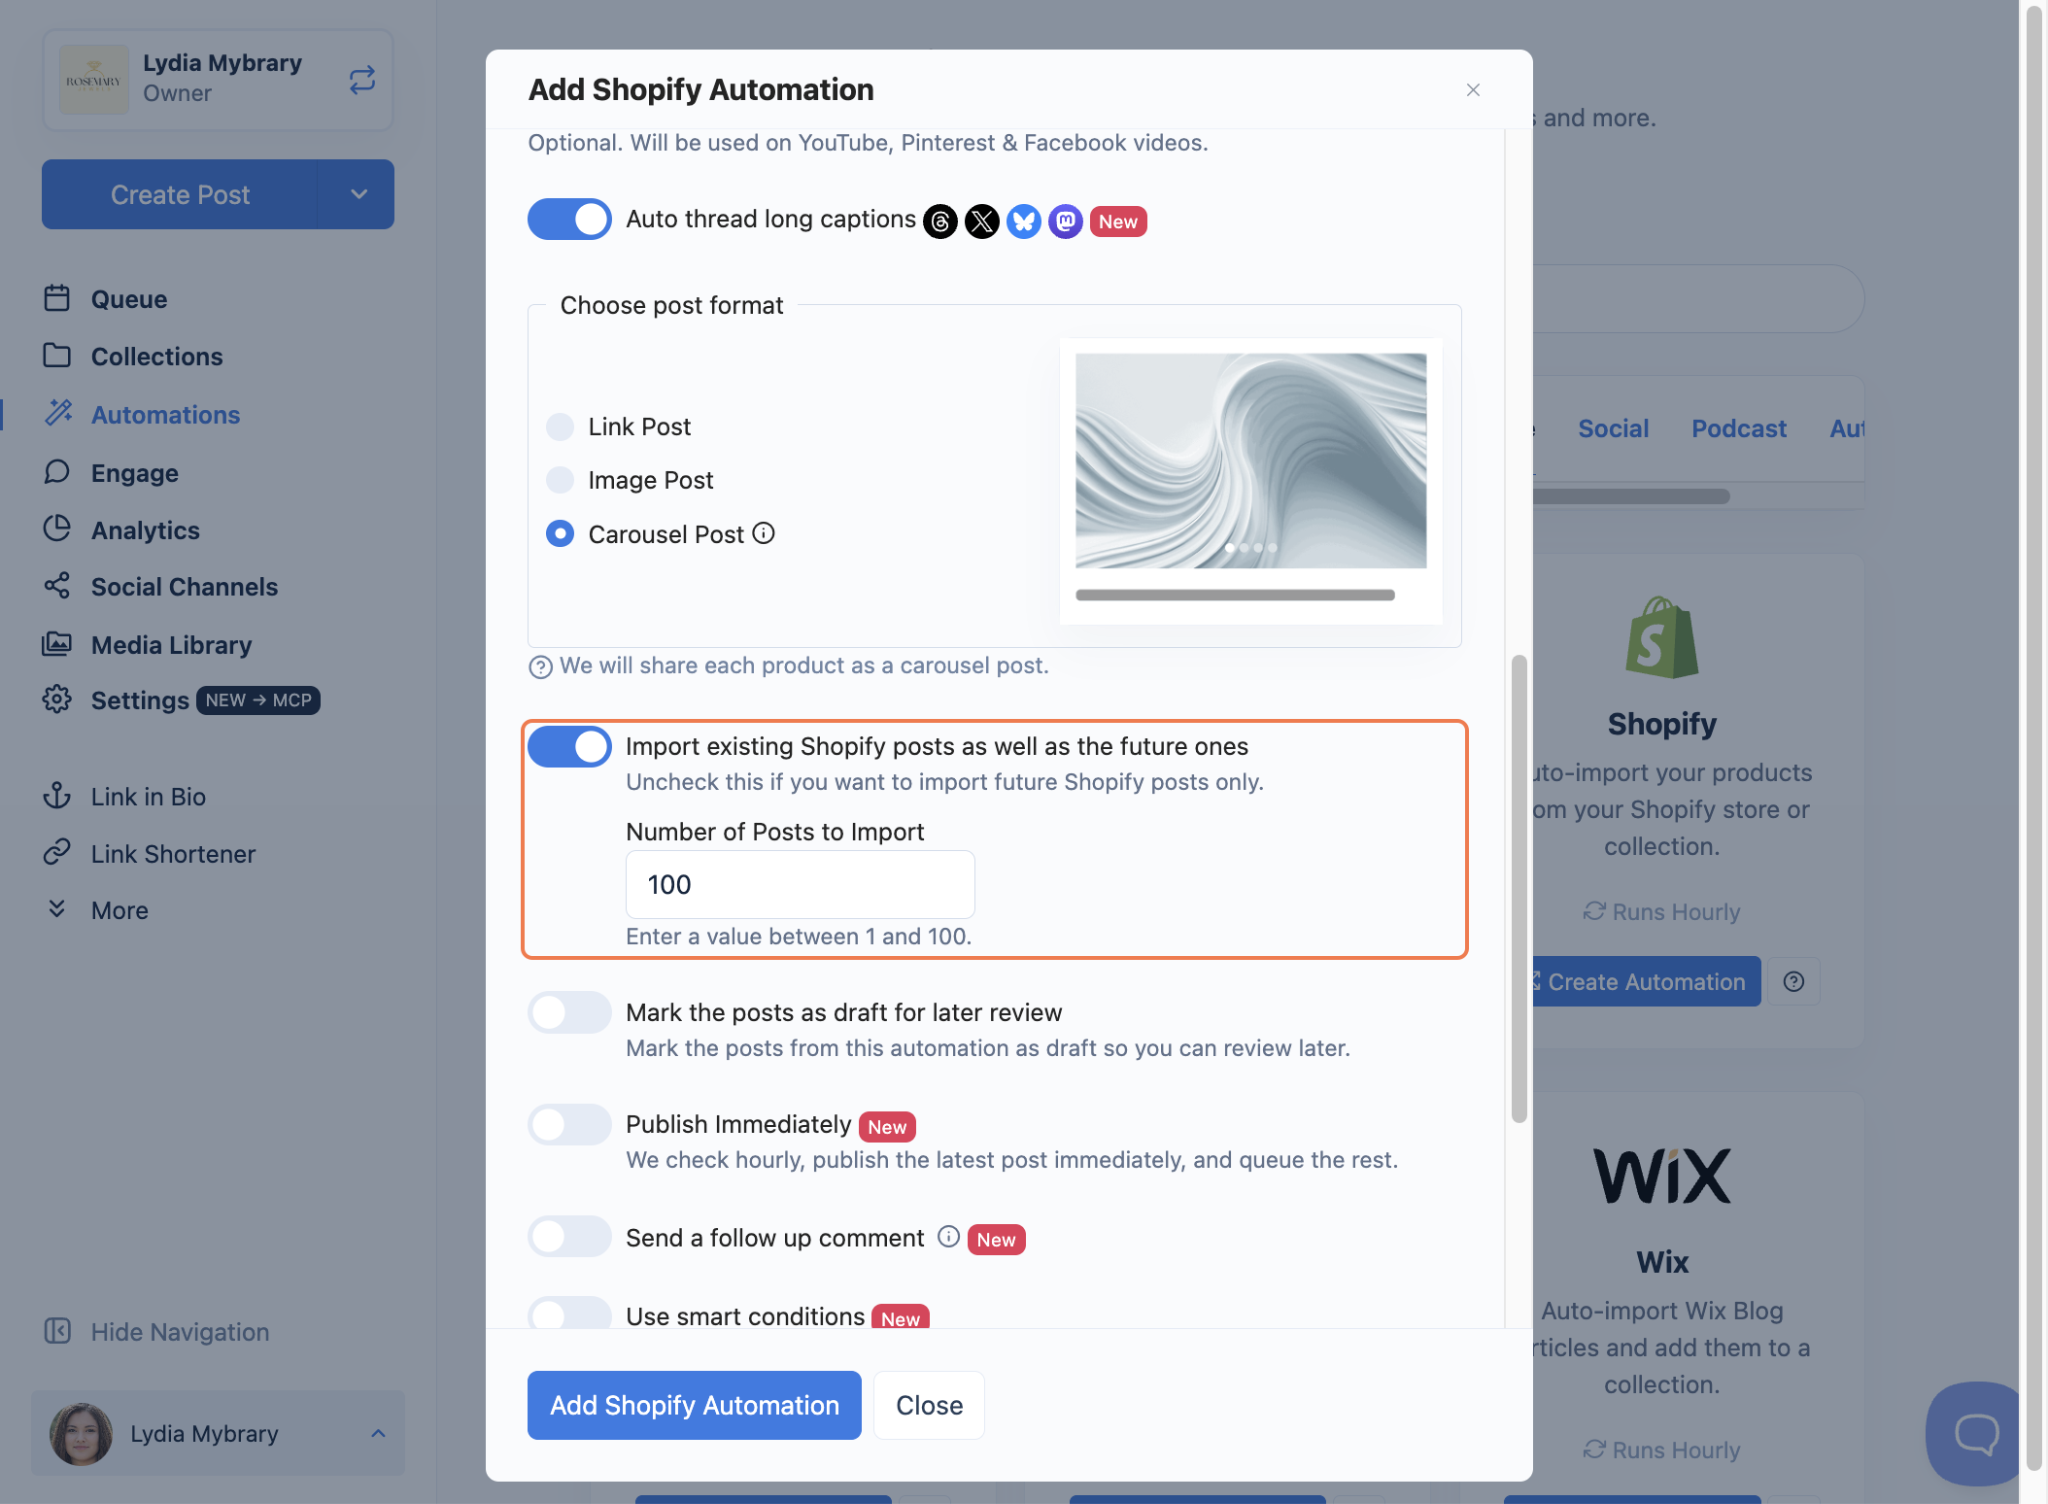
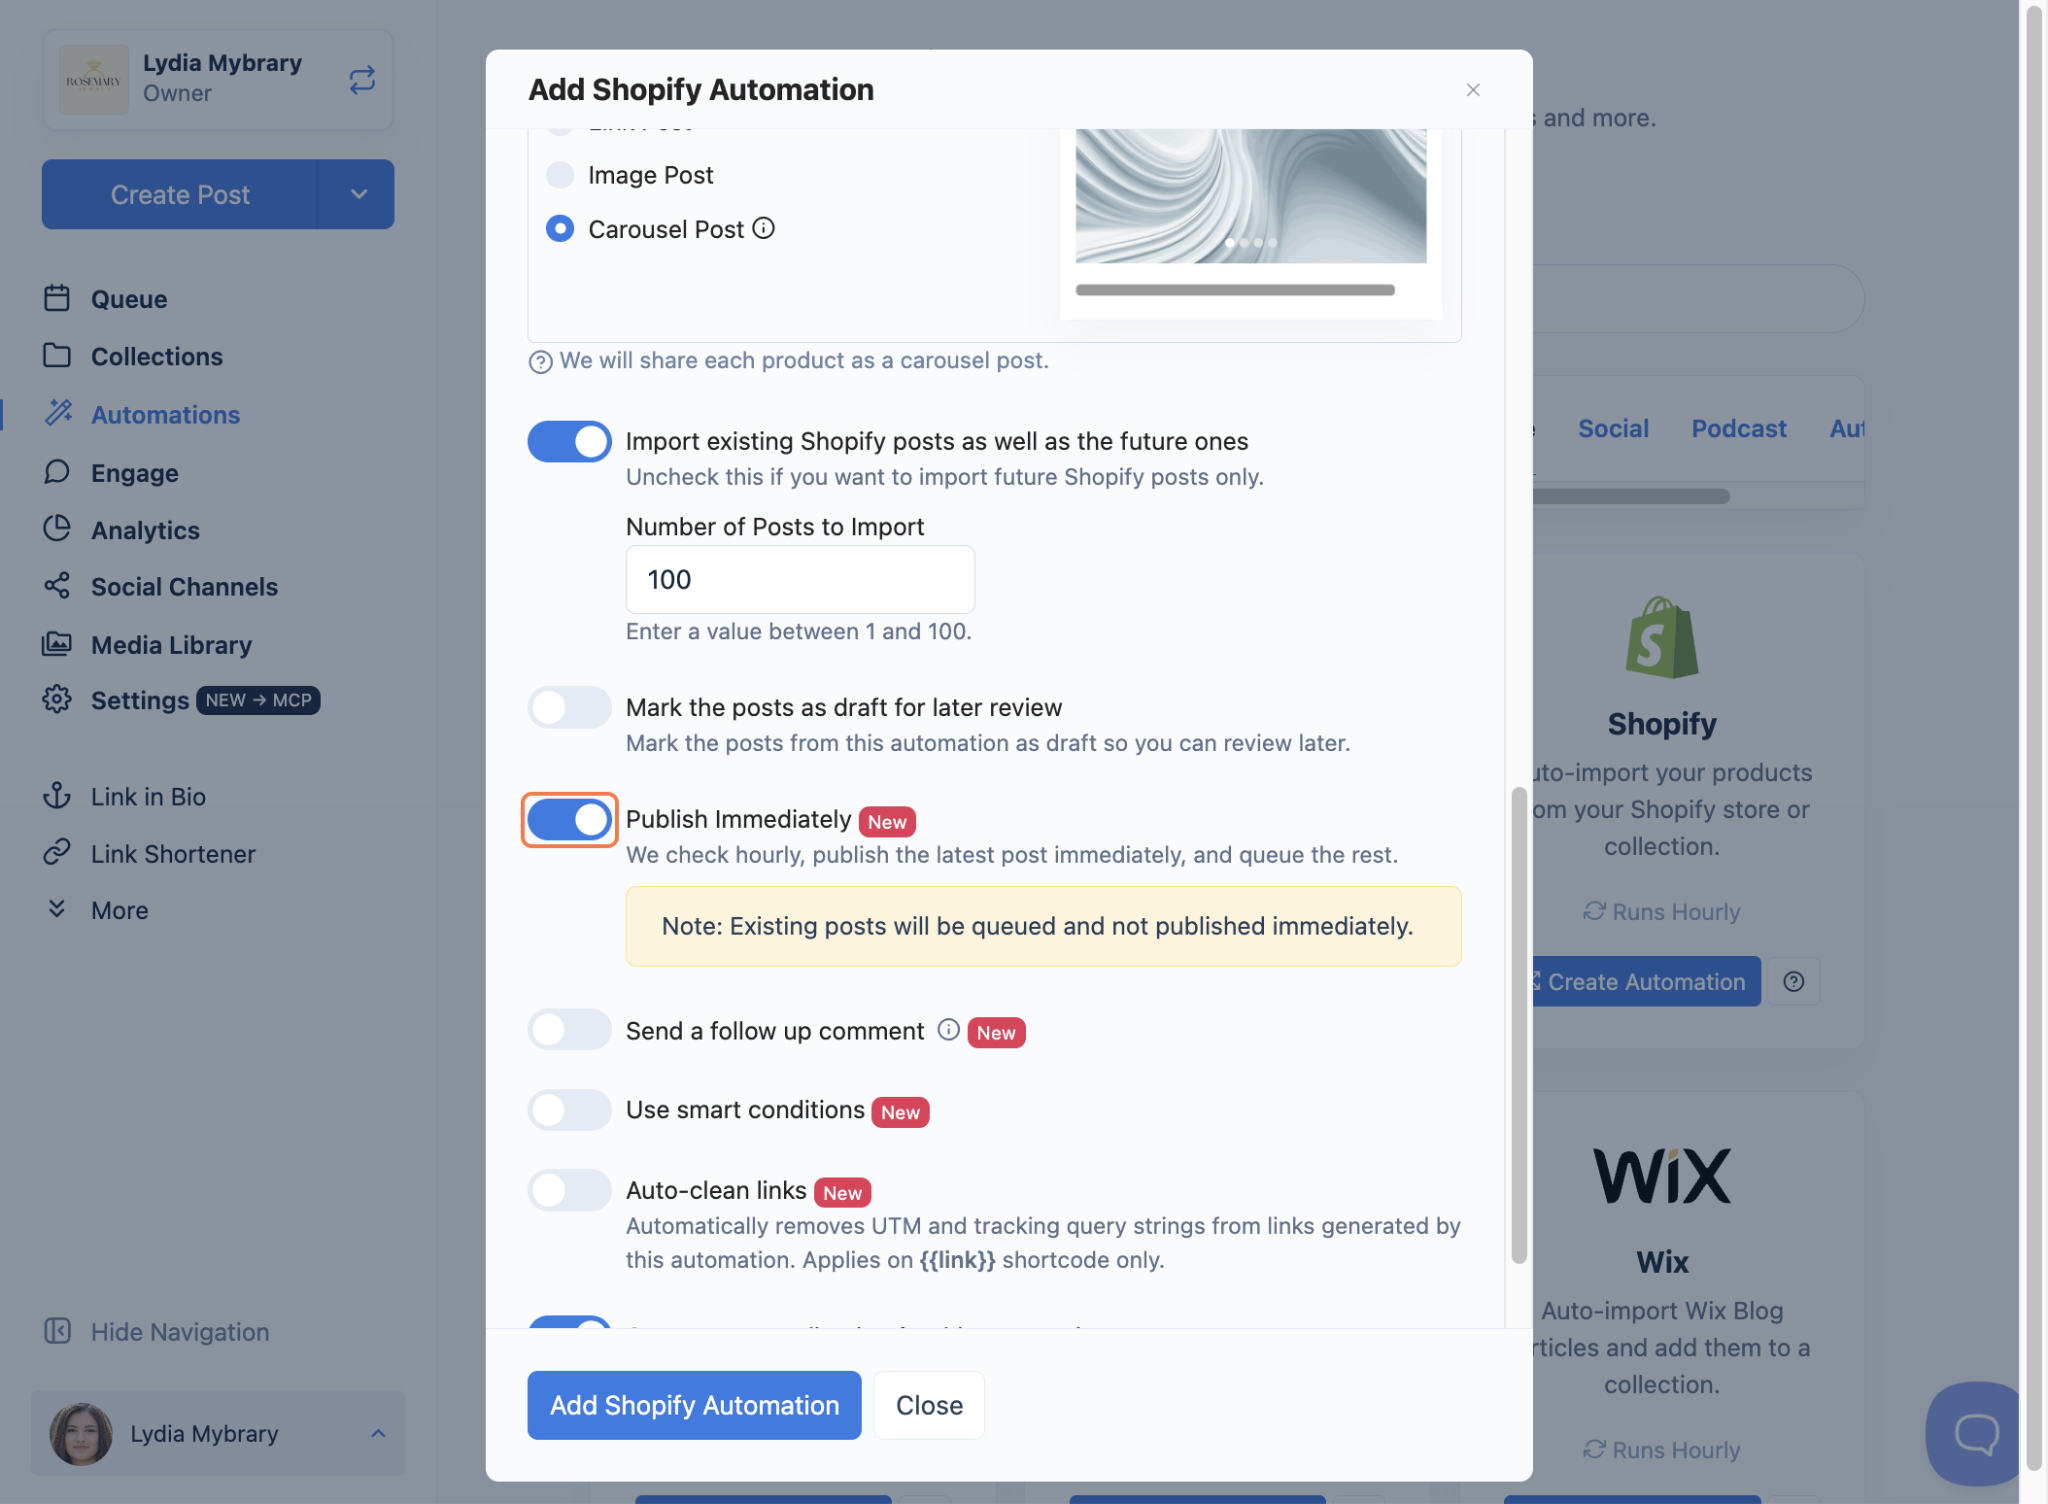
- Decide if you want to import existing Shopify posts as well as the future ones. Leave it on to import products already in your store, and set the Number of Posts to Import (between 1 and 100). Turn it off to only import future products.
- Toggle Mark the posts as draft for later review if you want posts from this automation saved as drafts, so you can review and approve them before they go out.
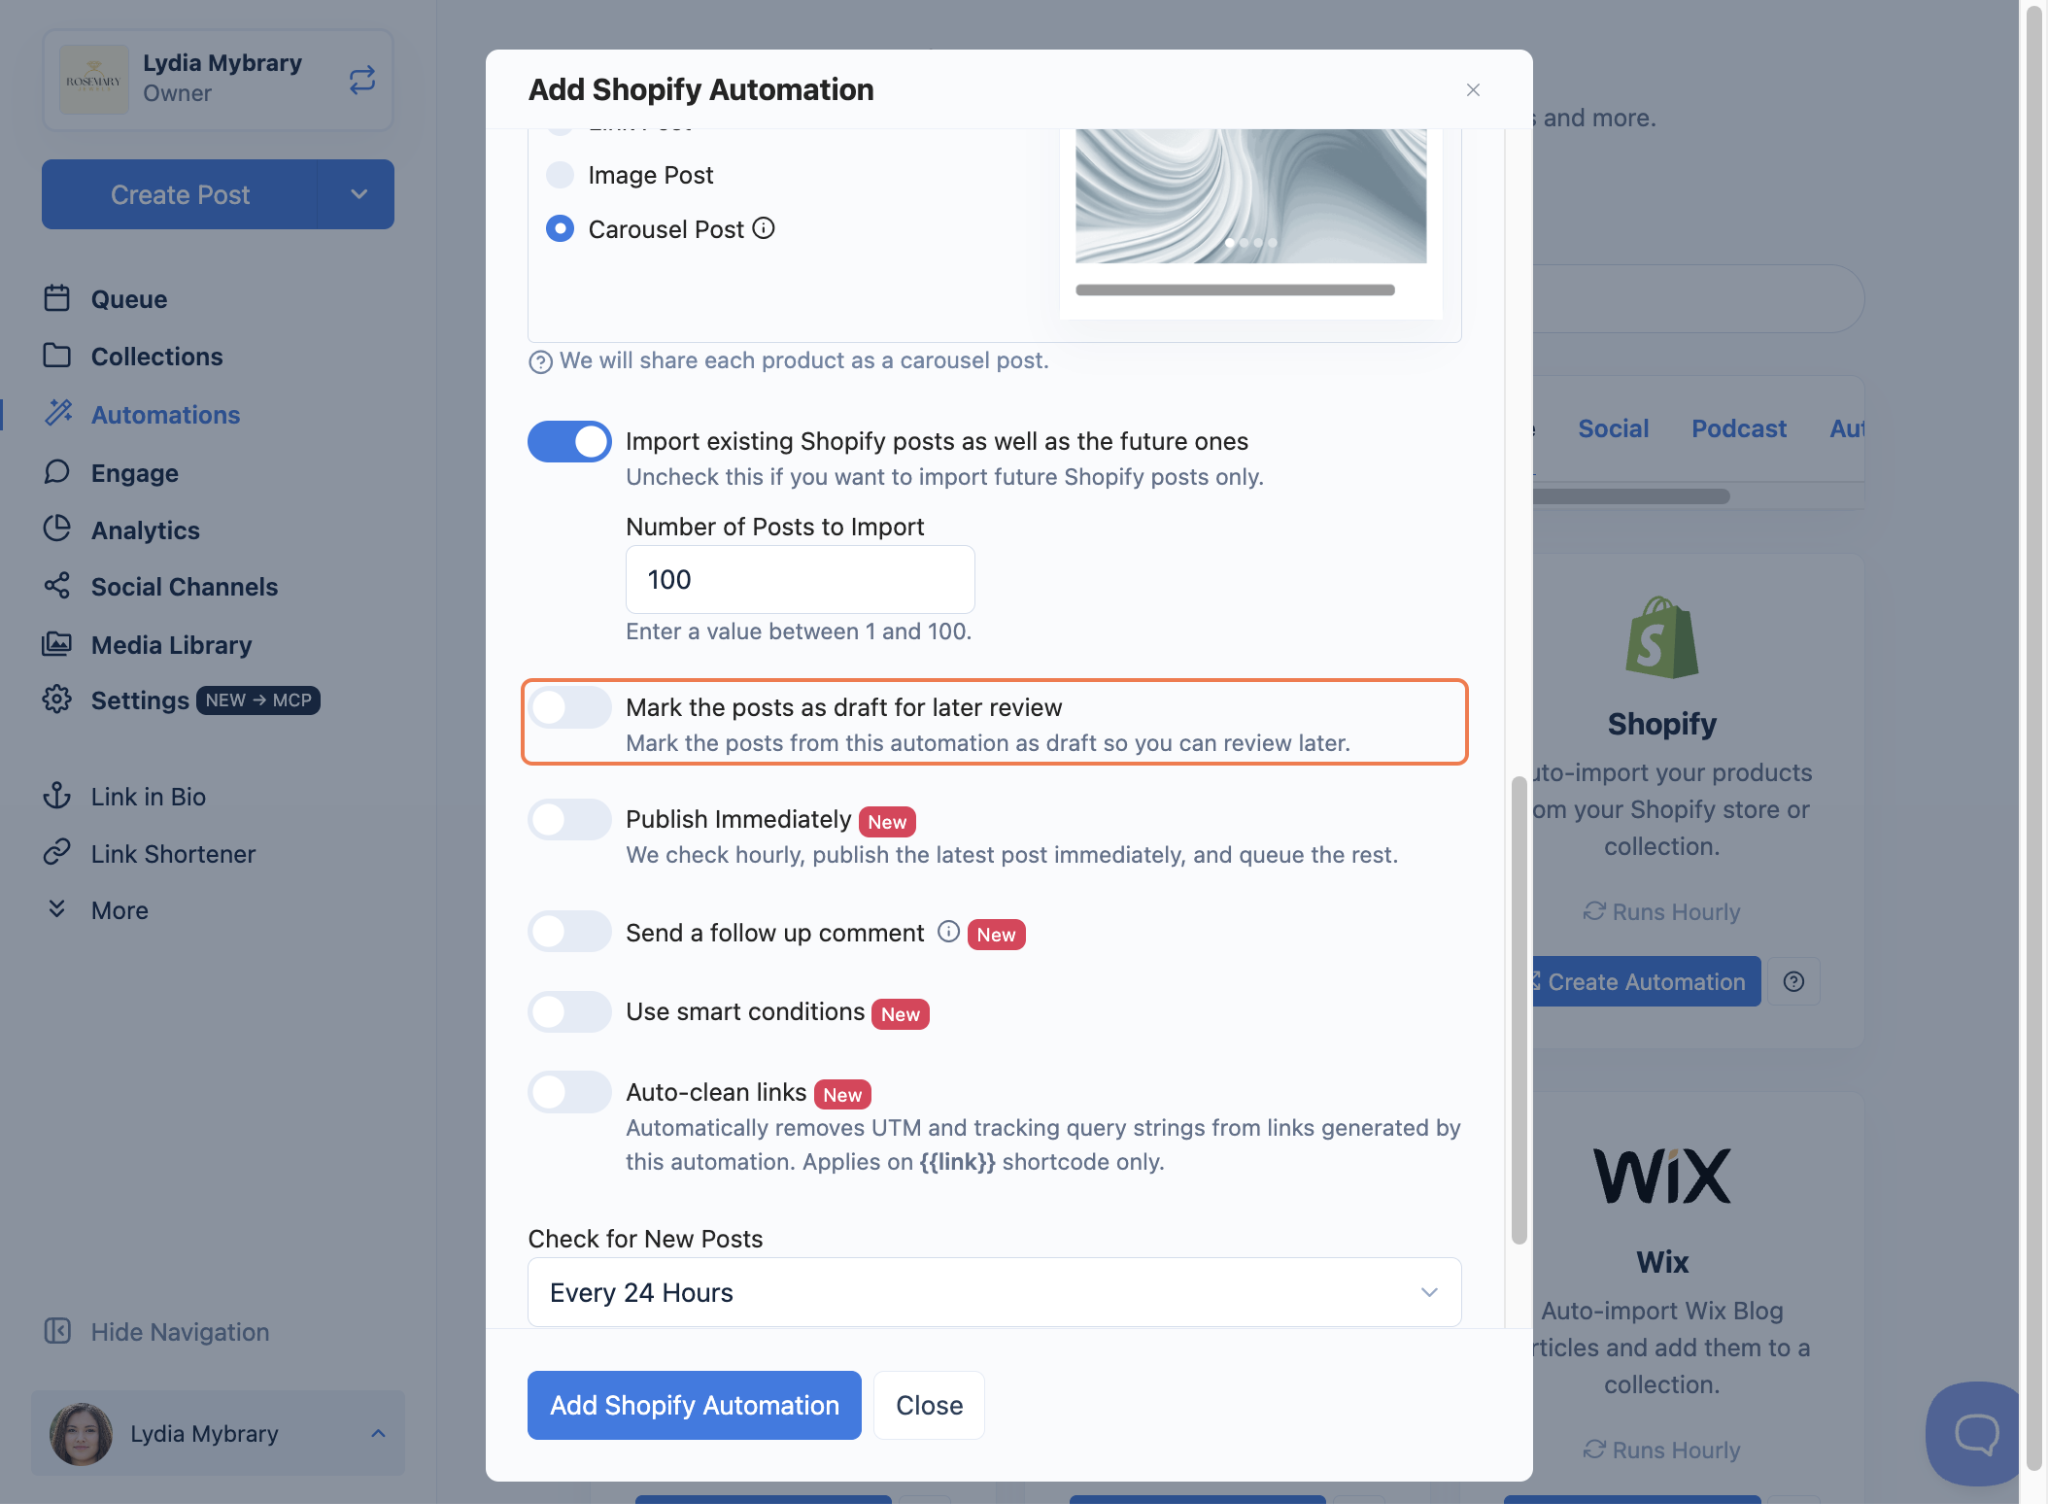
- Toggle Publish Immediately if you want new products shared right away. Nuelink checks your store hourly, publishes the latest post immediately, and queues the rest. Note: existing posts are queued, not published immediately.
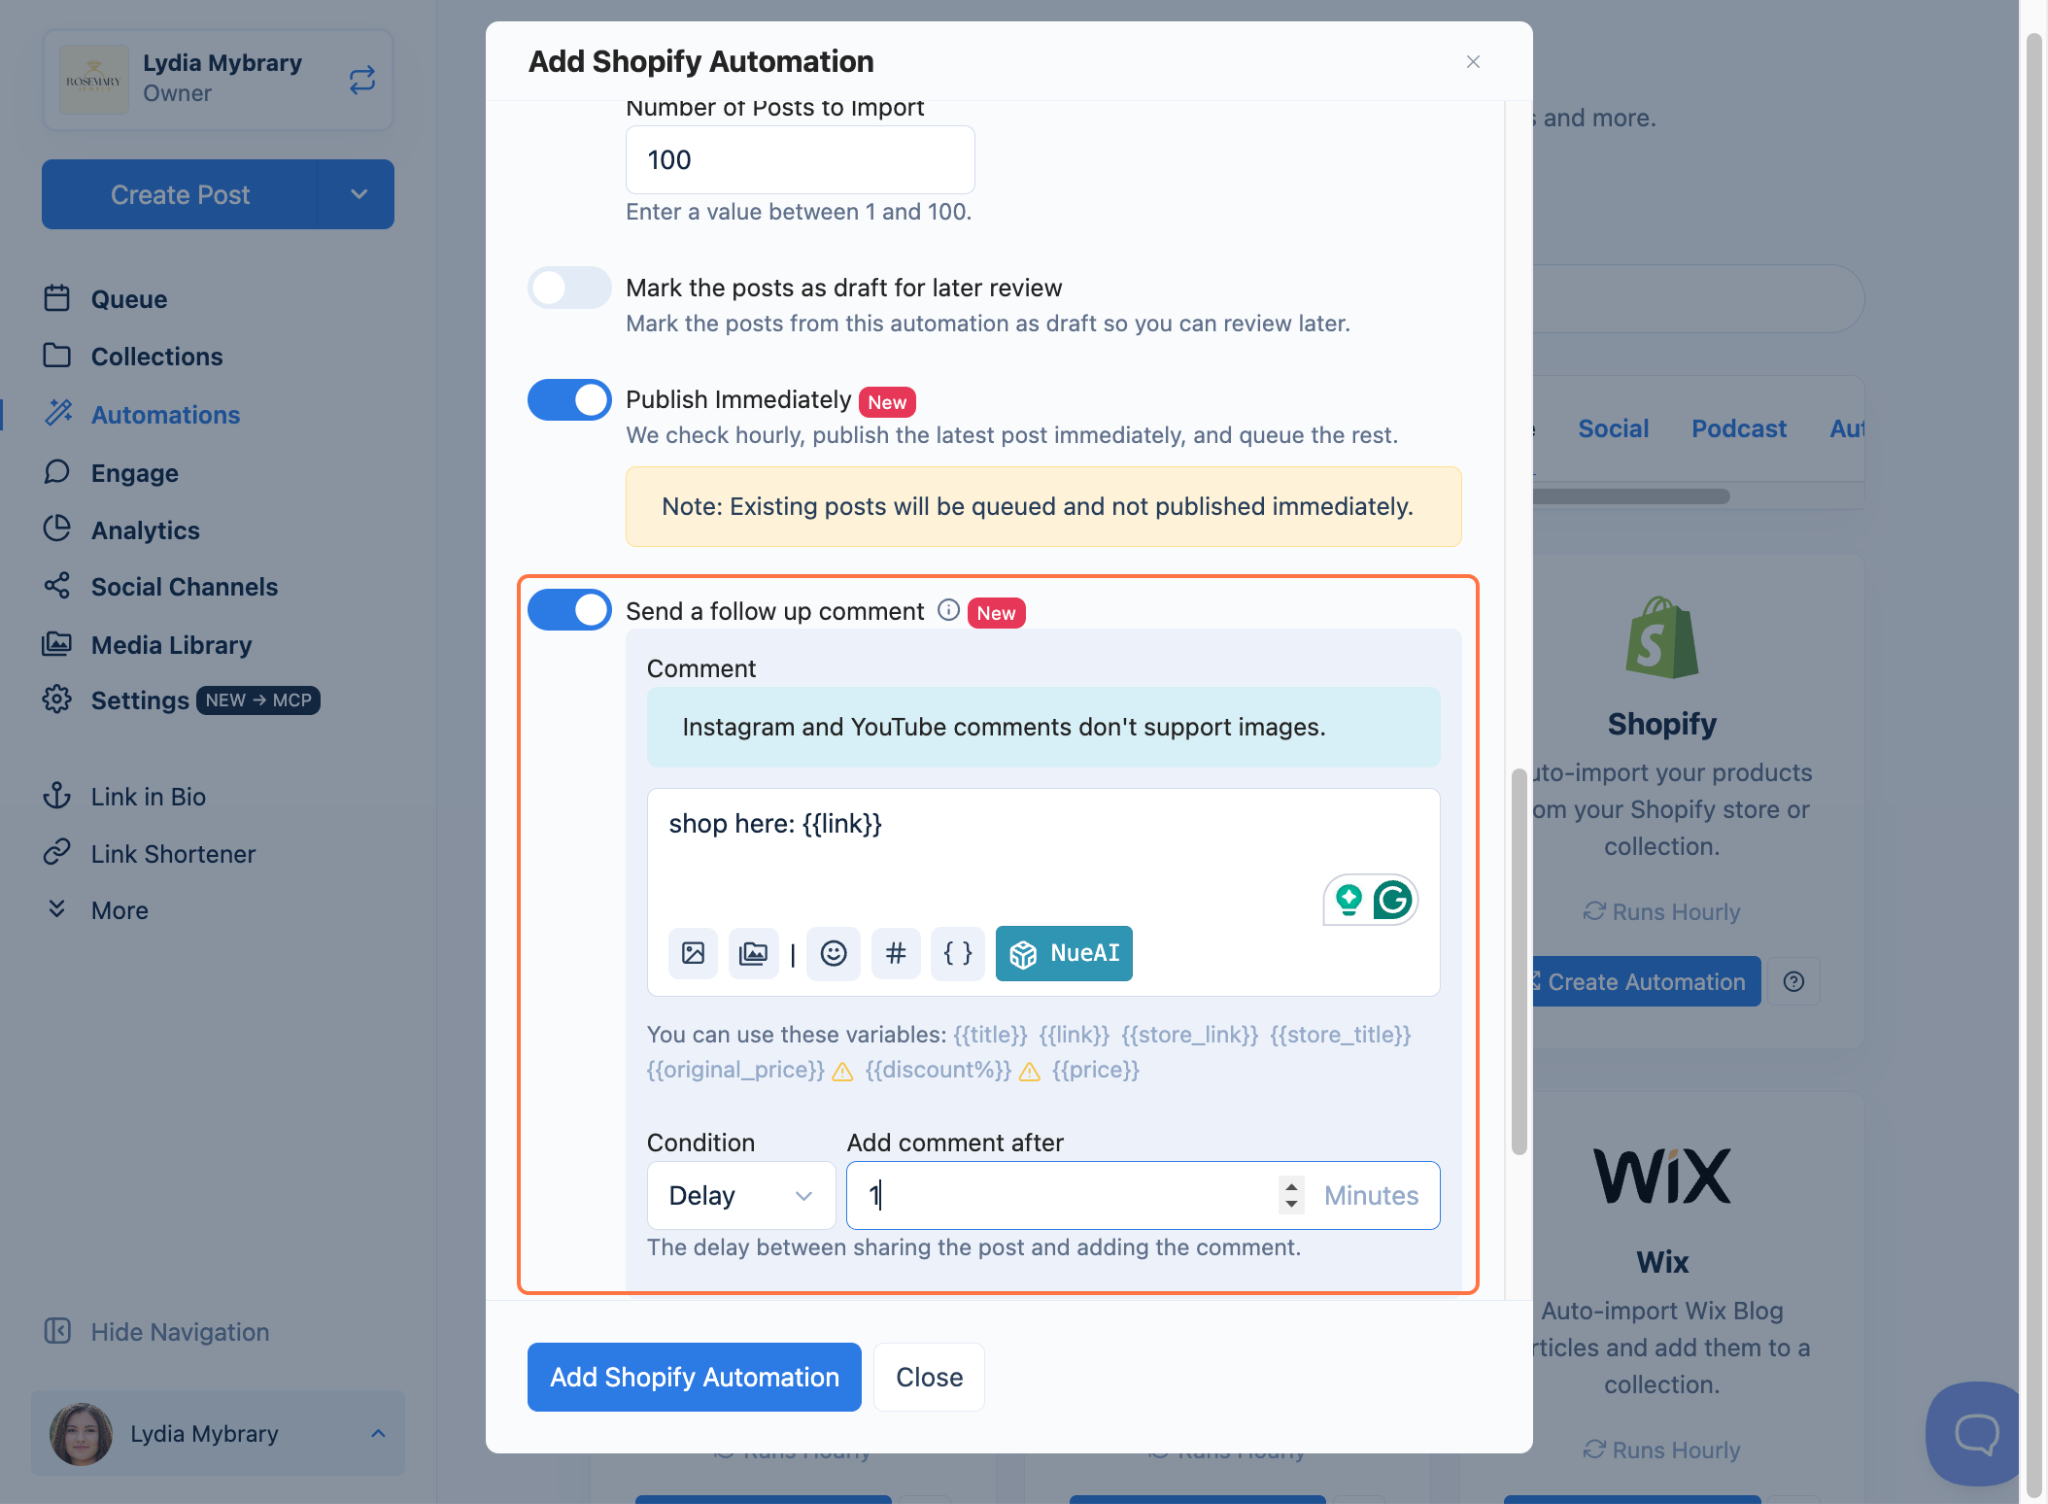
- Toggle Send a follow-up comment to automatically add a comment under each post (e.g., "shop here: {{link}}"). Set a Delay so the comment is added a set number of minutes after the post is shared. Keep in mind that Instagram and YouTube comments don't support images.
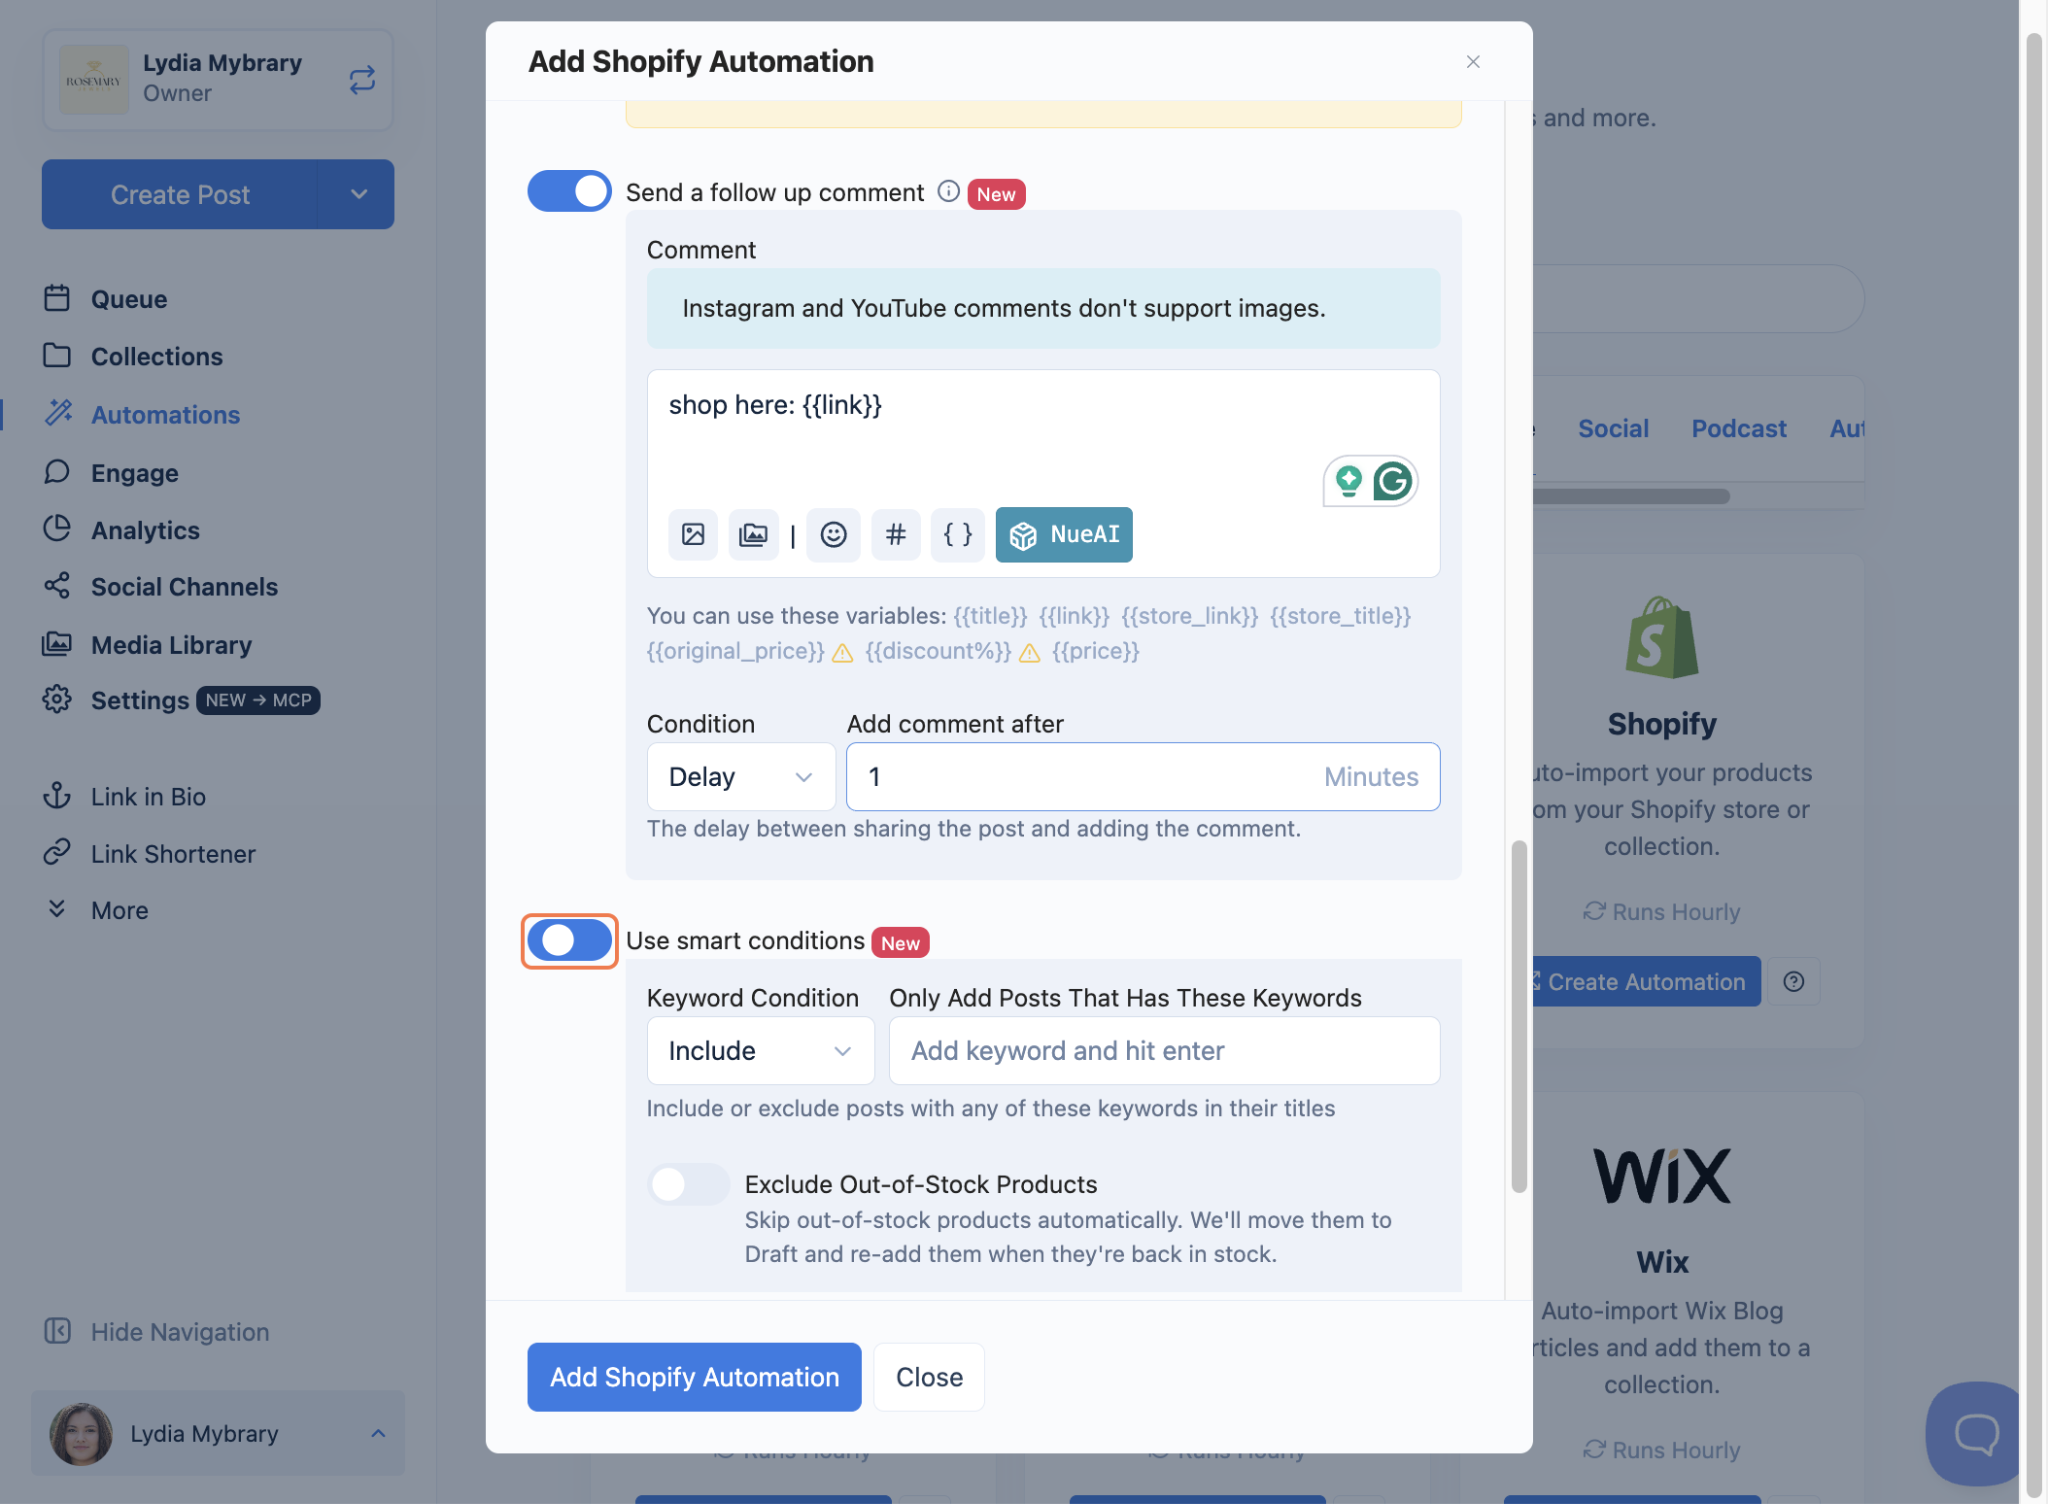
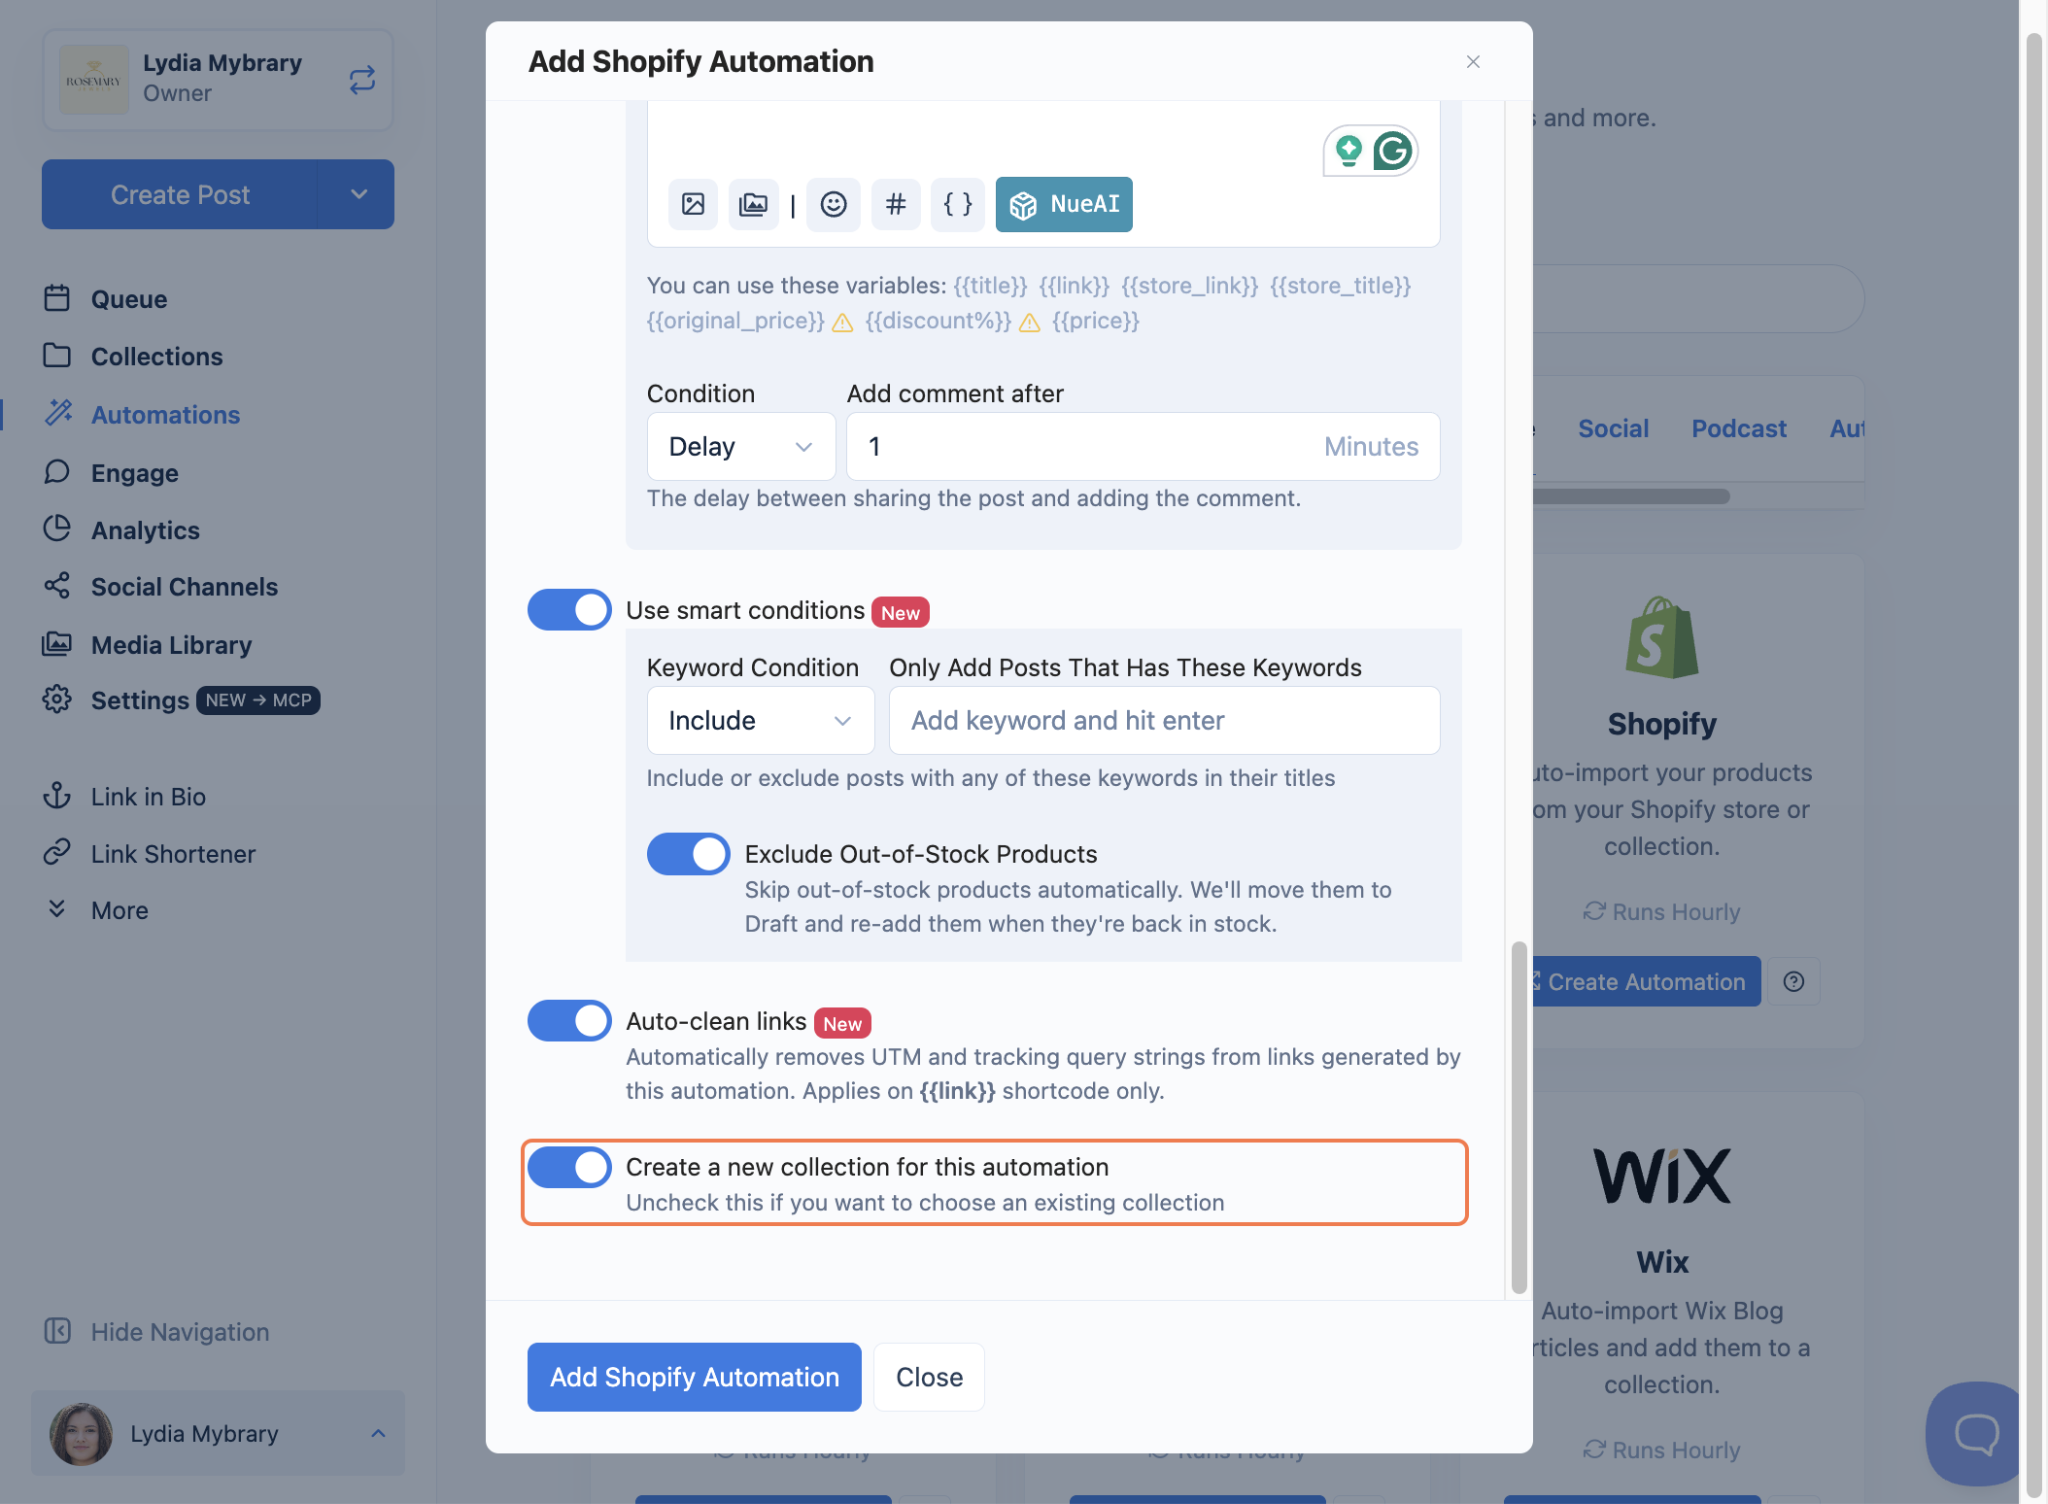
- Toggle Use smart conditions to filter which products get posted:
- Keyword Condition: Choose Include or Exclude, then add keywords and hit enter. Only products with (or without) these keywords in their titles will be added.
- Exclude Out-of-Stock Products: Automatically skips out-of-stock products. Nuelink moves them to Drafts and re-adds them when they're back in stock.
- Toggle Auto-clean links to automatically remove UTM and tracking query strings from links generated by this automation. This applies to the {{link}} shortcode only.
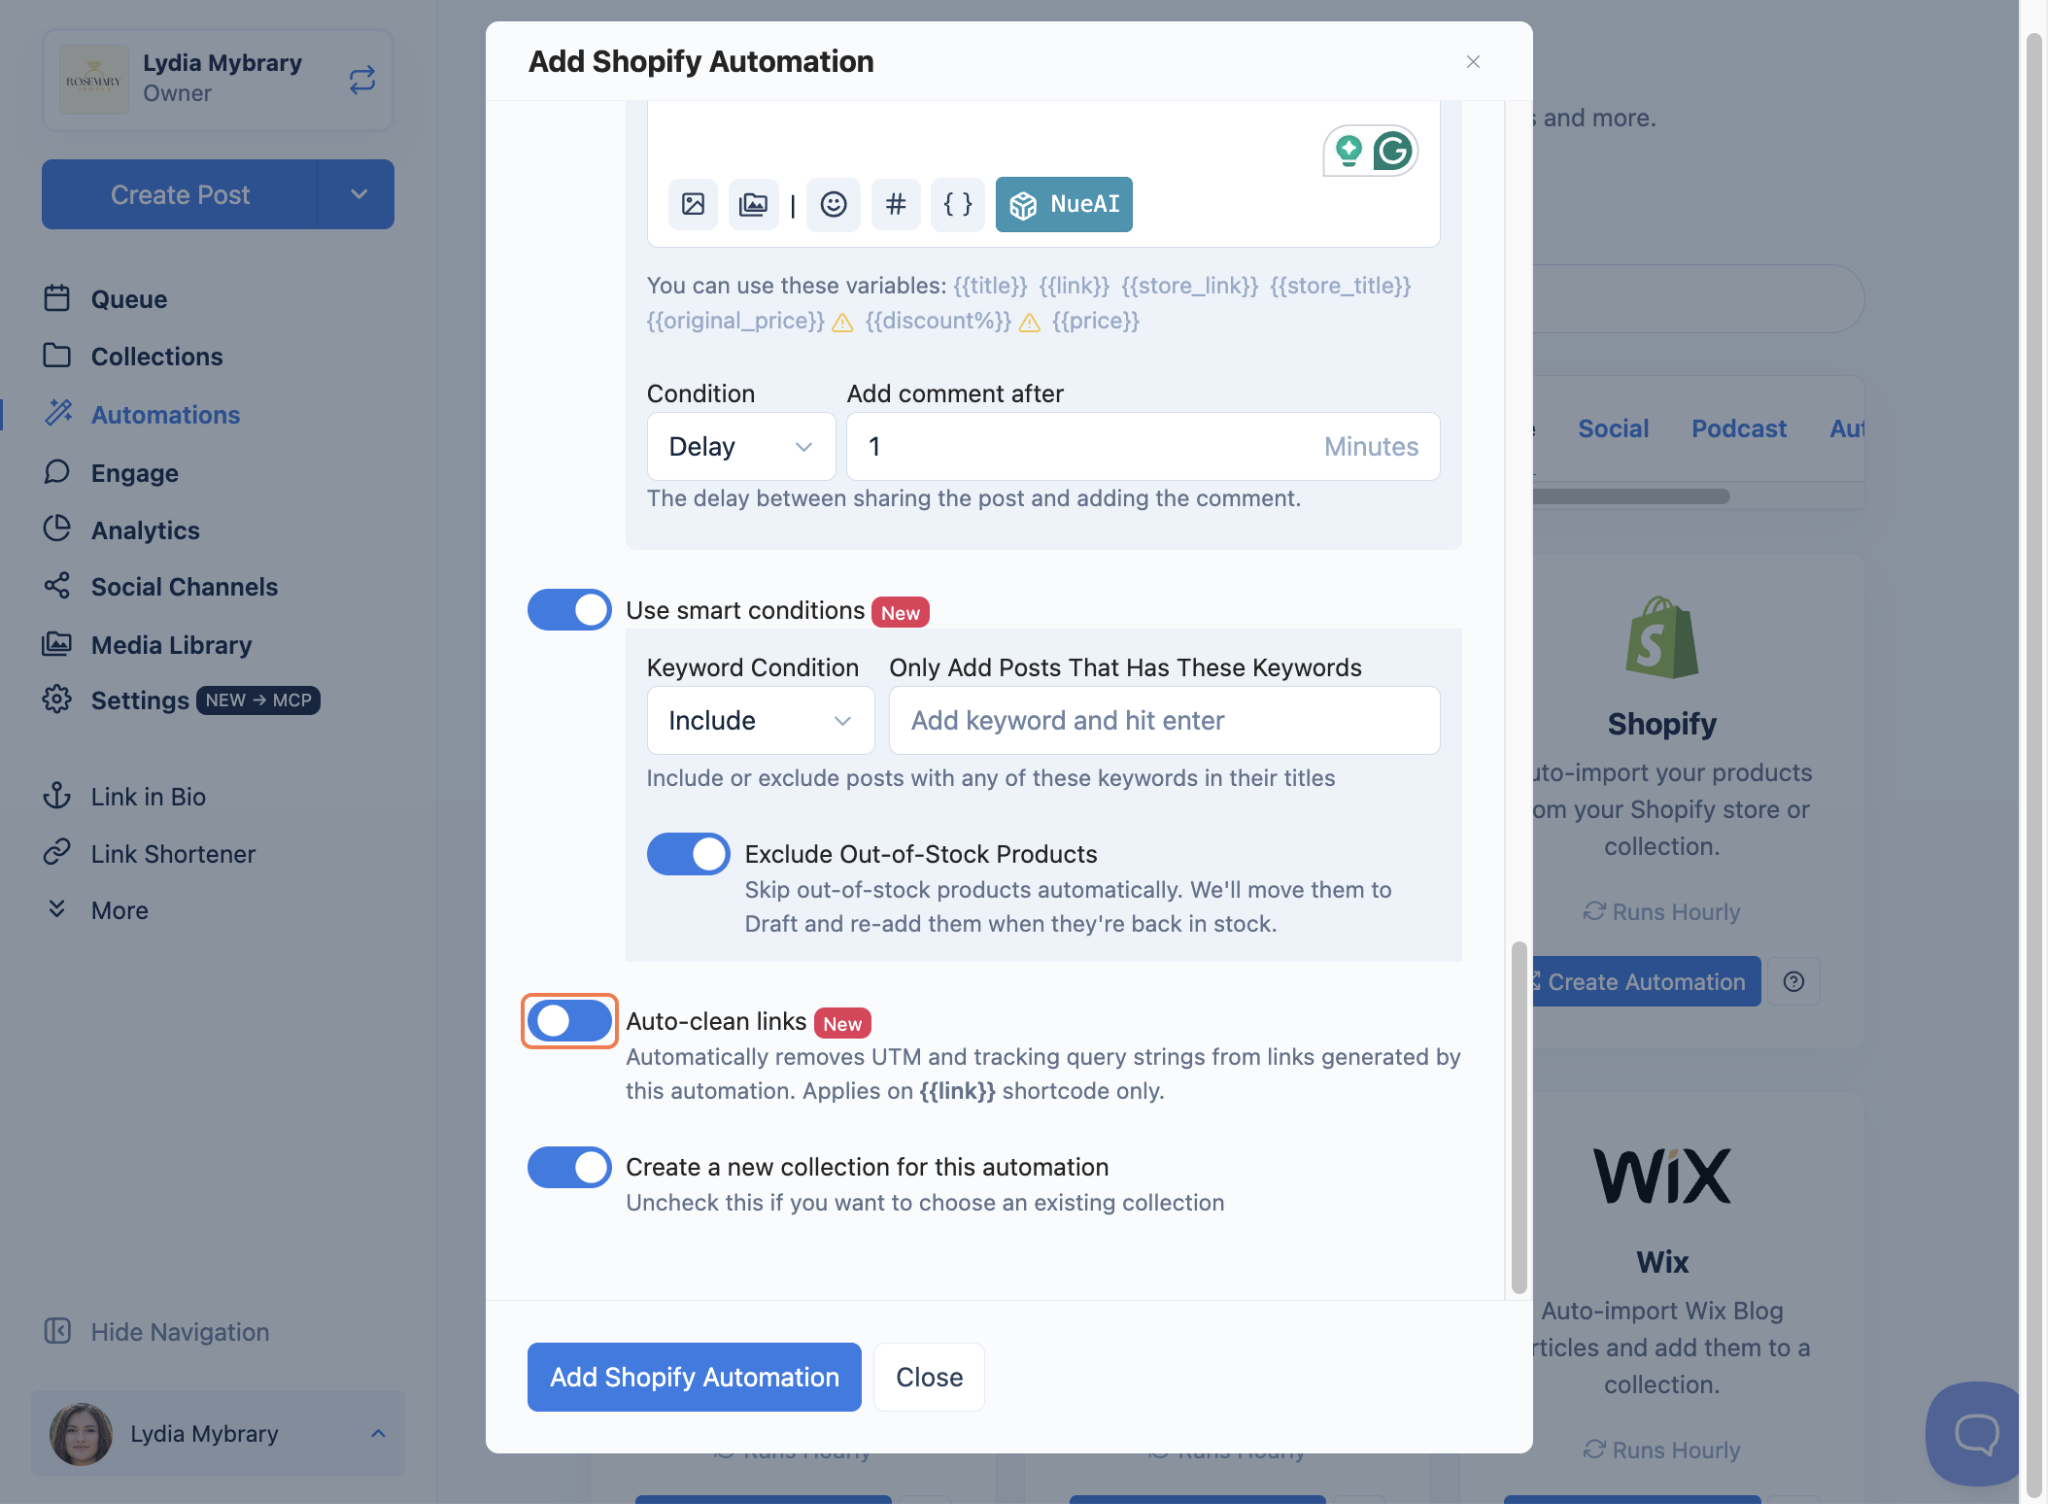
- Choose where your posts will live.
- Create a new collection for this automation to keep these posts in their own new collection.
- Uncheck it if you'd rather add the posts to one of your existing collections; you'll get to pick which one.
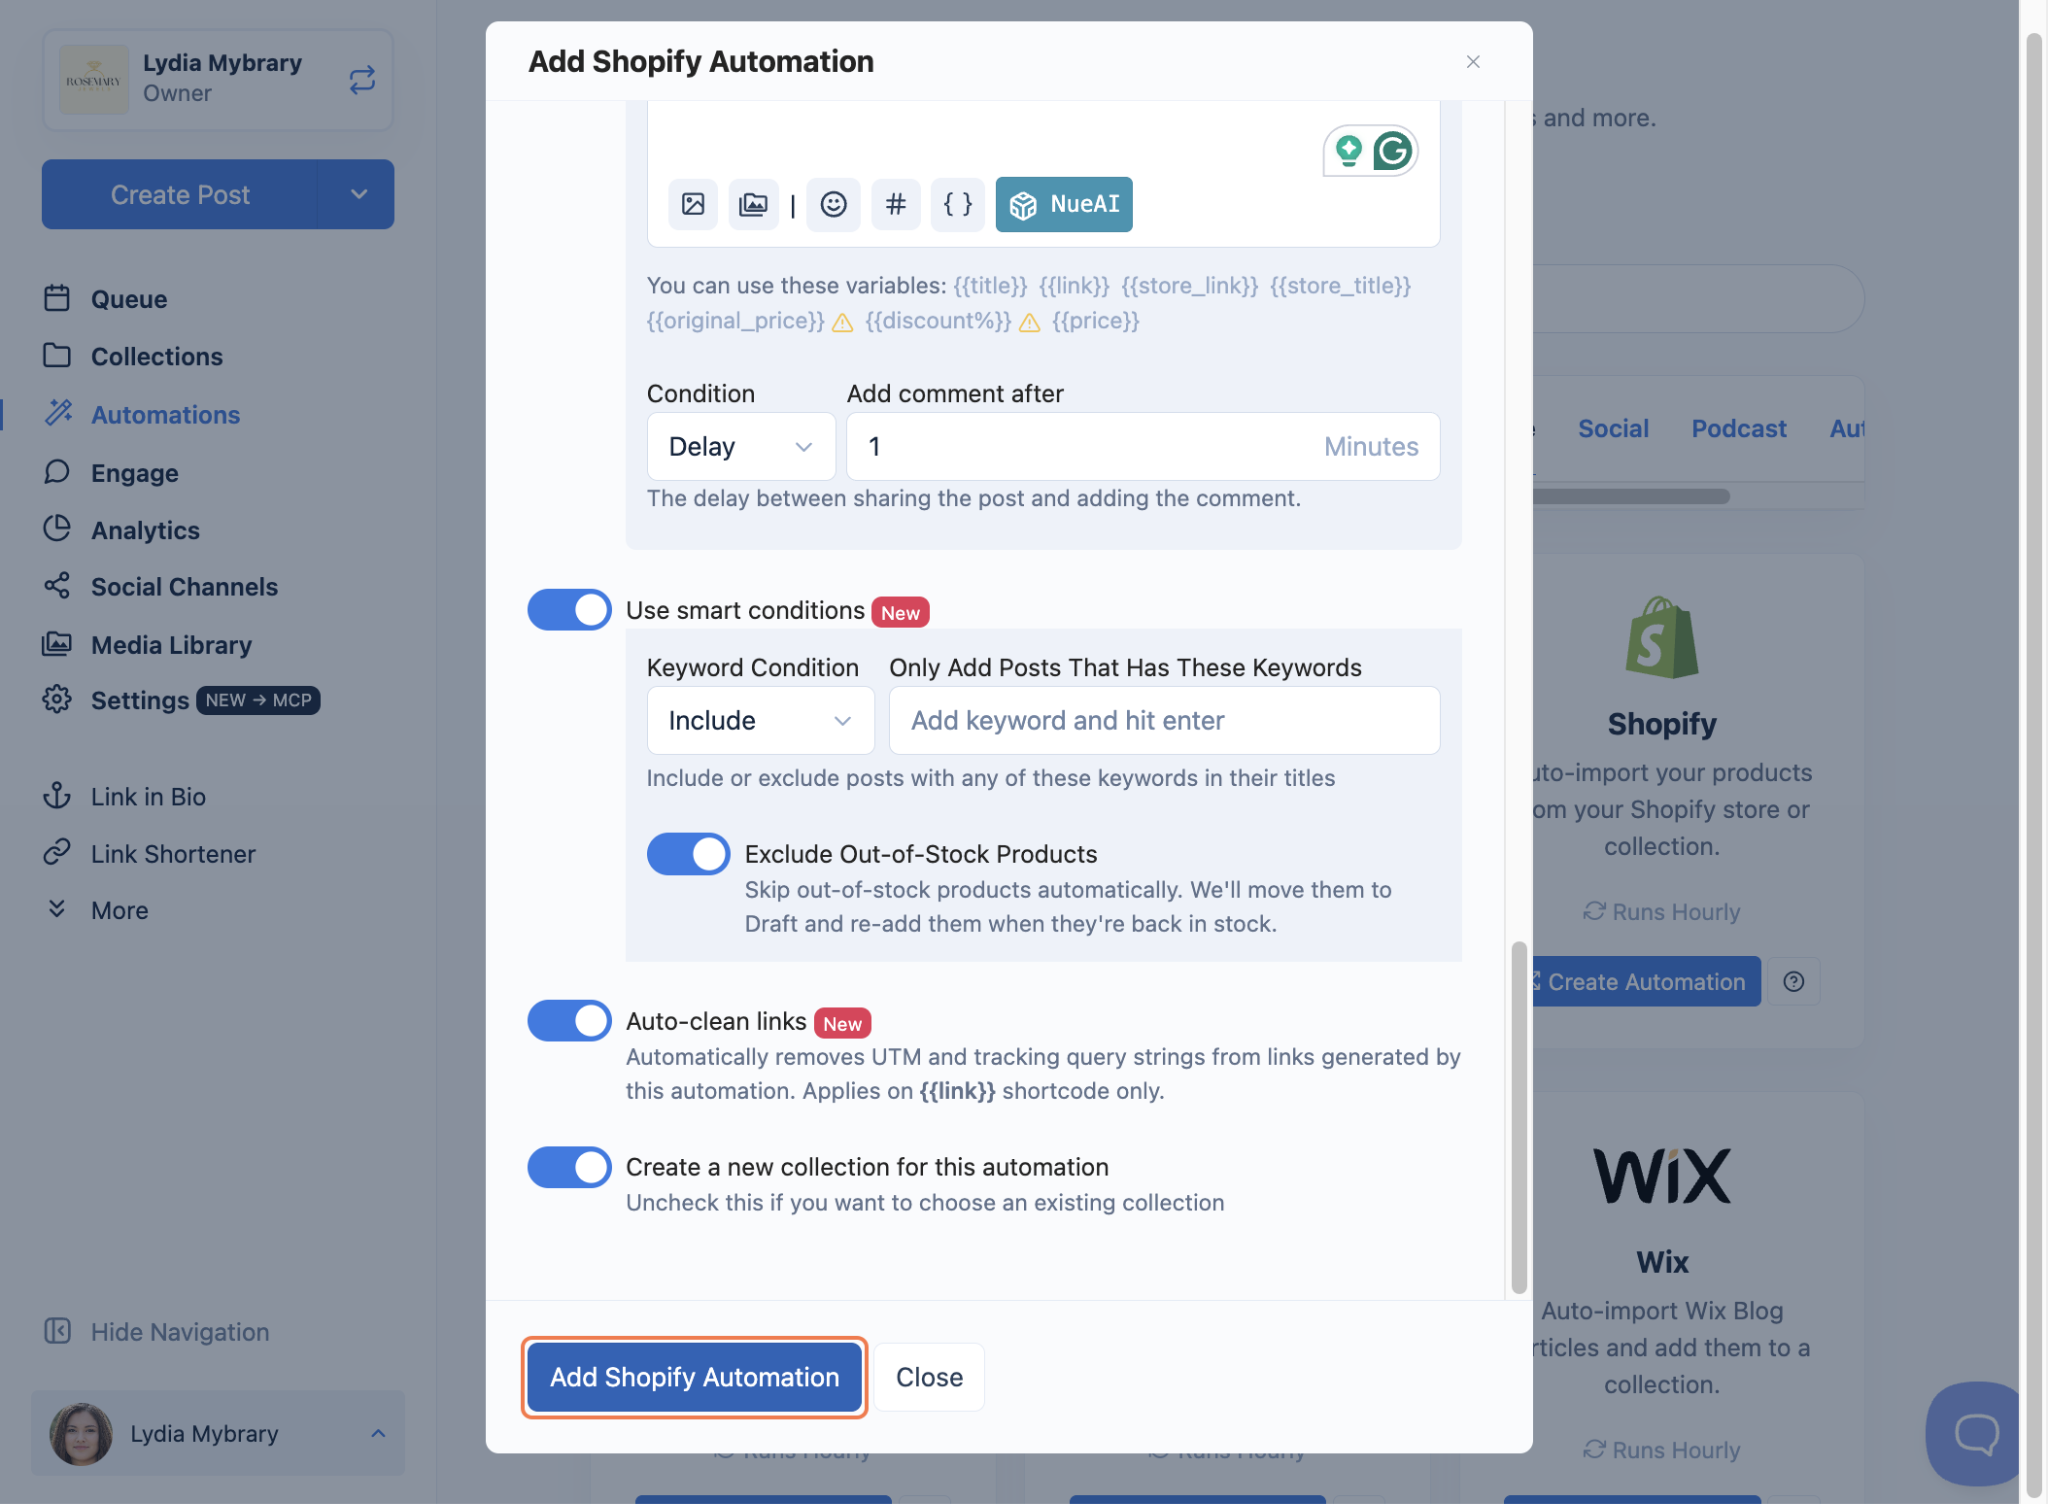
- Click Add Shopify Automation.
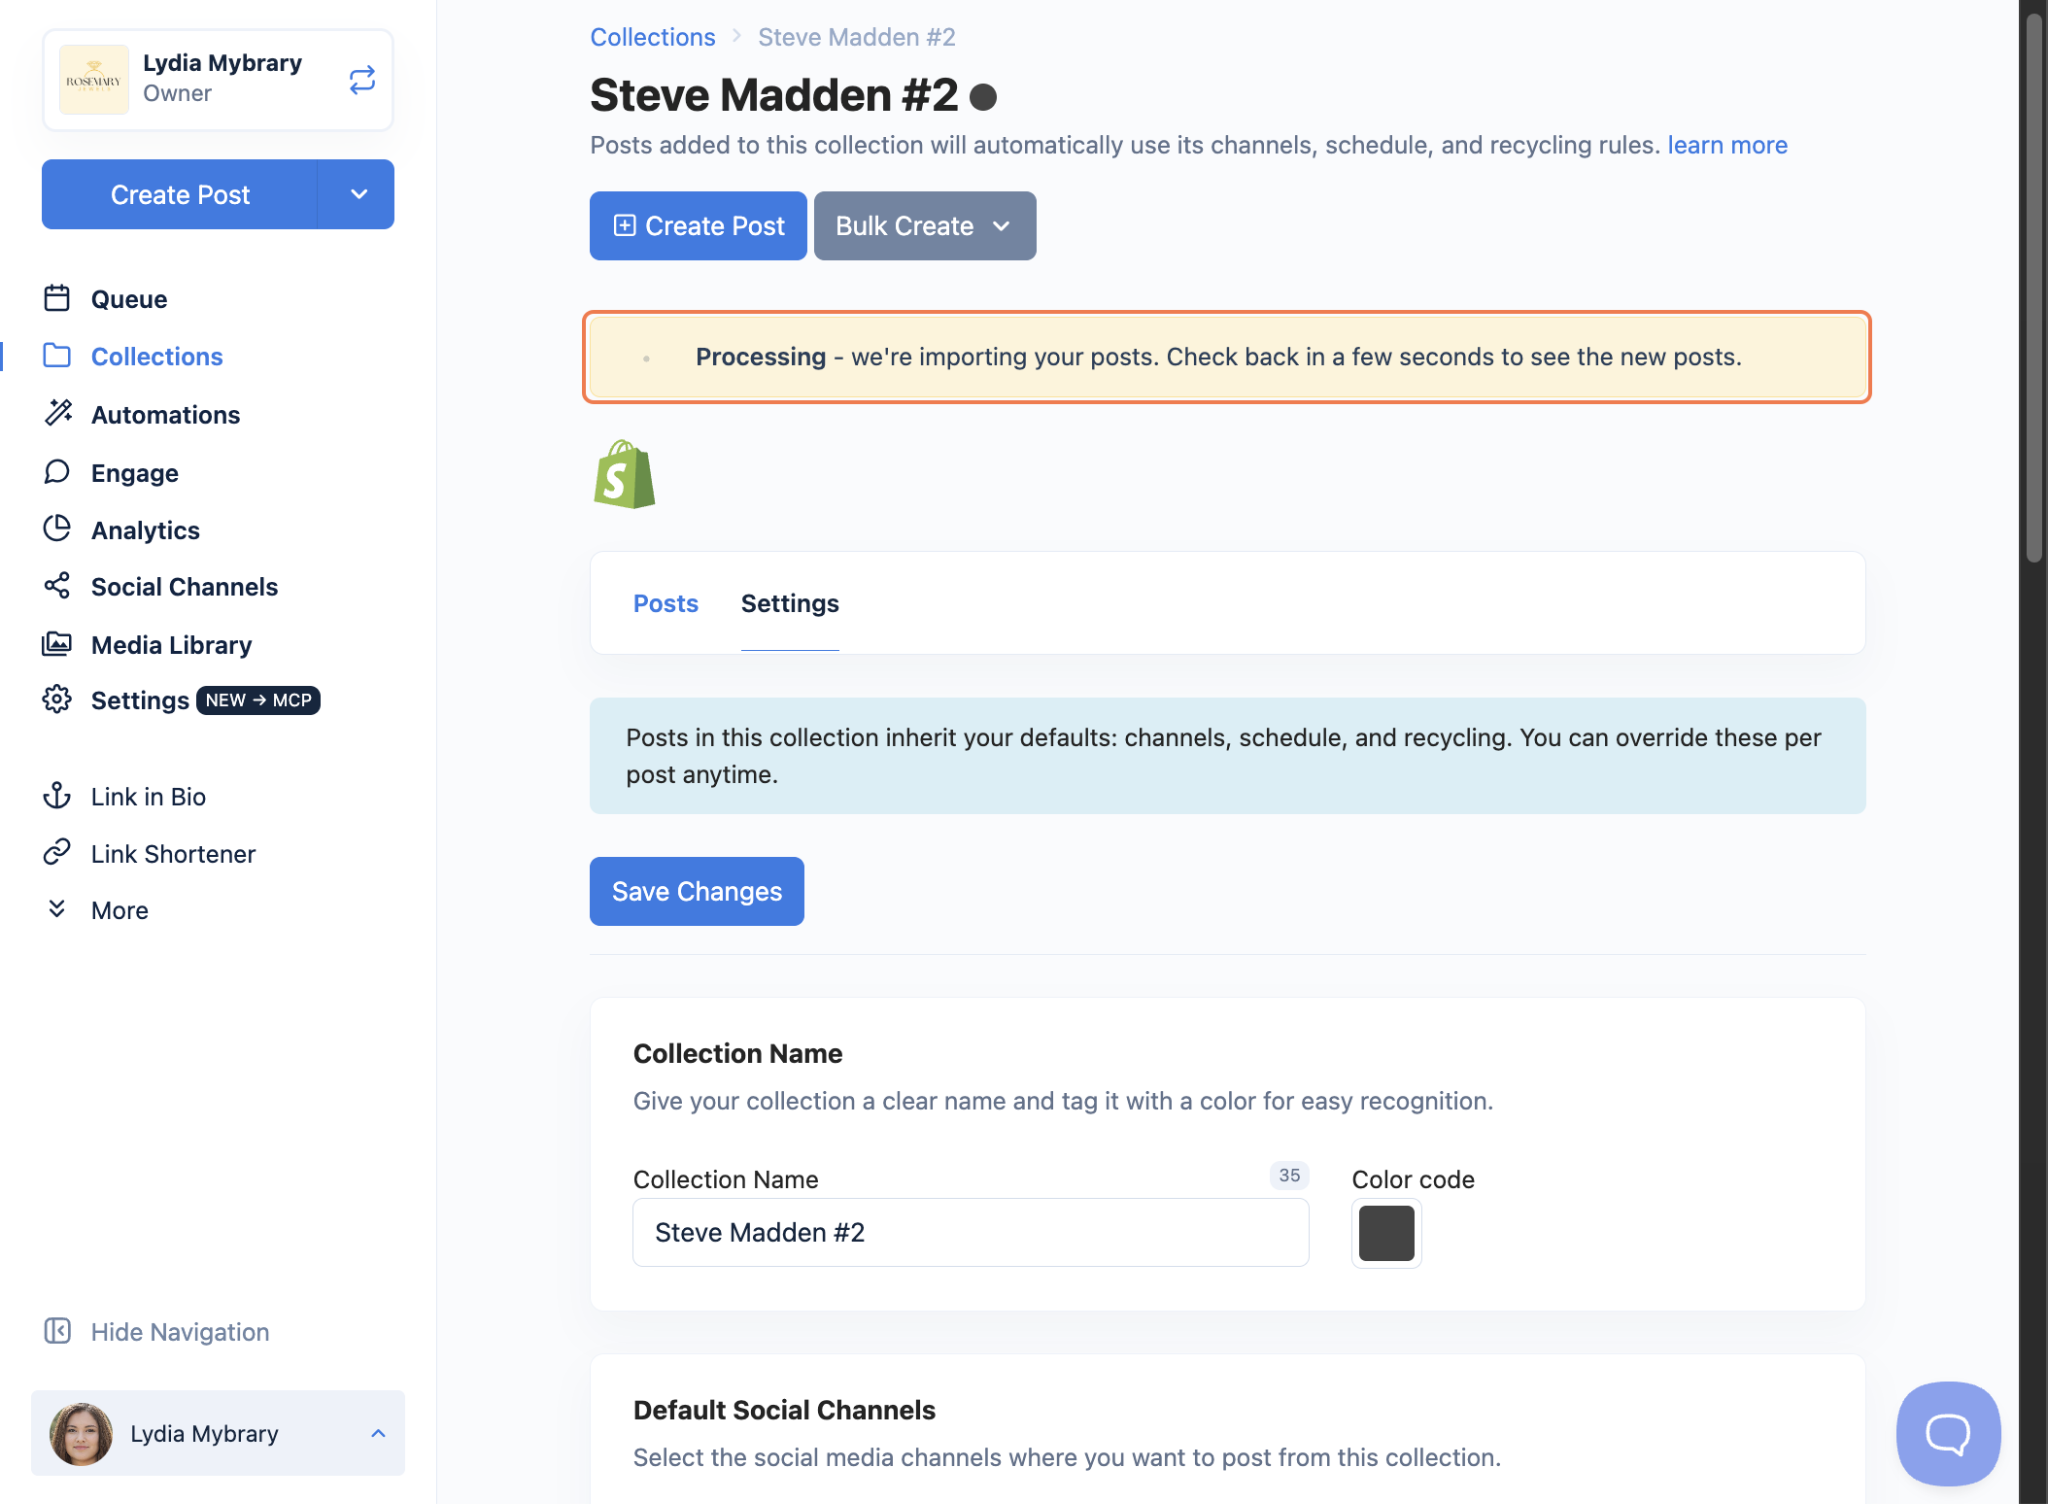
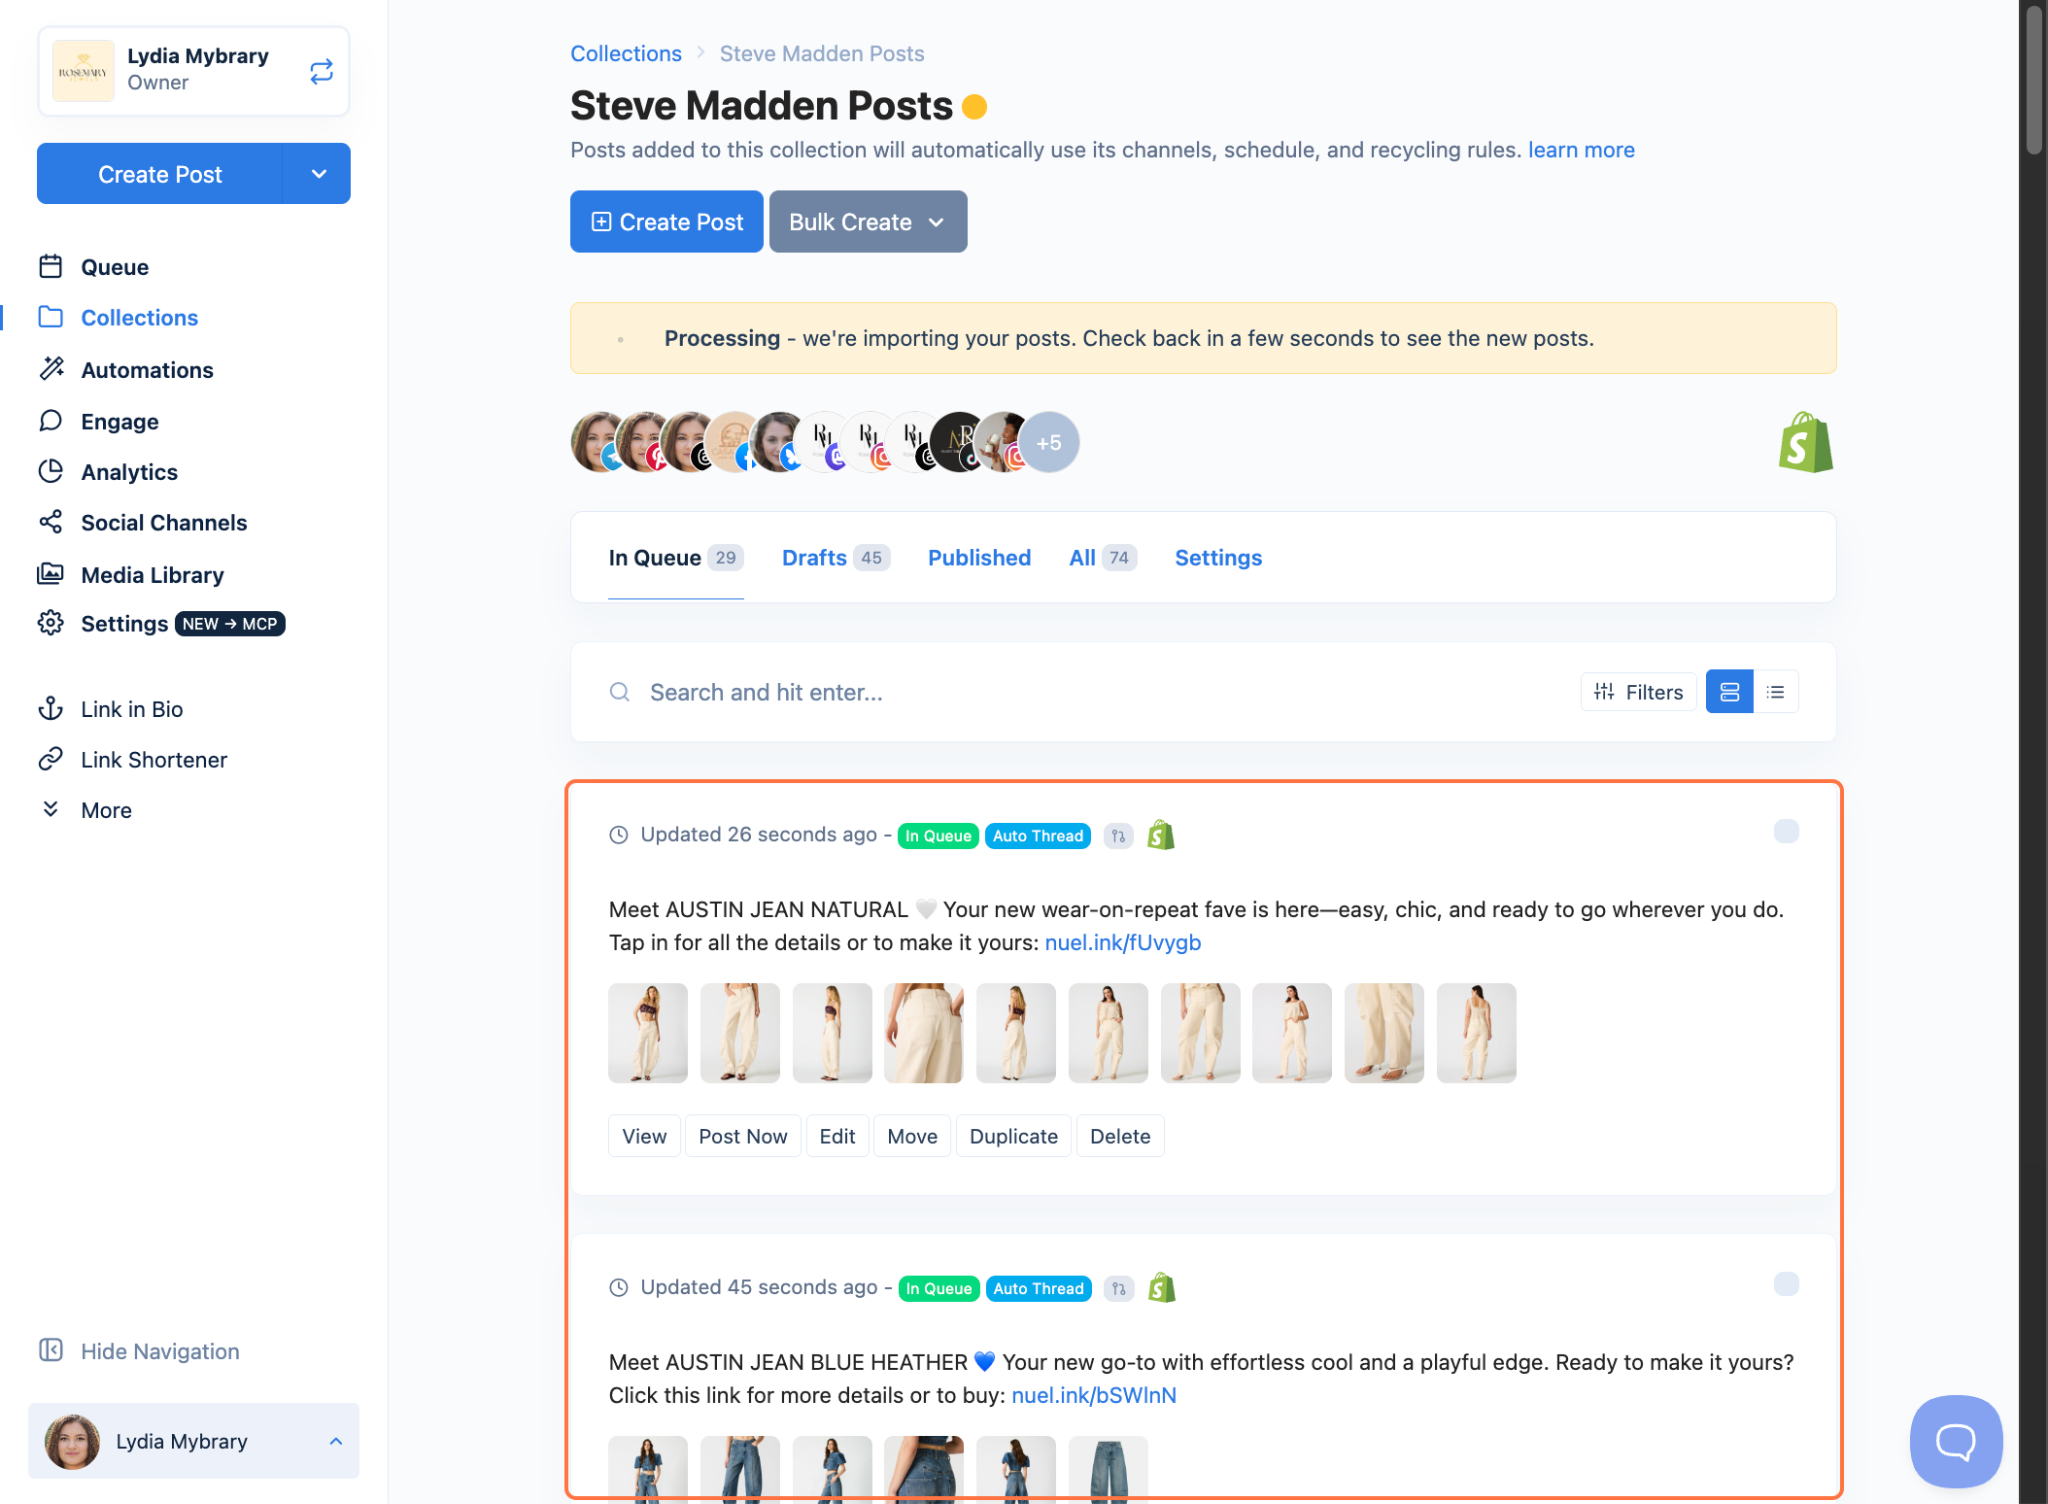
That's it, you're ready to go! Nuelink will start importing your products. You'll see a Processing banner on your collection while your posts are being imported. Check back in a few seconds to see them.
Manage Your Collection After Setup
Your automation's posts live in a collection (a new one, or the existing one you picked) that controls where and when they go out. Posts added to the collection automatically use its channels, schedule, and recycling rules. Here's how to set it up:
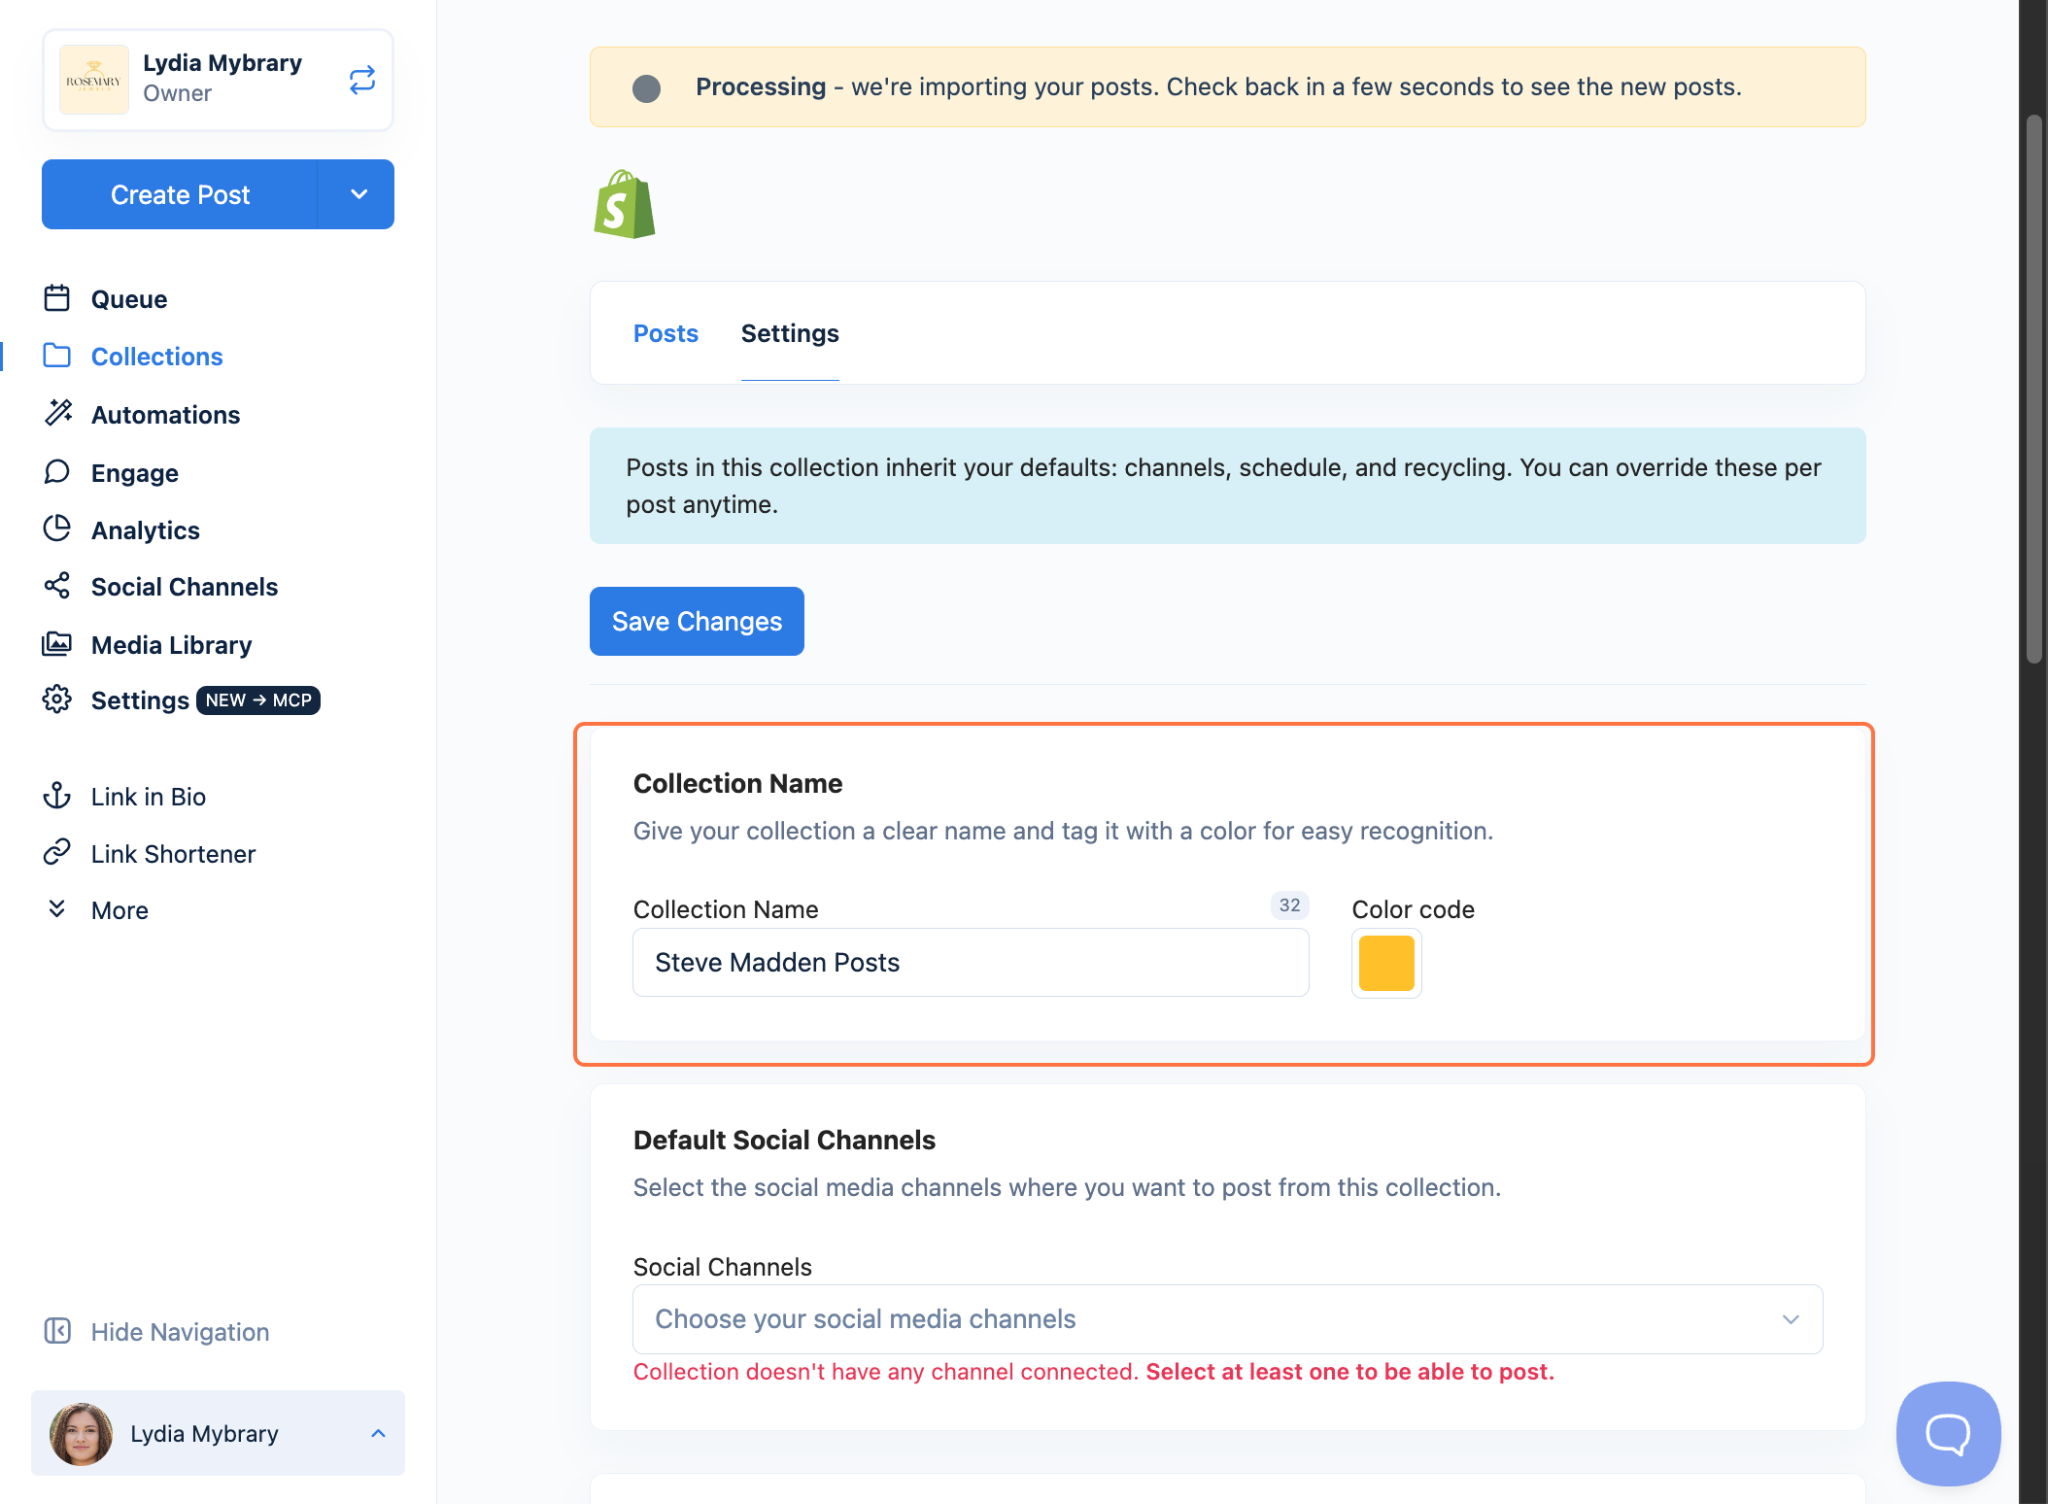
- Under Collection Name, rename the collection if you'd like and tag it with a Color code for easy recognition.
- Under Default Social Channels, select the social channels where posts from this collection should be published. If you use Pinterest, choose a Pinterest Board (one board per channel). If you use YouTube, pick your YouTube Playlists.
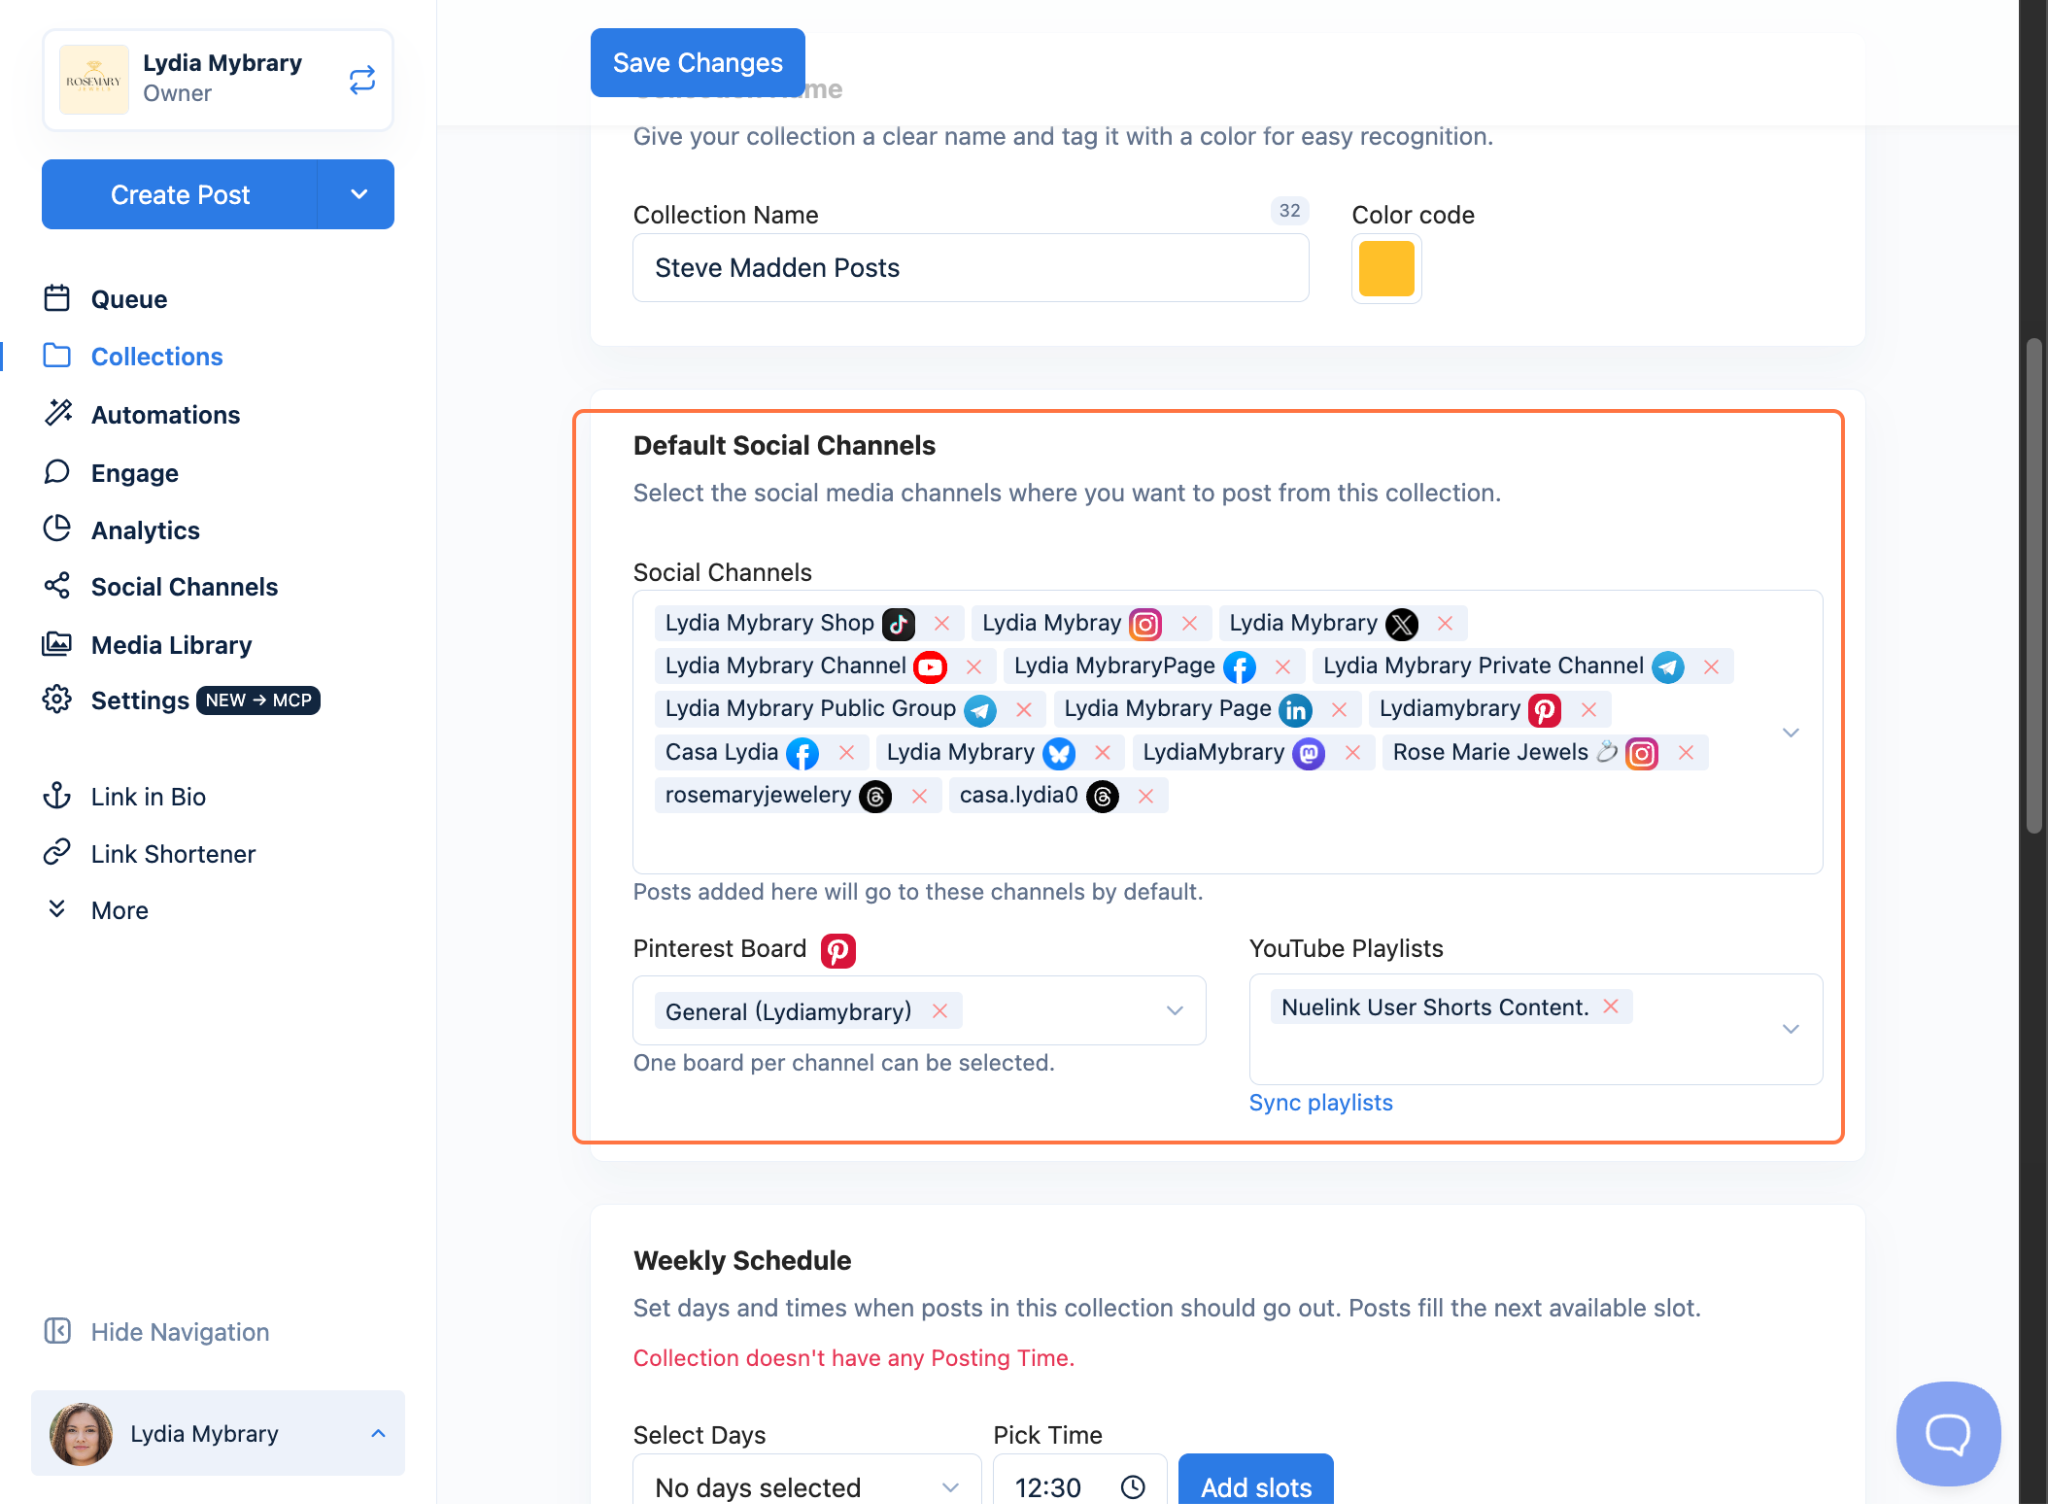
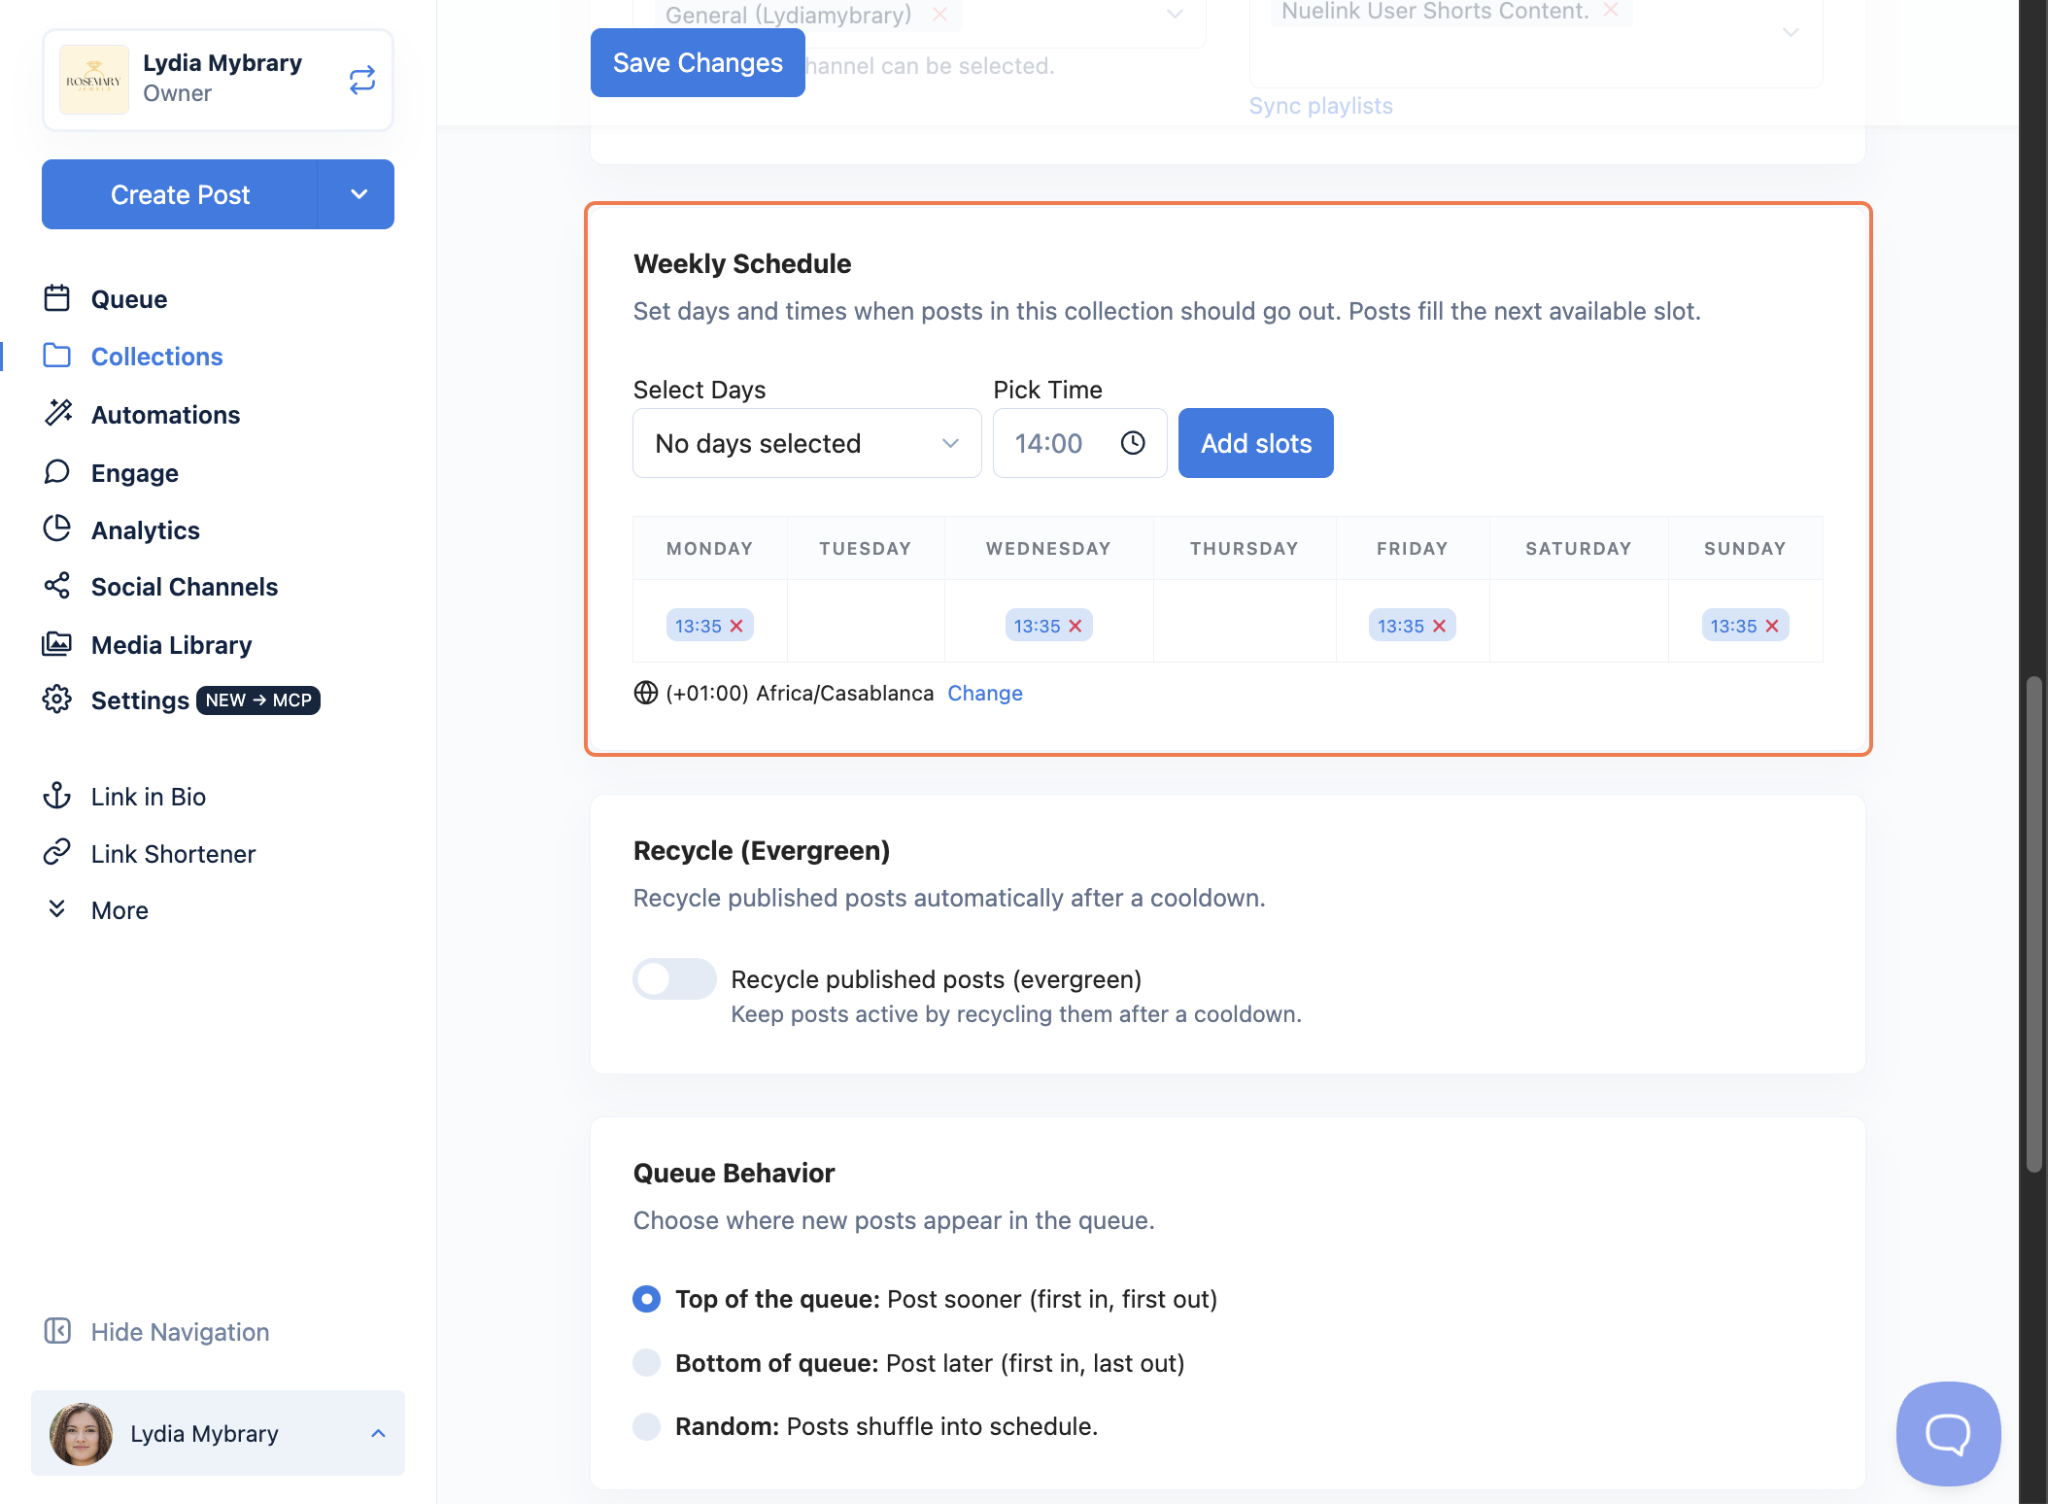
- Set your Weekly Schedule, the days and times when posts go out. Select your days, pick a time, and click Add slots. Posts fill the next available slot. You can also click Change to adjust the timezone.
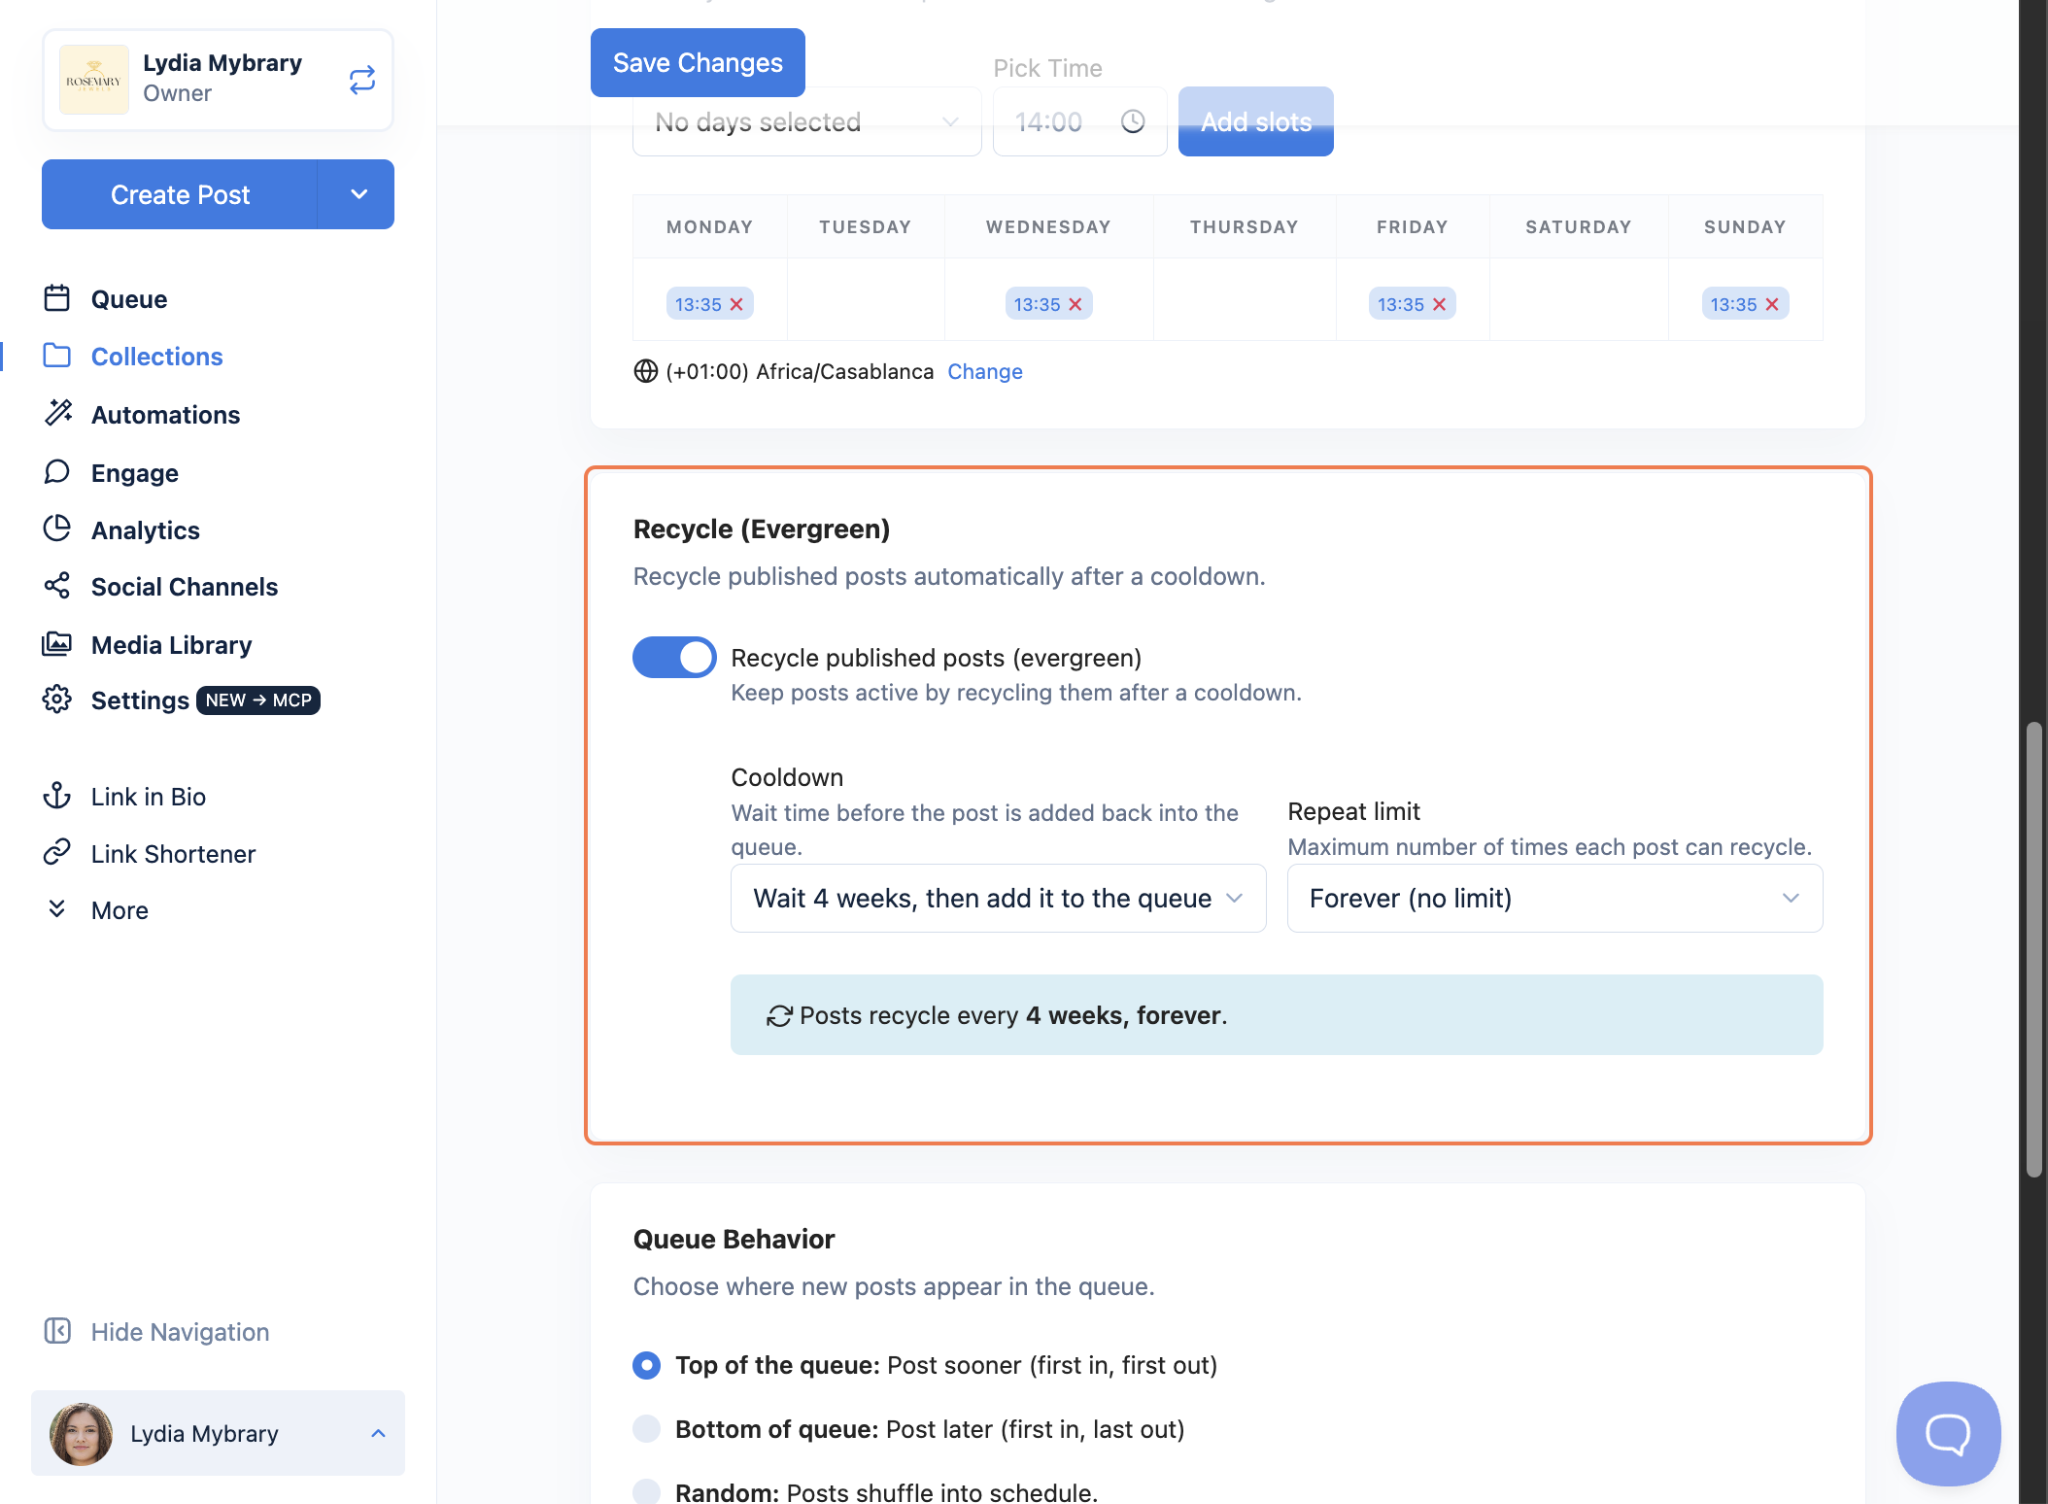
- Toggle Recycle published posts (evergreen) to keep your products circulating automatically. Set a Cooldown (e.g., wait 4 weeks, then add it back to the queue) and a Repeat limit (e.g., forever, or a set number of times).
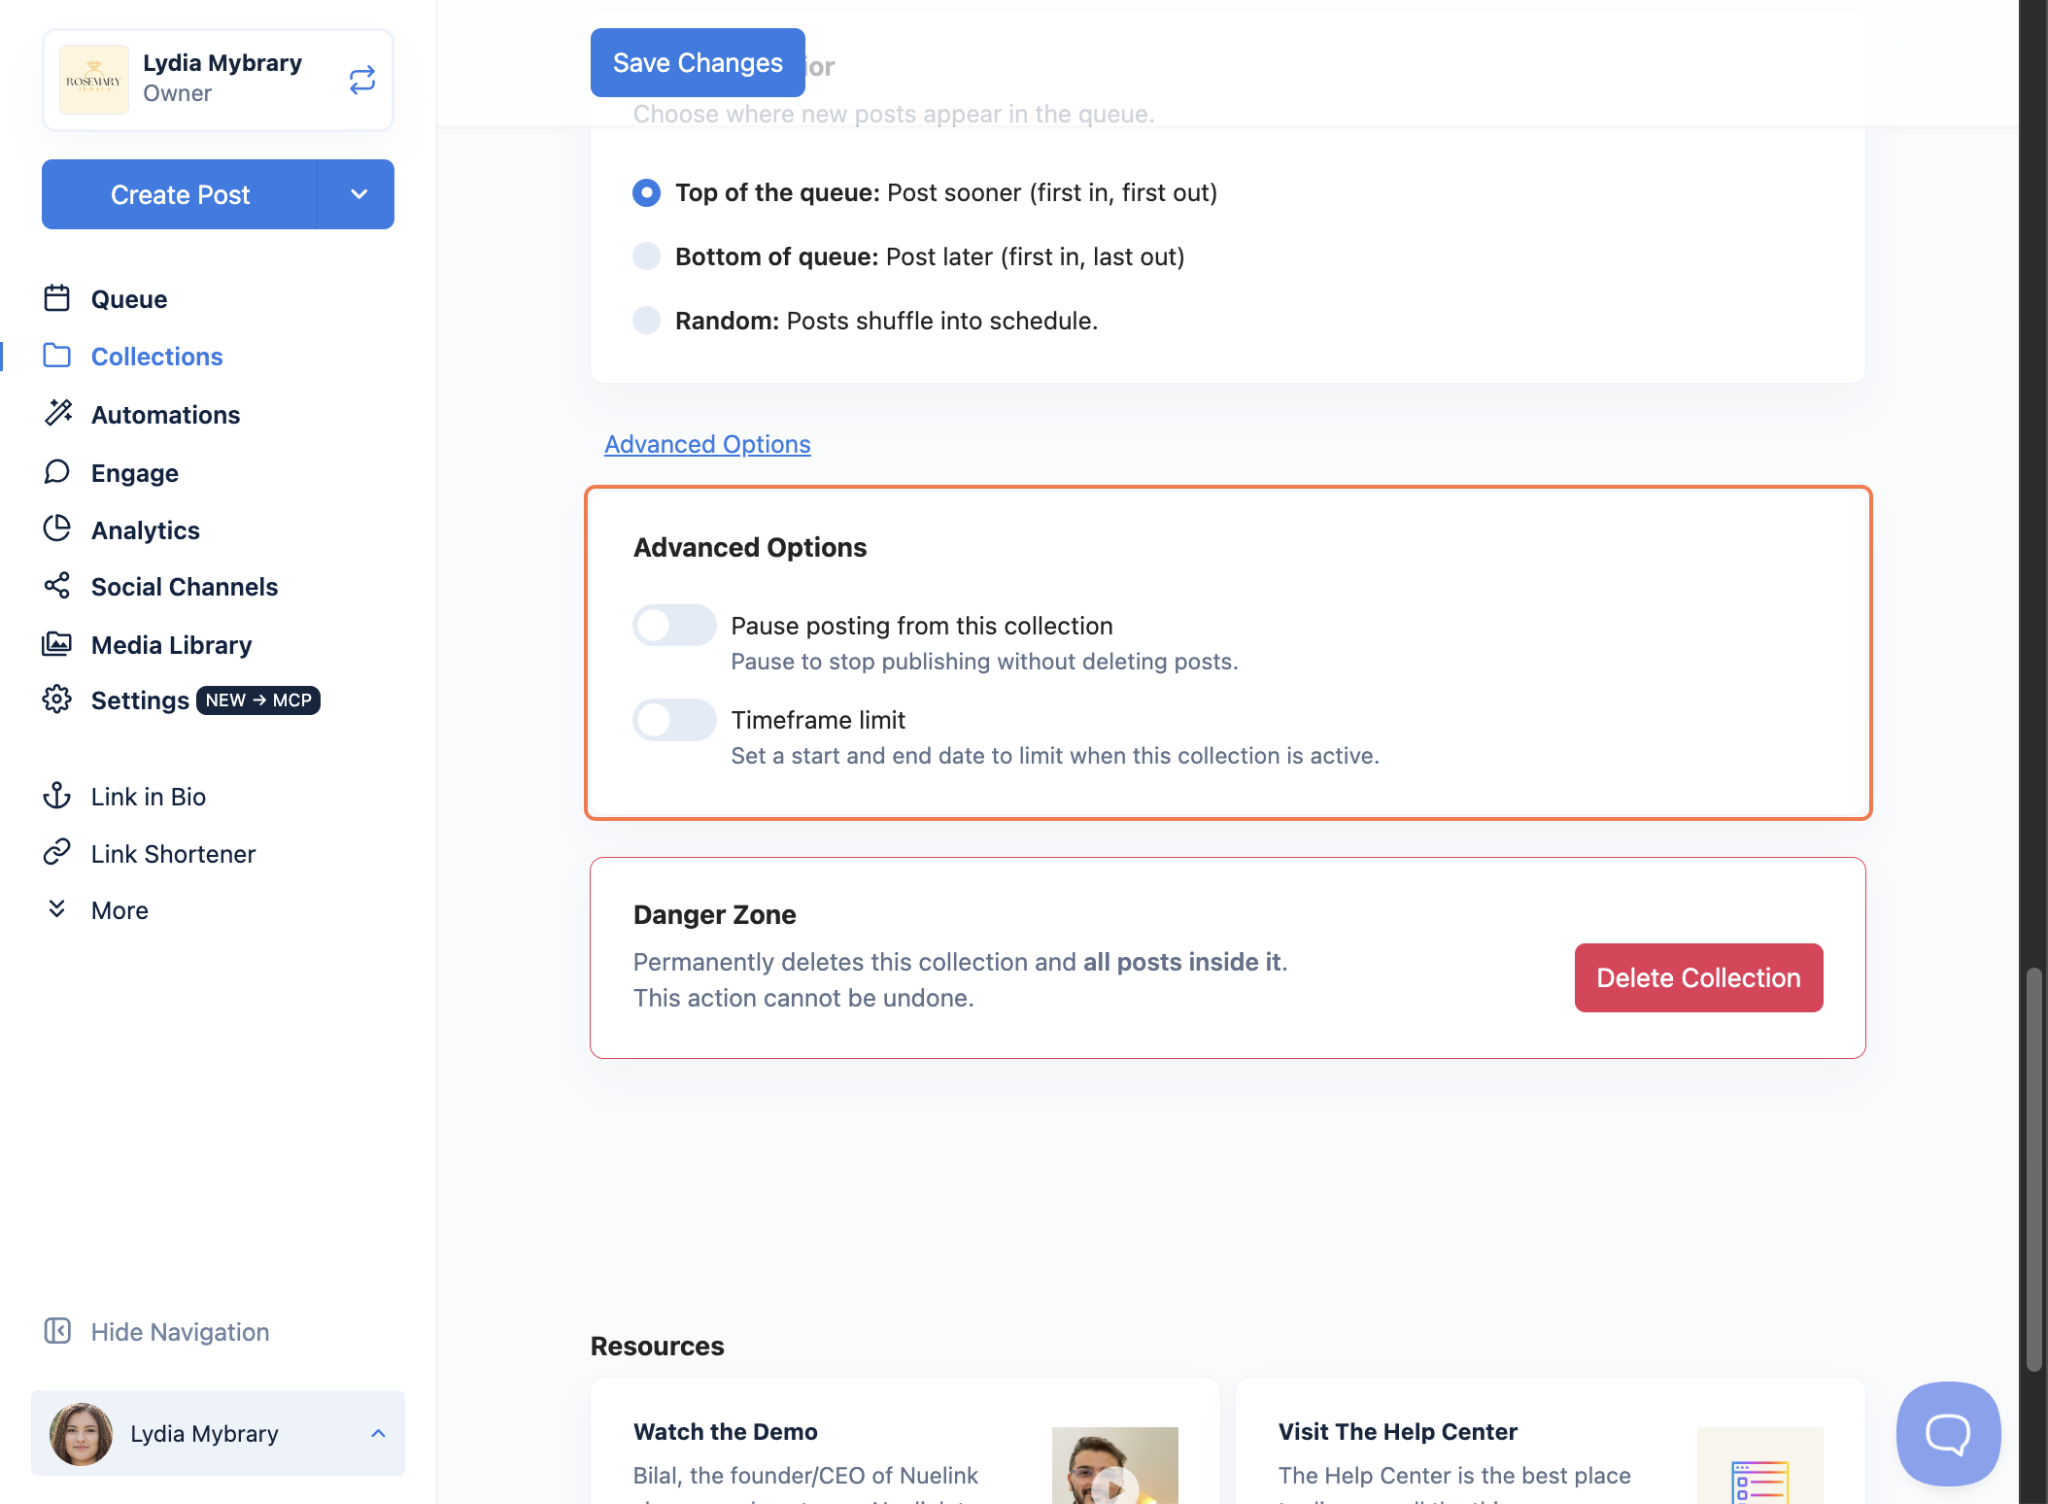
- Choose your Queue Behavior, where new posts land in the queue: Top of the queue (post sooner), Bottom of the queue (post later), or Random (shuffle into the schedule).
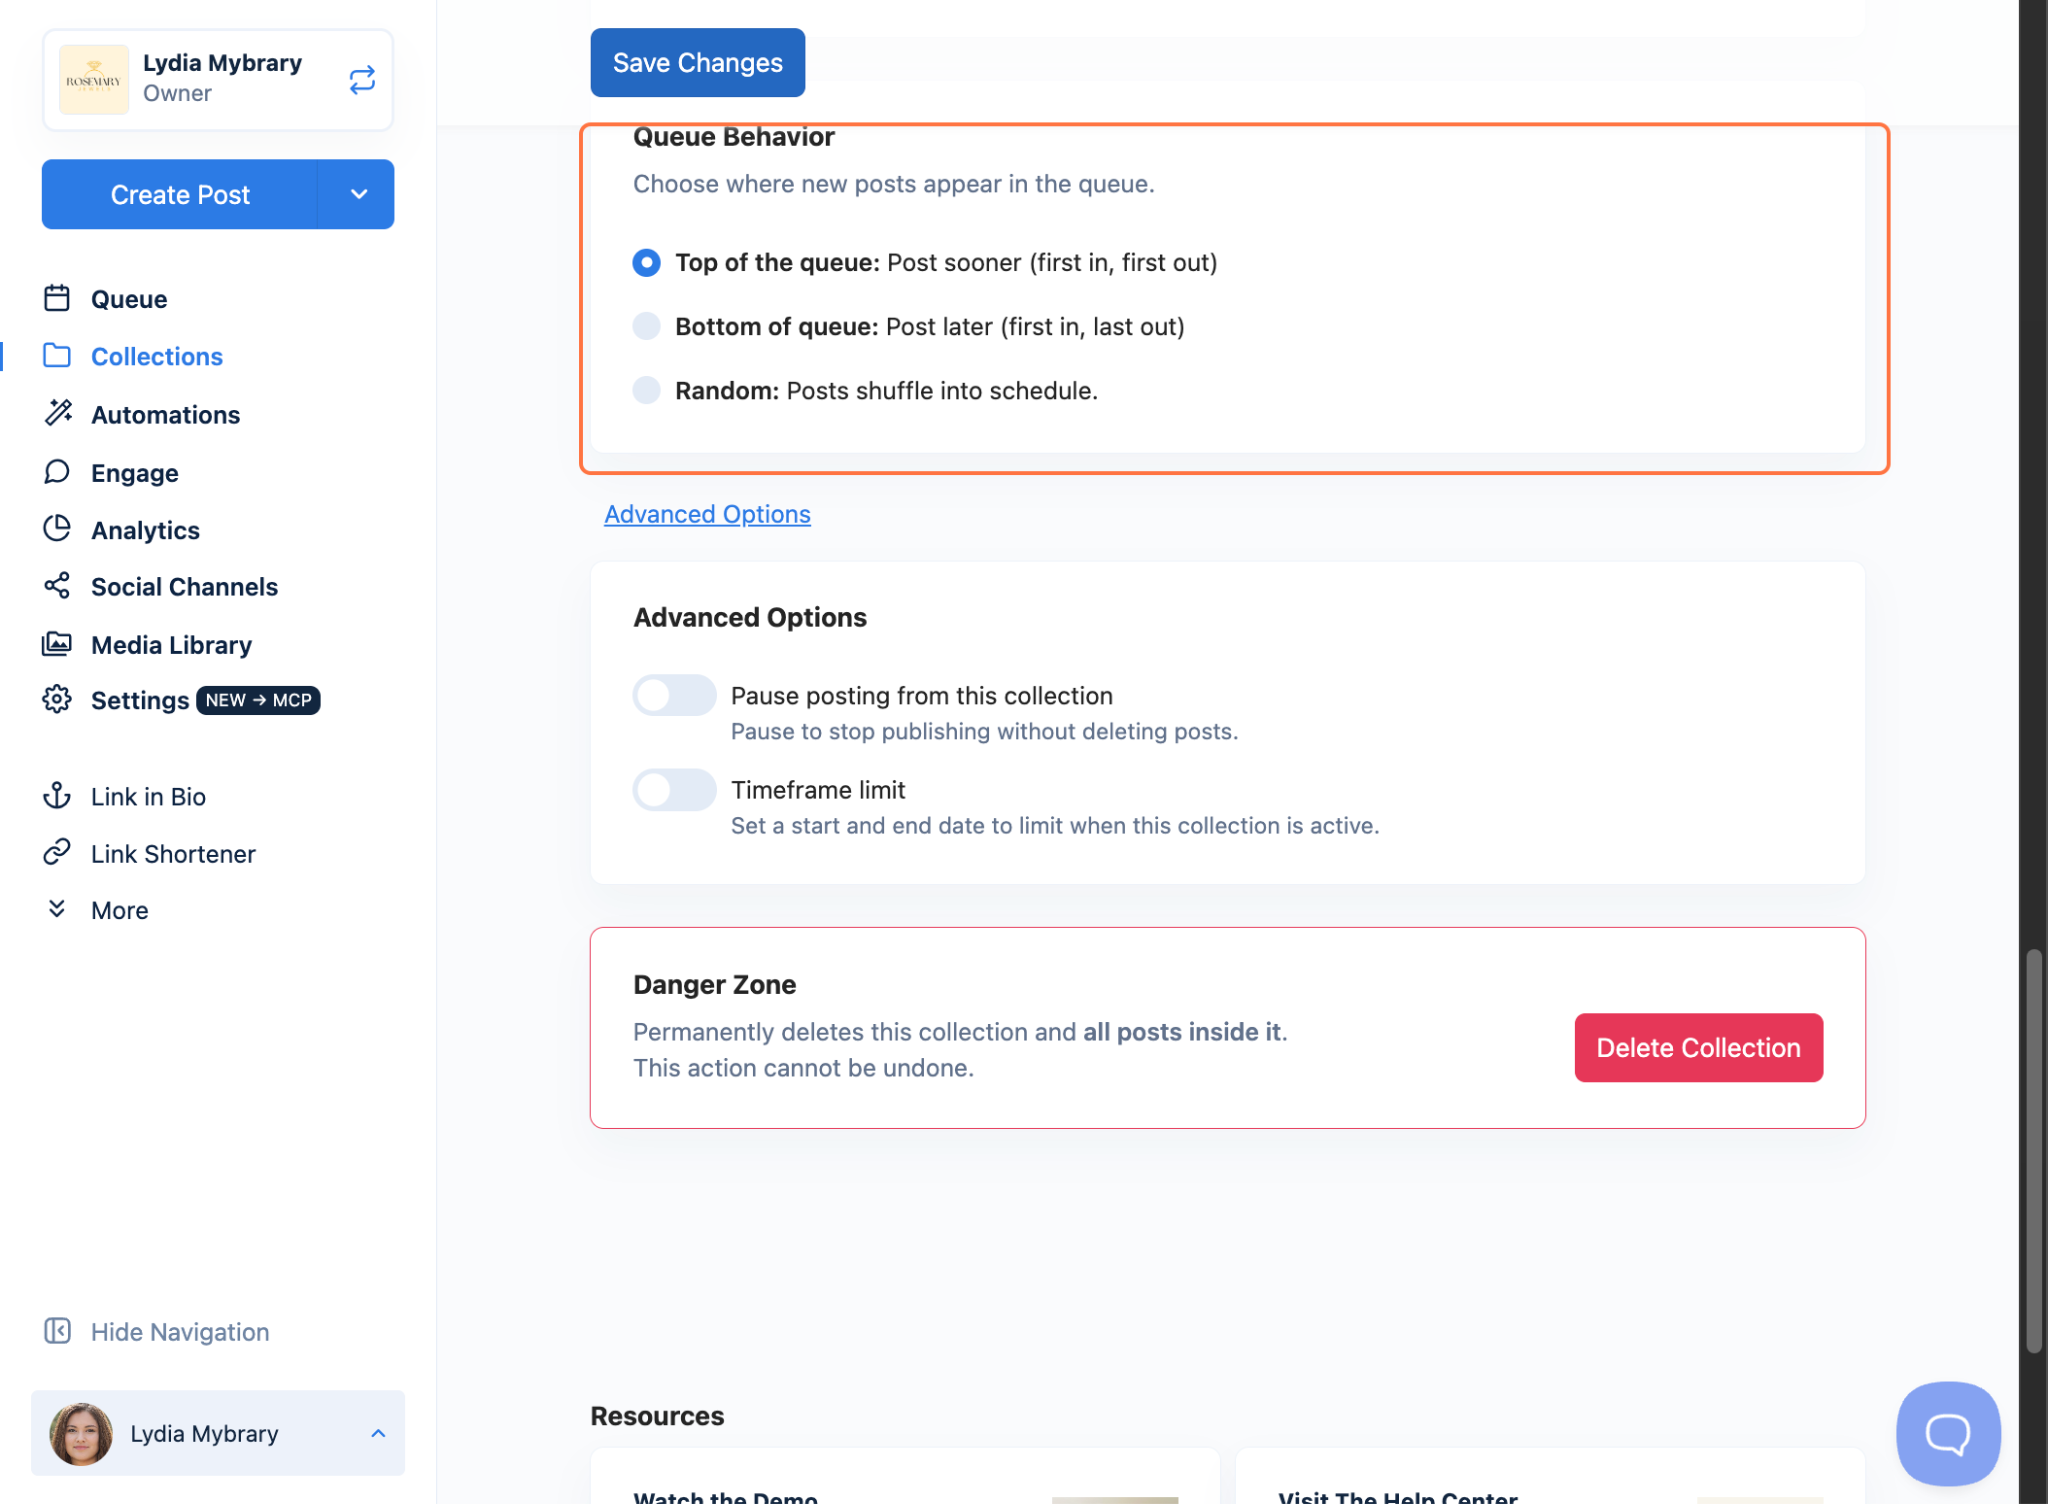
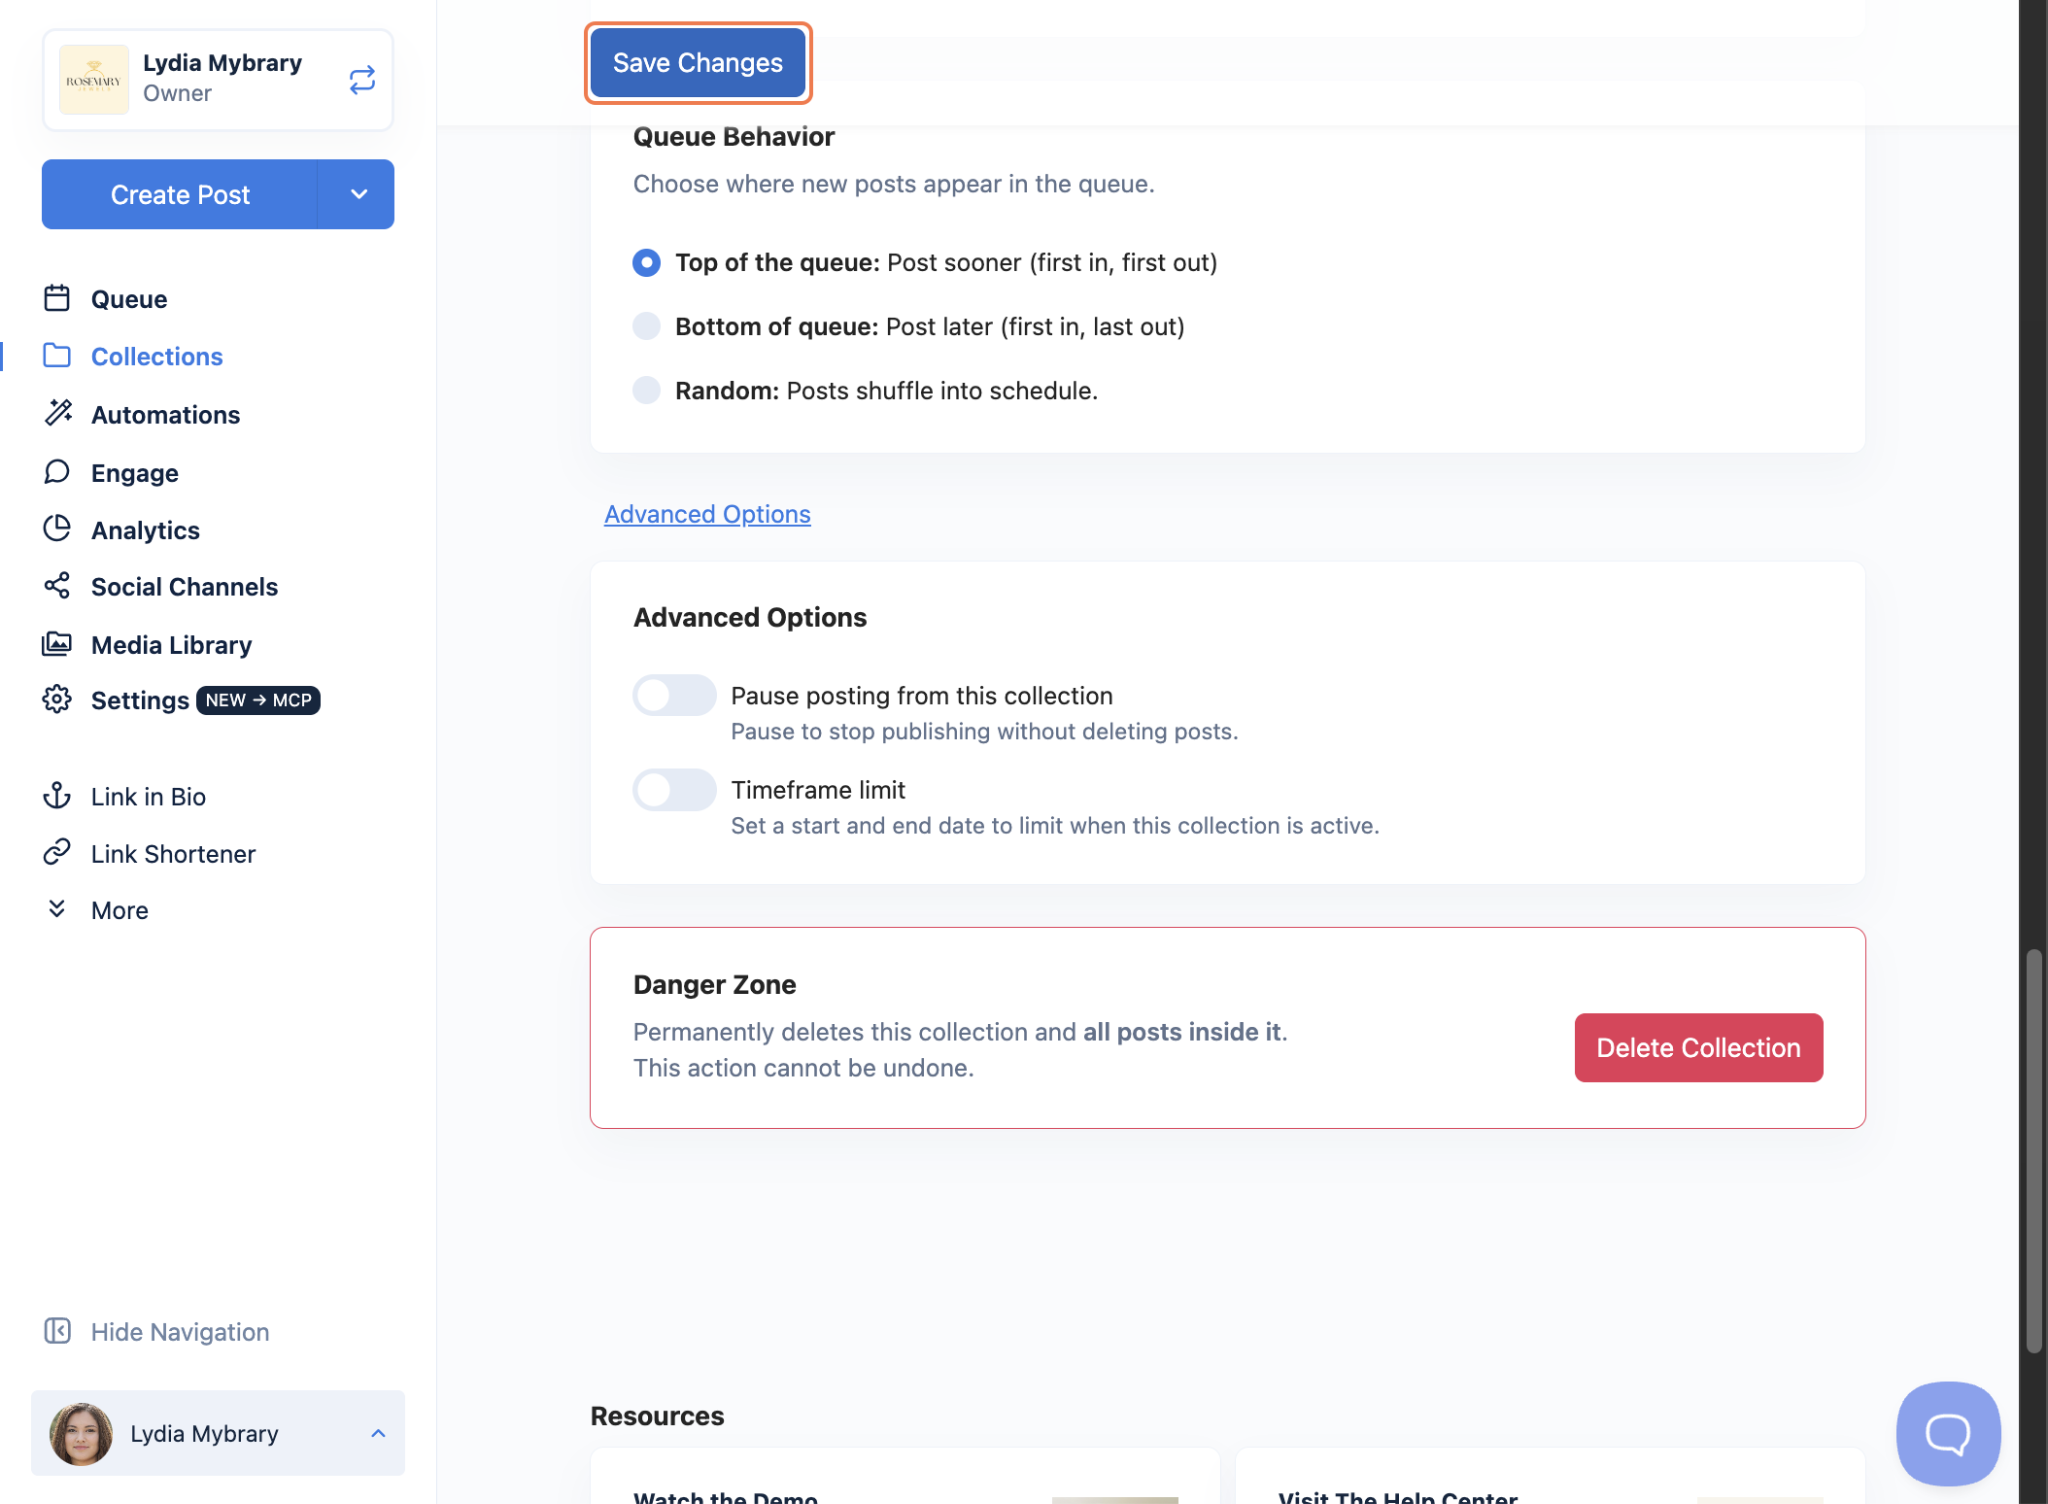
- (Optional) Click Advanced Options to Pause posting from this collection without deleting posts, or set a Timeframe limit with a start and end date for when this collection is active.
- Click Save Changes.
You're all set! Your products will now post to your chosen channels on your schedule.
FAQs
Can I automate just one collection from my Shopify store instead of the whole store?
Yes! Instead of your store's main link, paste a collection link (e.g., https://store.com/collections/summer-sale) in the Shopify Store Link field.
What's the difference between writing my own caption and using AI captions?
Your own caption uses the same template (with variables like {{title}} and {{price}}) for every post. AI captions write a fresh, unique caption for each product based on your prompt. AI captions use NueAI credits.
Will my out-of-stock products be posted?
Not if you turn on Exclude Out-of-Stock Products under smart conditions. Nuelink moves them to Drafts and automatically re-adds them when they're back in stock.
Can I review posts before they're published?
Yes. Turn on Mark the posts as draft for later review when setting up the automation. All posts will land in your collection's Drafts tab until you approve them.
Do I have to create a new collection for the automation?
No. Uncheck Create a new collection for this automation during setup, and you'll get to pick one of your existing collections instead. The posts will follow that collection's channels, schedule, and recycling rules.
How often does Nuelink check my store for new products?
It depends on the Check for New Posts setting you choose (e.g., every 24 hours). With Publish Immediately on, Nuelink checks hourly and publishes the latest post right away.
Troubleshooting
My posts aren't showing up after I created the automation.
Importing can take a moment. If you see the Processing banner on your collection, wait a few seconds and refresh. If posts still don't appear, double-check that your Shopify Store Link is correct and publicly accessible.
My posts are stuck in the queue and never publish.
Your collection needs a Weekly Schedule. Open the collection's Settings tab, add days and time slots under Weekly Schedule, and click Save Changes. Posts fill the next available slot.
Some of my products were skipped.
Check your smart conditions. If you set keyword Include/Exclude rules or turn on Exclude Out-of-Stock Products, products that don't match are skipped or moved to Drafts.
My product links include long tracking codes.
Turn on Auto-clean links in your automation settings. It removes UTM and tracking strings from links generated with the {{link}} shortcode.