
How to Set Up Ghost Automation to Auto-Post to Social Media
Nuelink's Ghost automation connects your Ghost blog to your social media, so every article you publish can be shared automatically. You choose how your posts look, which collection they go into, and which extra options to turn on. This guide walks you through setting it up from start to finish.
Note: To follow this guide, you'll need a Nuelink account, at least one social media channel connected, and the link to your Ghost blog. If you haven't connected a channel yet, you can do that by following these steps.
Table of Contents
- What Is the Ghost Automation and How Does It Work?
- Supported Channels and Platforms
- Why Use the Ghost Automation?
- Step-by-Step: Set Up Ghost Automation
- FAQs
- Troubleshooting
Video Tutorial
What Is the Ghost Automation and How Does It Work?
The Ghost automation links your Ghost blog to Nuelink and turns your articles into social media posts automatically. It adds your articles to a collection, then shares them to your connected social channels. Nuelink checks your blog on a schedule and adds new articles as you publish them, so your blog content keeps reaching your audience without any extra work.
Supported Channels and Platforms
The Ghost automation shares your articles to any social media channels you've connected to Nuelink. Nuelink supports 12 platforms: Facebook (Pages and Groups), Instagram, Threads, LinkedIn (Profiles and Company Pages), Google Business Profile, YouTube, TikTok, Pinterest, 𝕏 (formerly Twitter), Mastodon, Bluesky, and Telegram (Groups and Channels). Make sure at least one channel is connected before you set up the automation.
Why Use the Ghost Automation?
Sharing every new blog post by hand takes time, and it's easy to forget. The Ghost automation does it for you, so your articles reach more people the moment they go live. It also puts your older articles back into rotation, keeping your social media active with far less effort on your part.
Step-by-Step: Set Up Ghost Automation
-
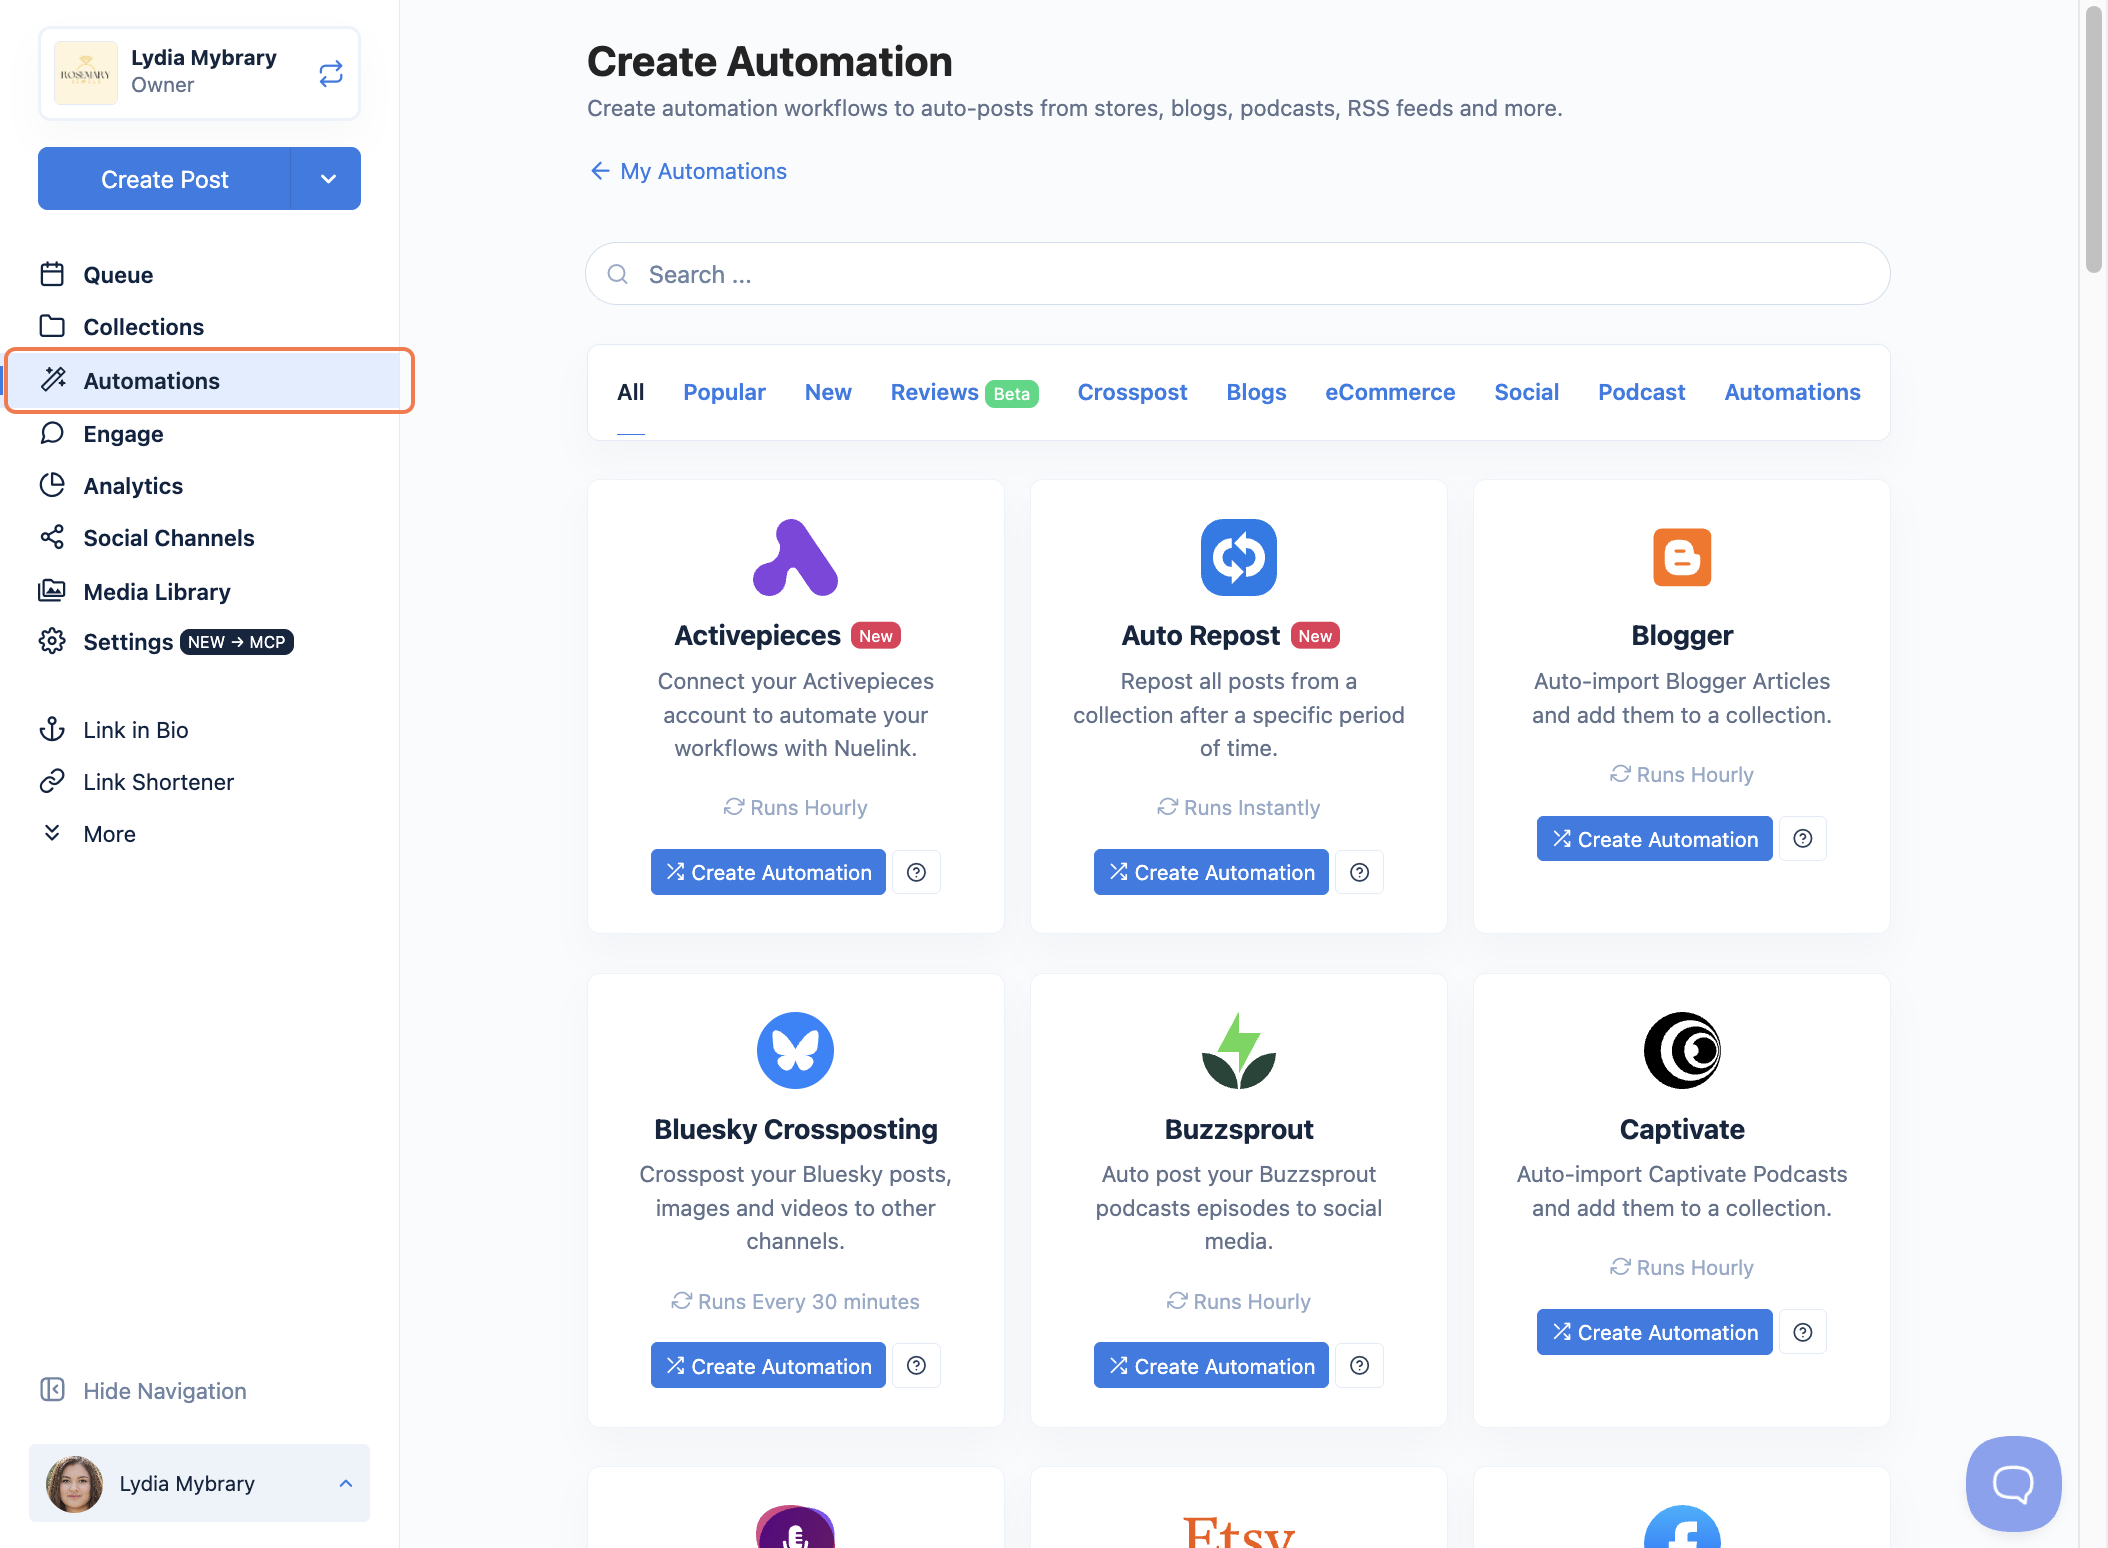
Log in to your Nuelink account and click Automations in the left sidebar.
-
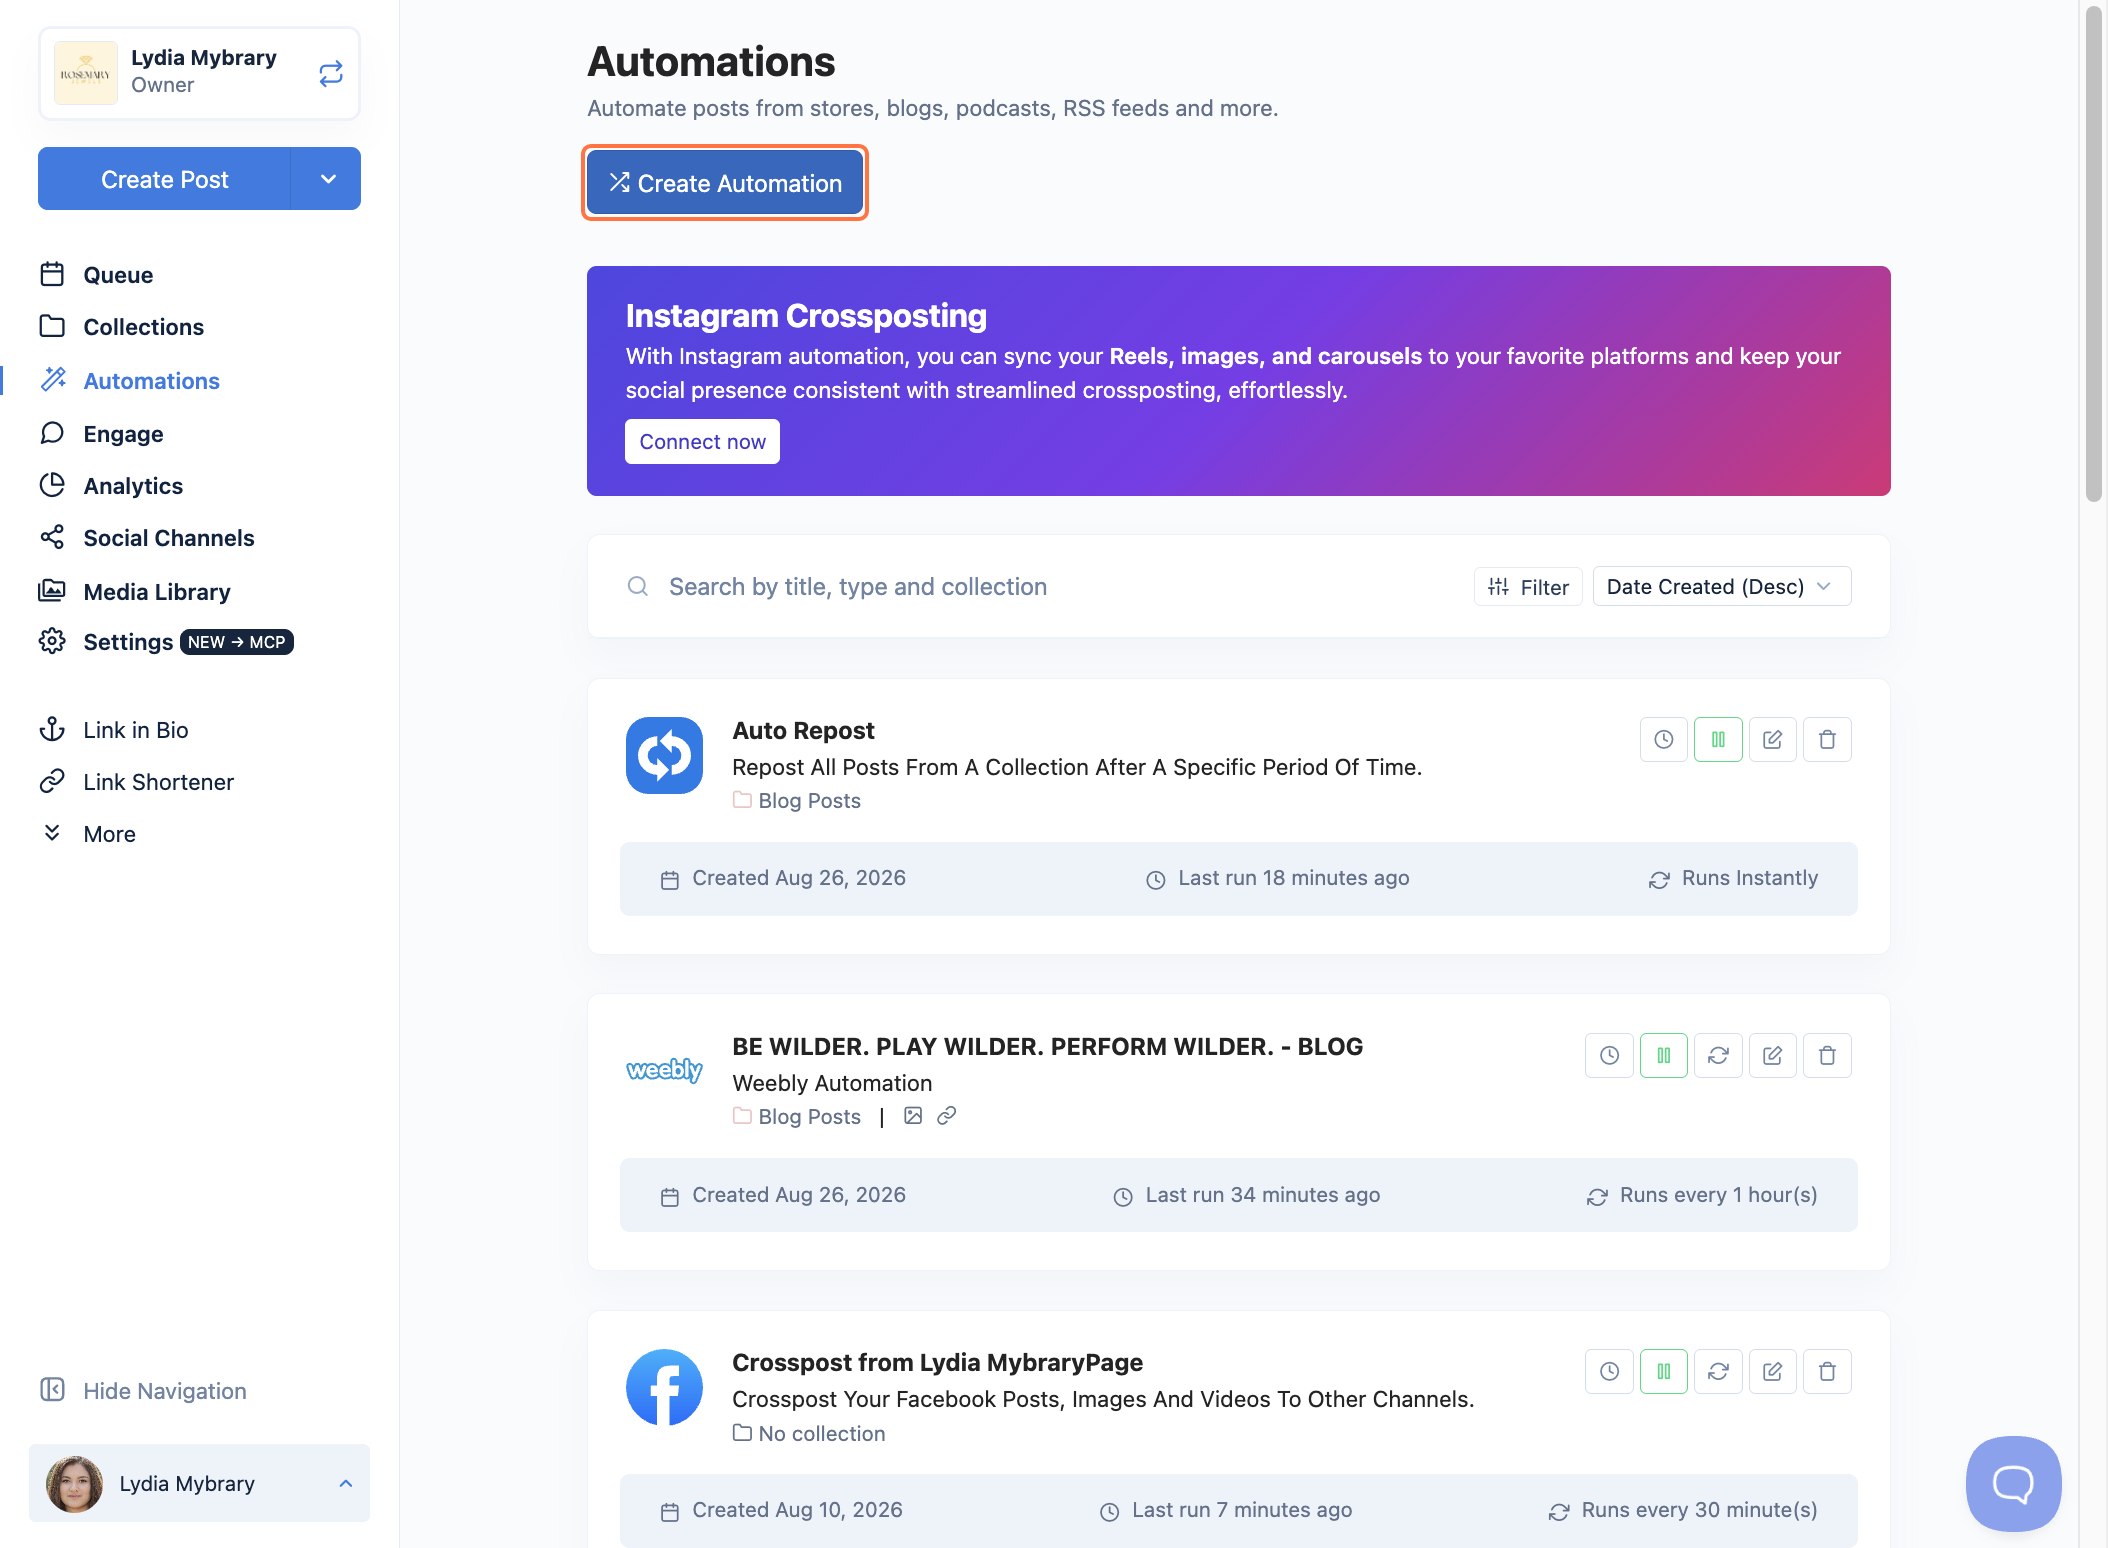
Click Create Automation.
-
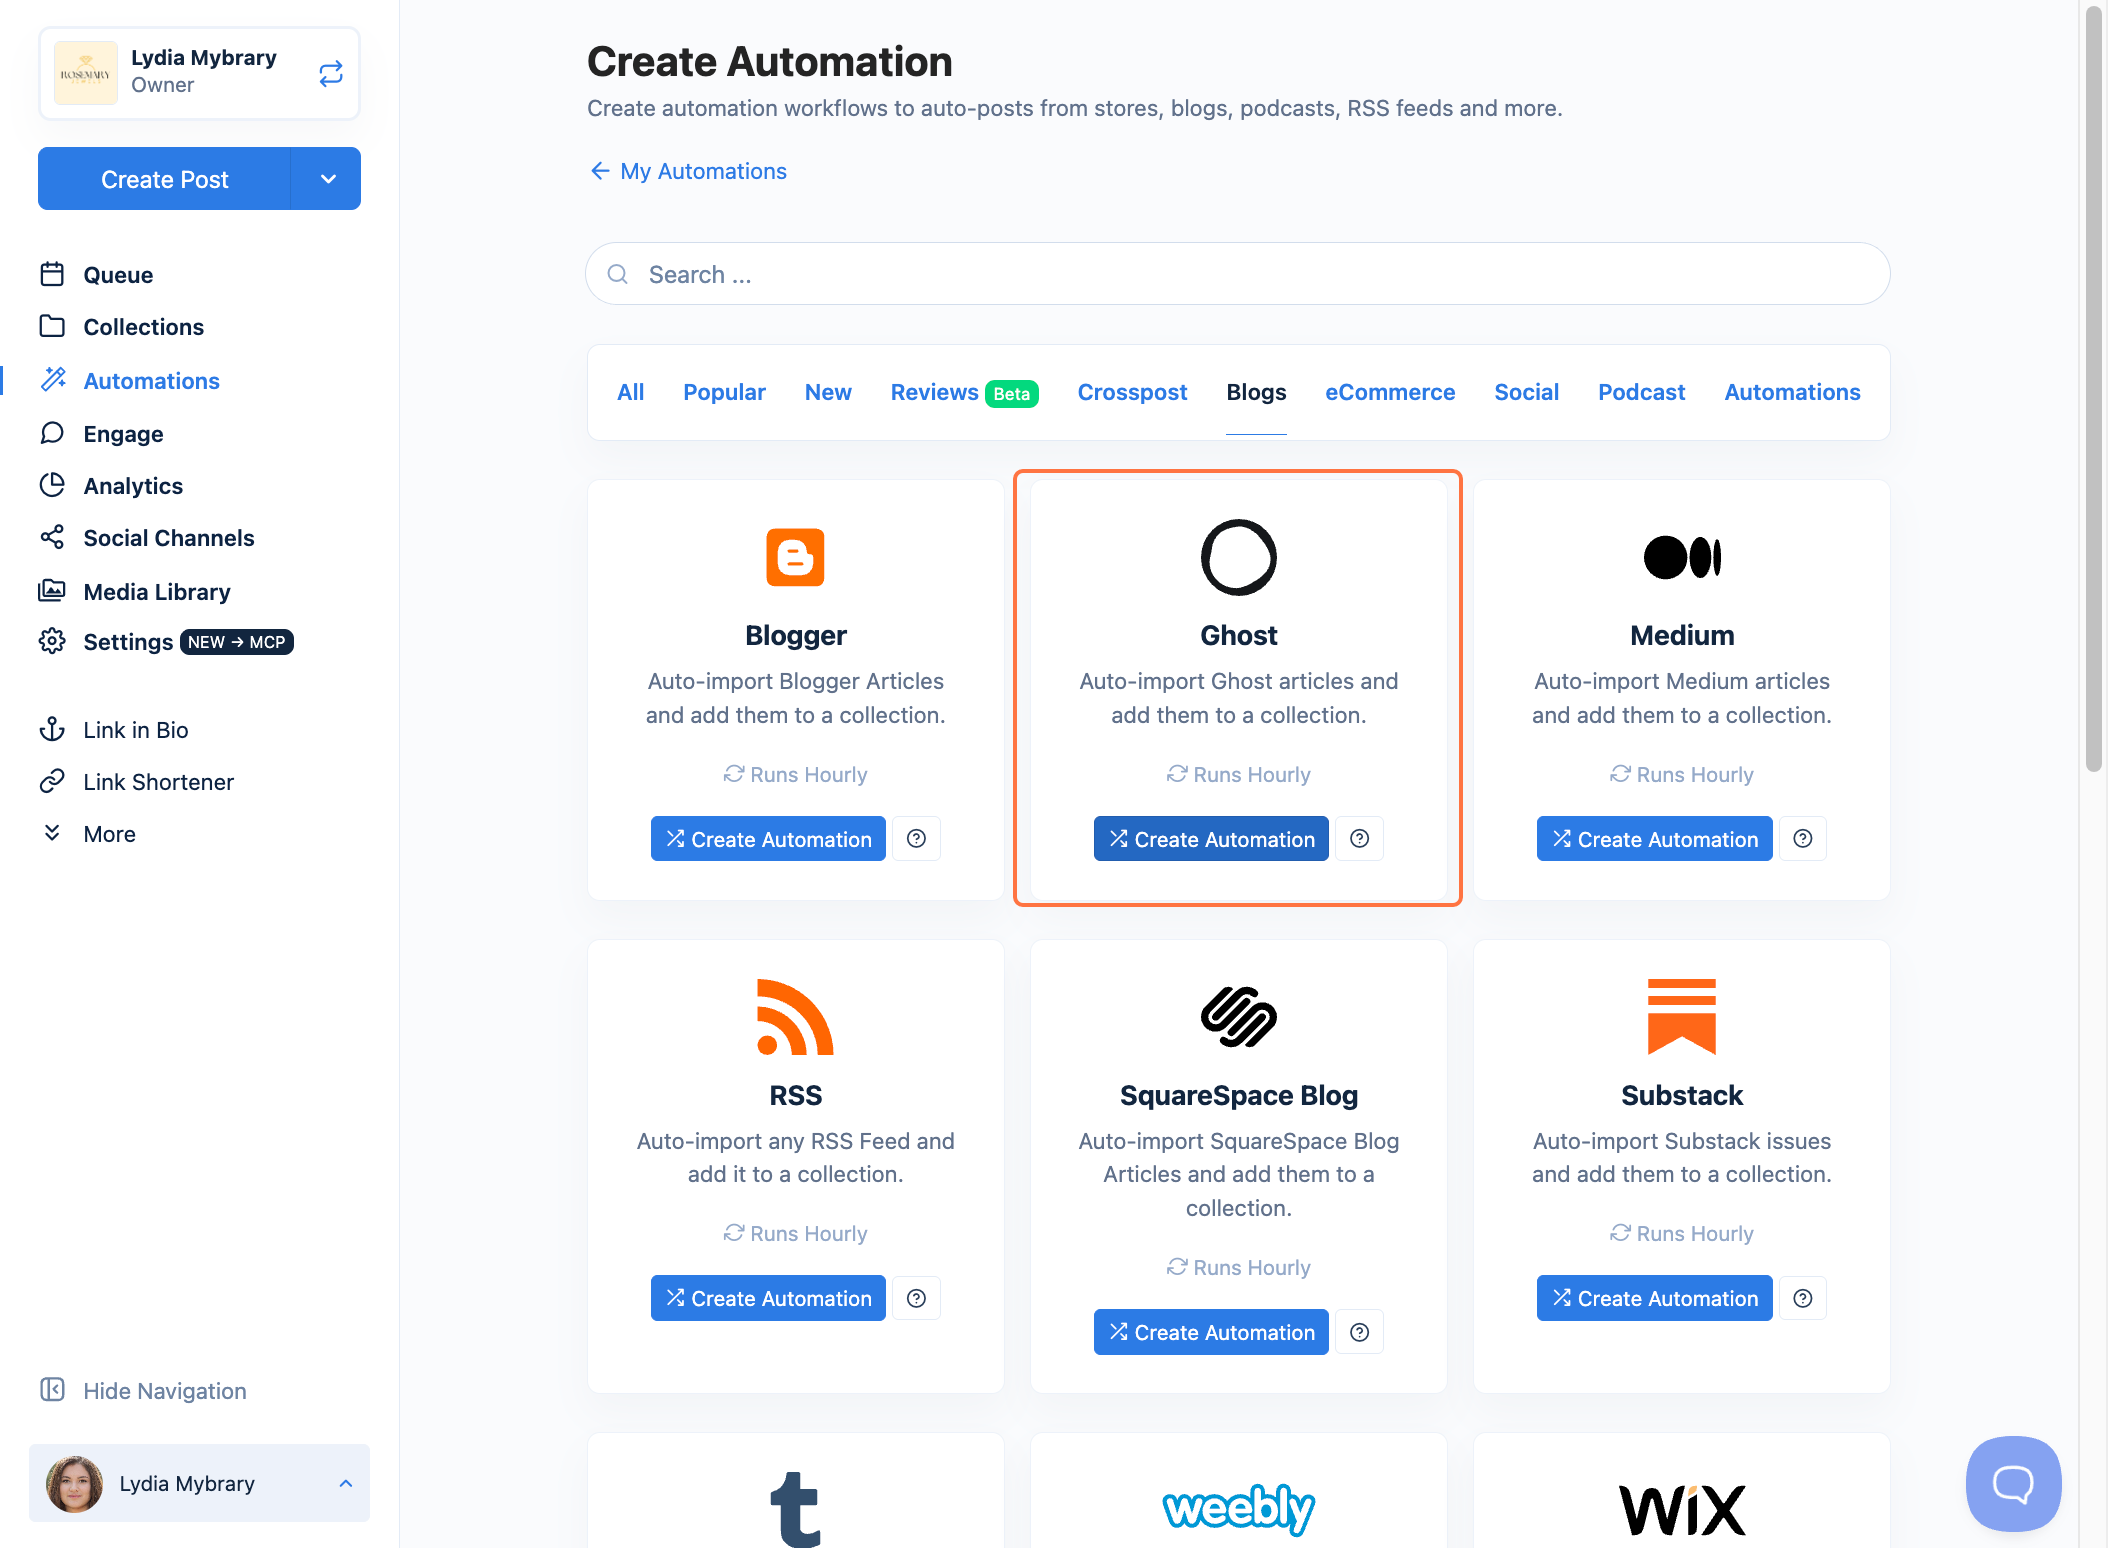
Open the Blogs tab (or search for "Ghost") and click Create Automation on the Ghost card. This opens the setup window where you'll complete the next few steps.
-
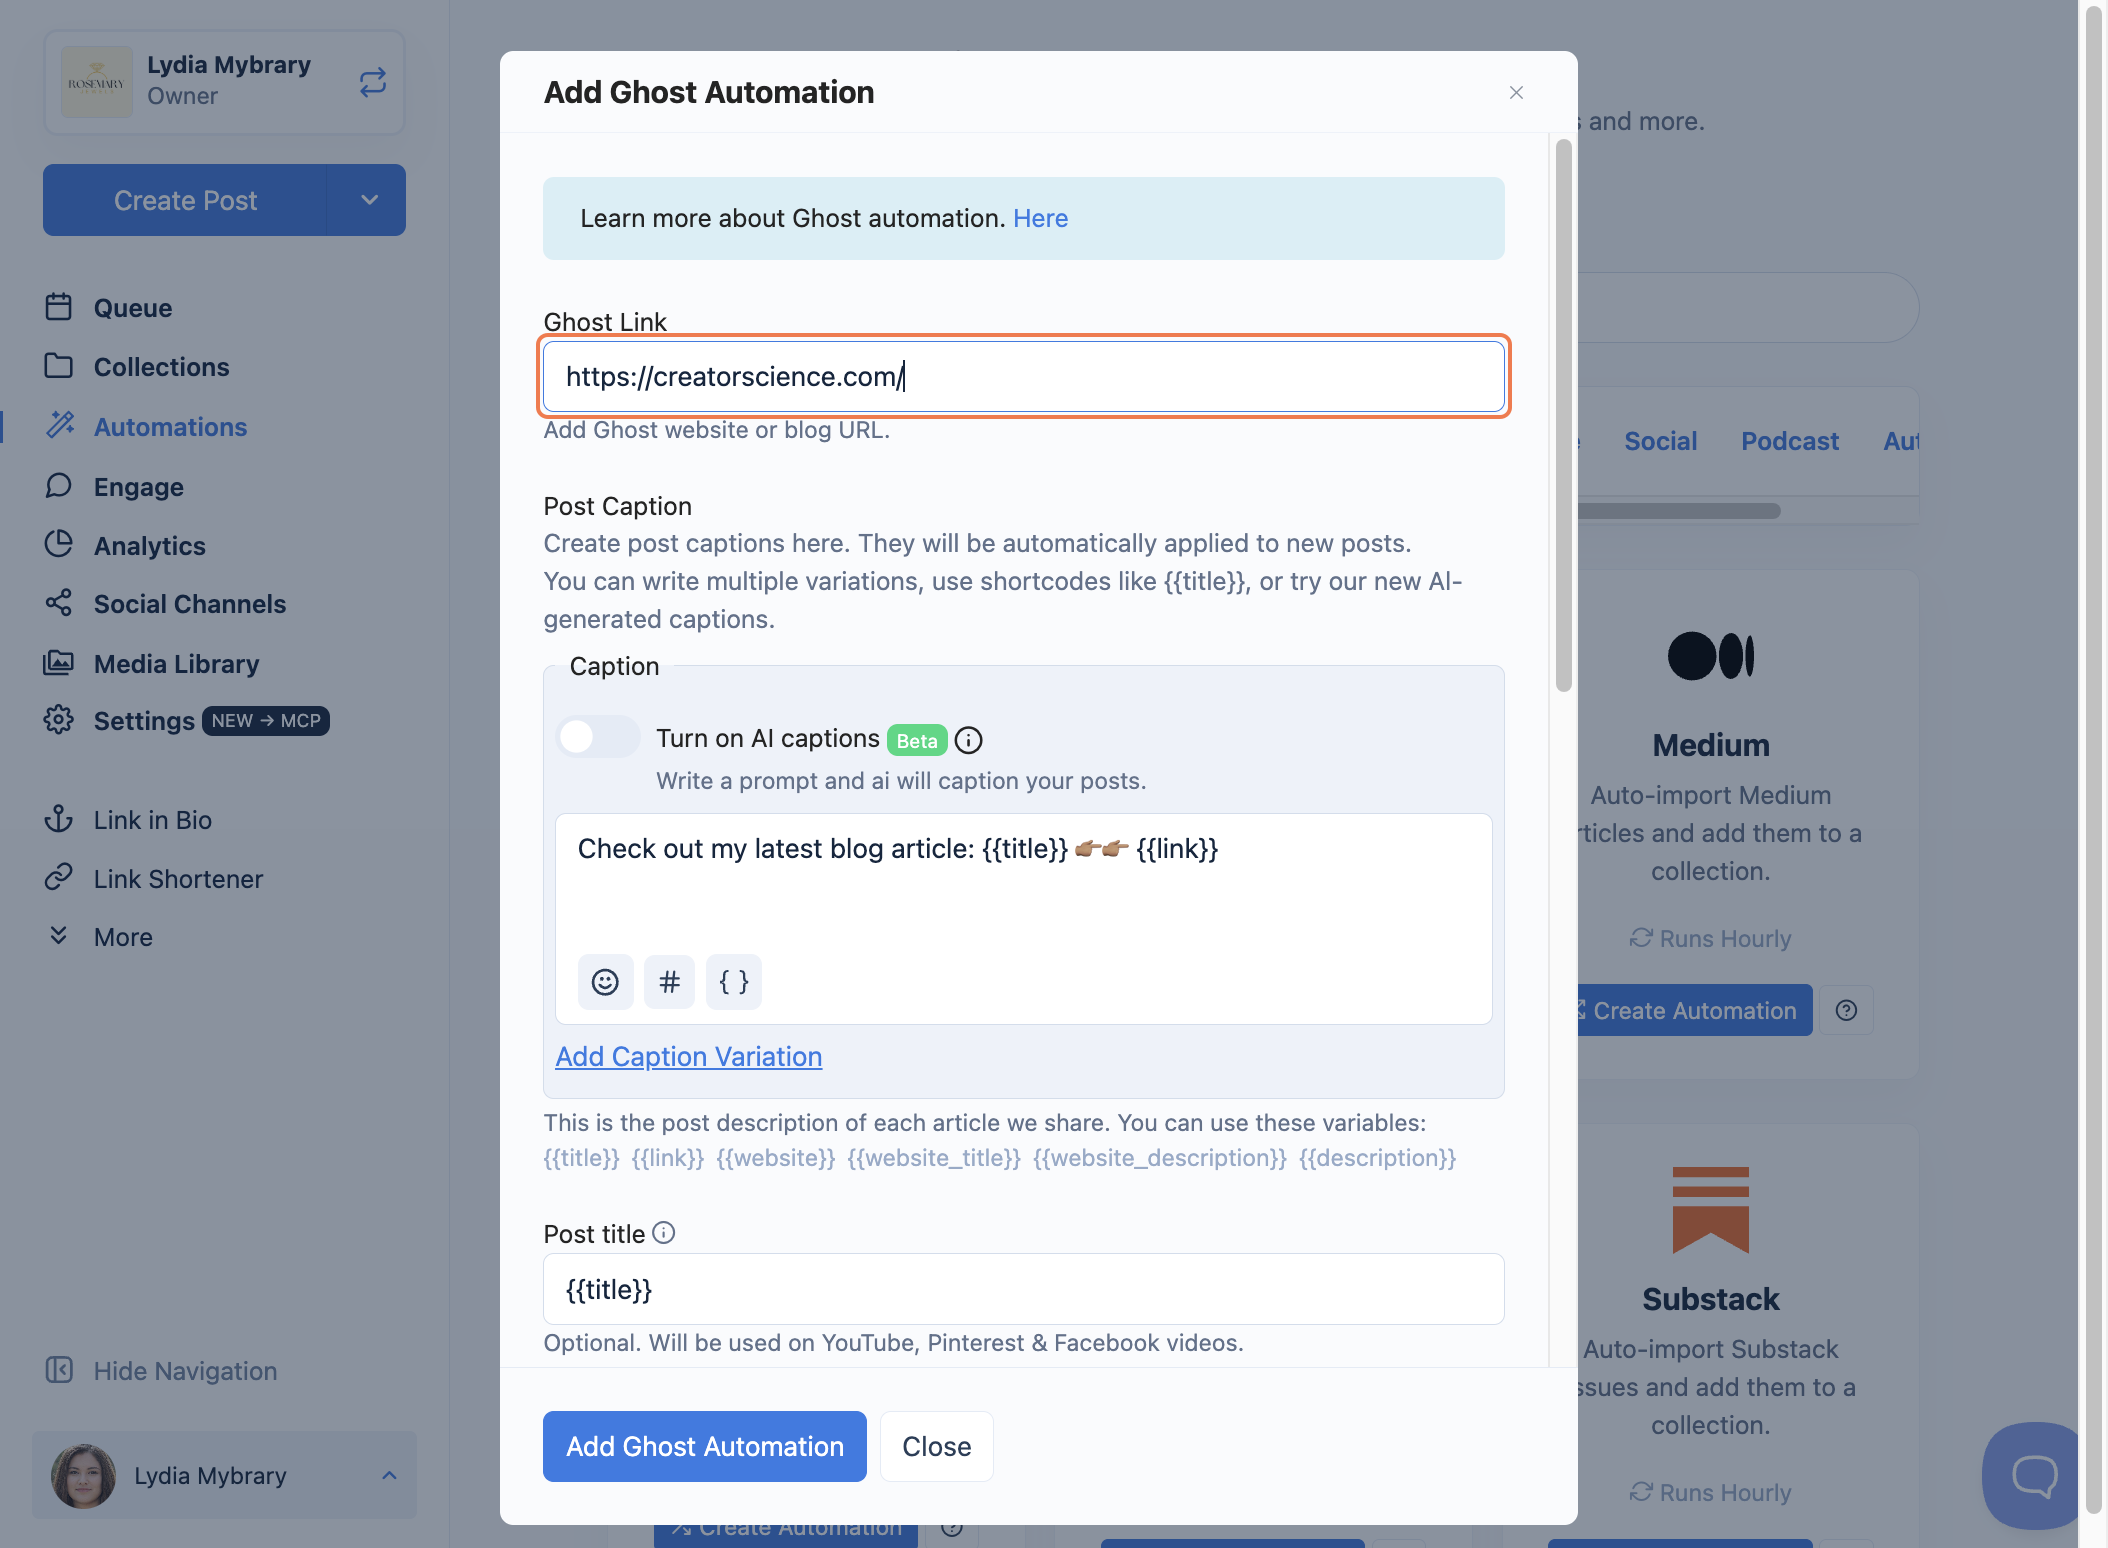
Paste your Ghost blog link into the Ghost Link field.
-
Write your Post Caption. This is the caption applied to every post Nuelink shares from your blog. You can write one caption or several variations, and use shortcodes to pull in details automatically:
{{title}},{{link}},{{website}},{{website_title}},{{website_description}}, and{{description}}. (Optional) Turn on AI captions to let Nuelink write your captions for you. Type a short prompt describing the tone, length, and language you want, and Nuelink creates a caption for each post. You can also click Add Fallback Caption to set a backup in case the AI caption can't be generated.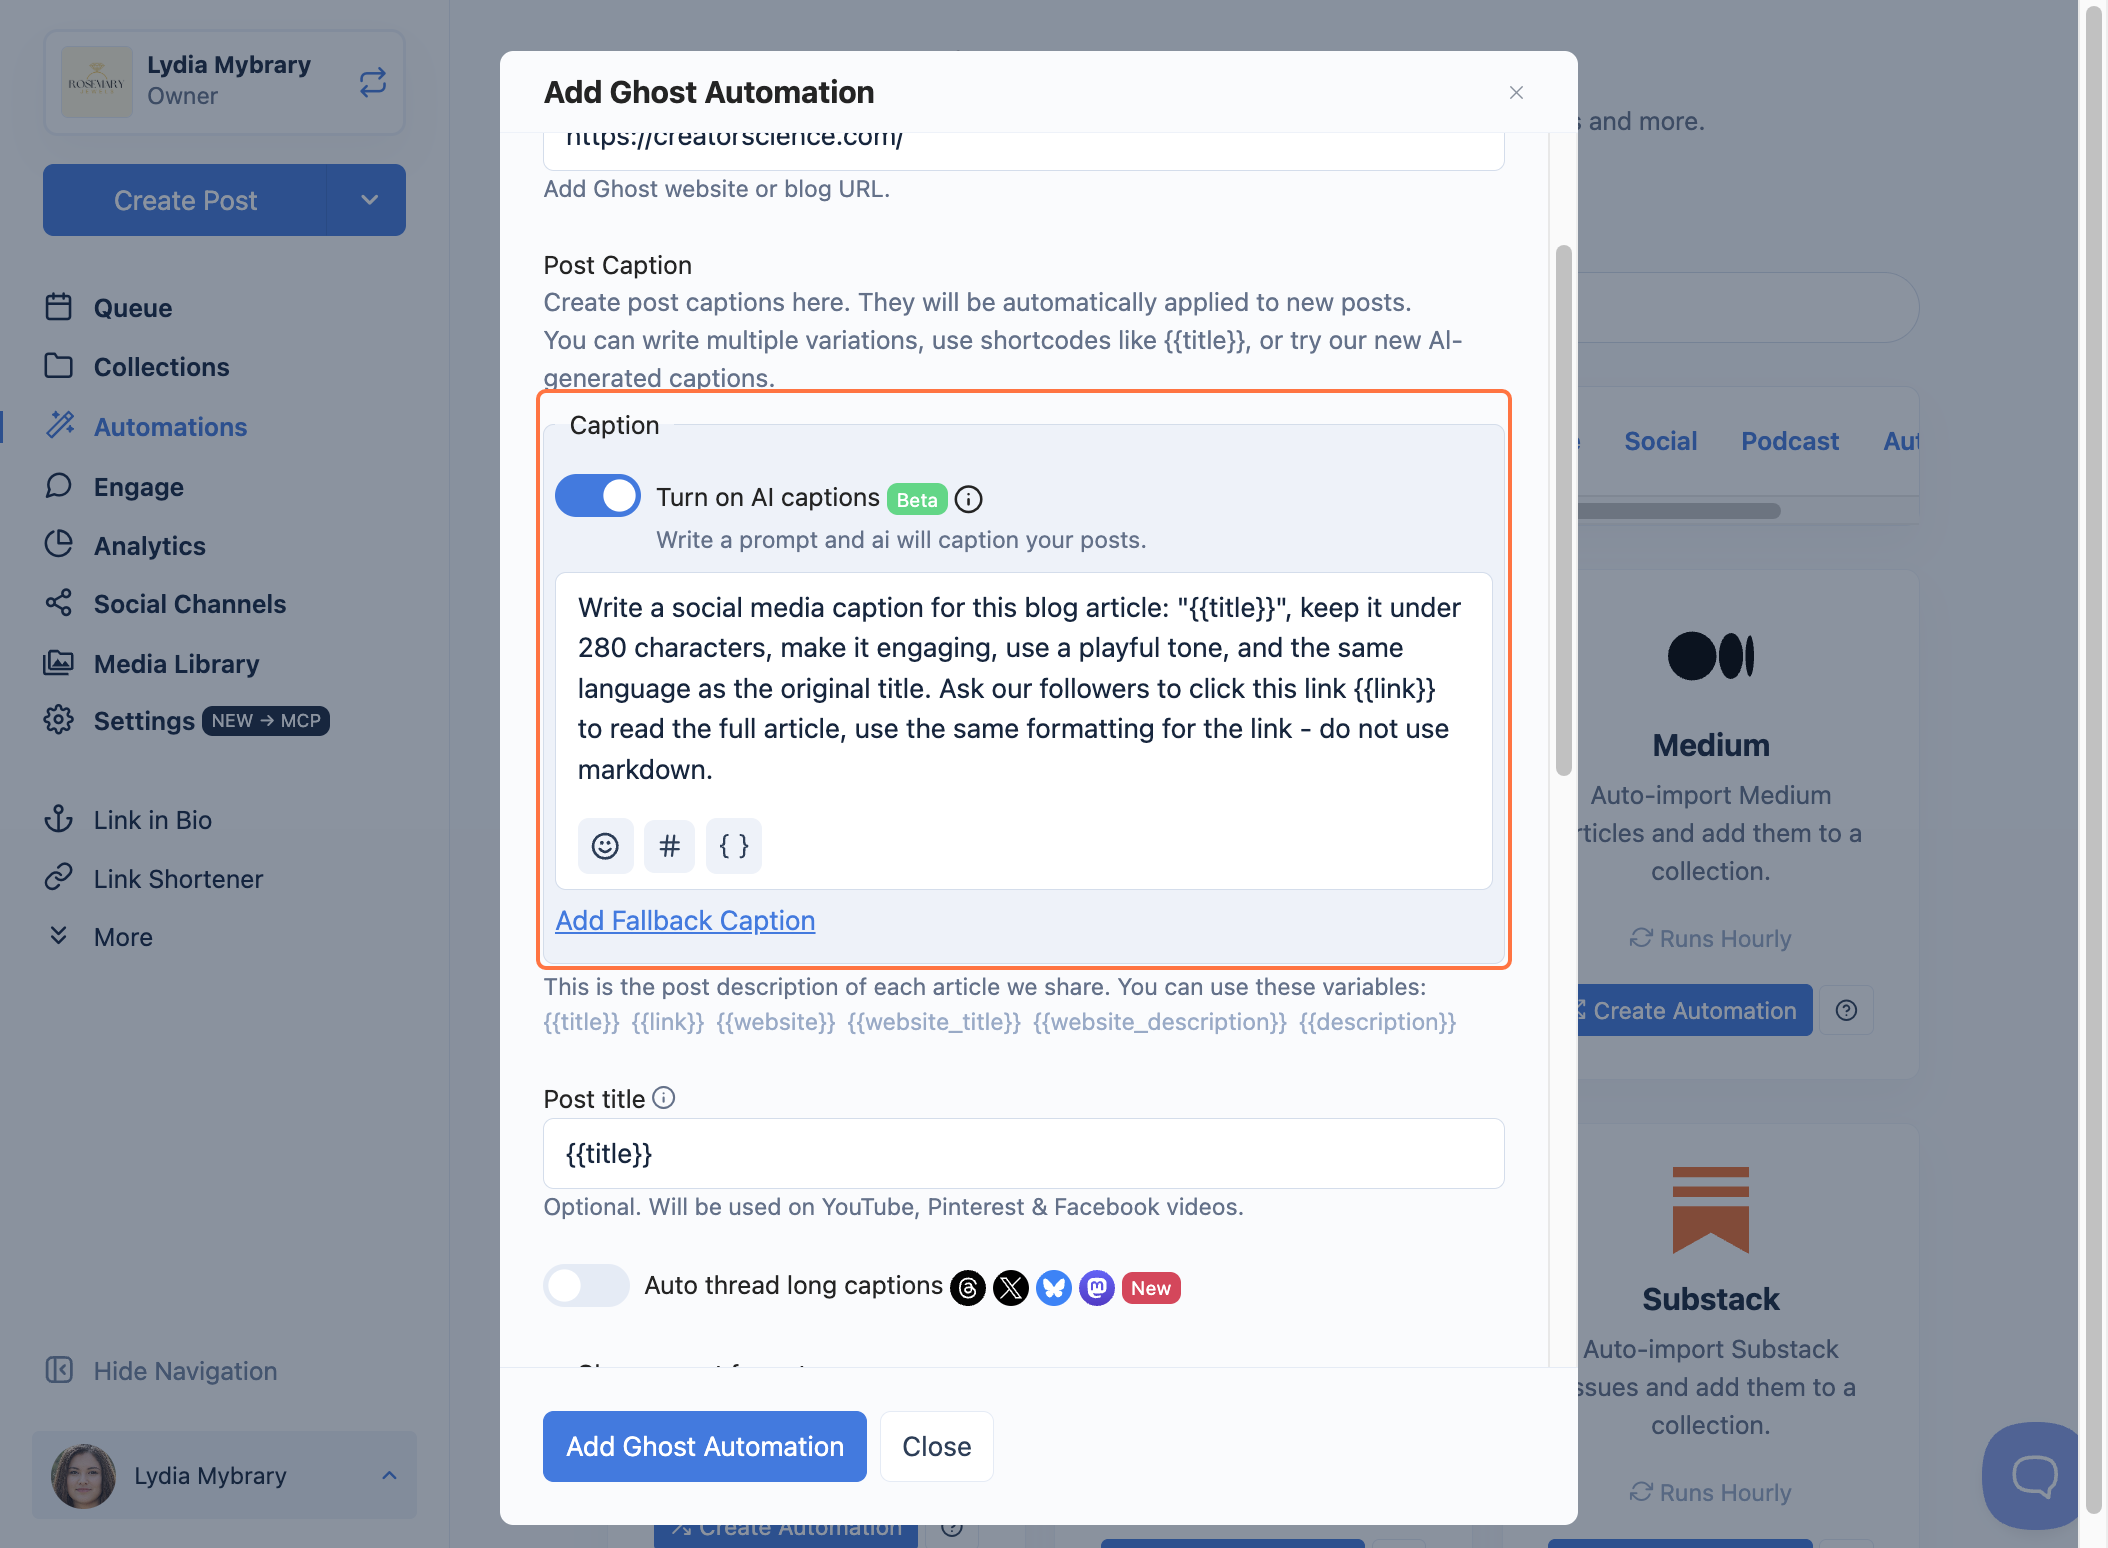
-
(Optional) Set a Post title. This is optional and only used on YouTube, Pinterest, and Facebook videos. The
{{title}}shortcode pulls in your article's title automatically.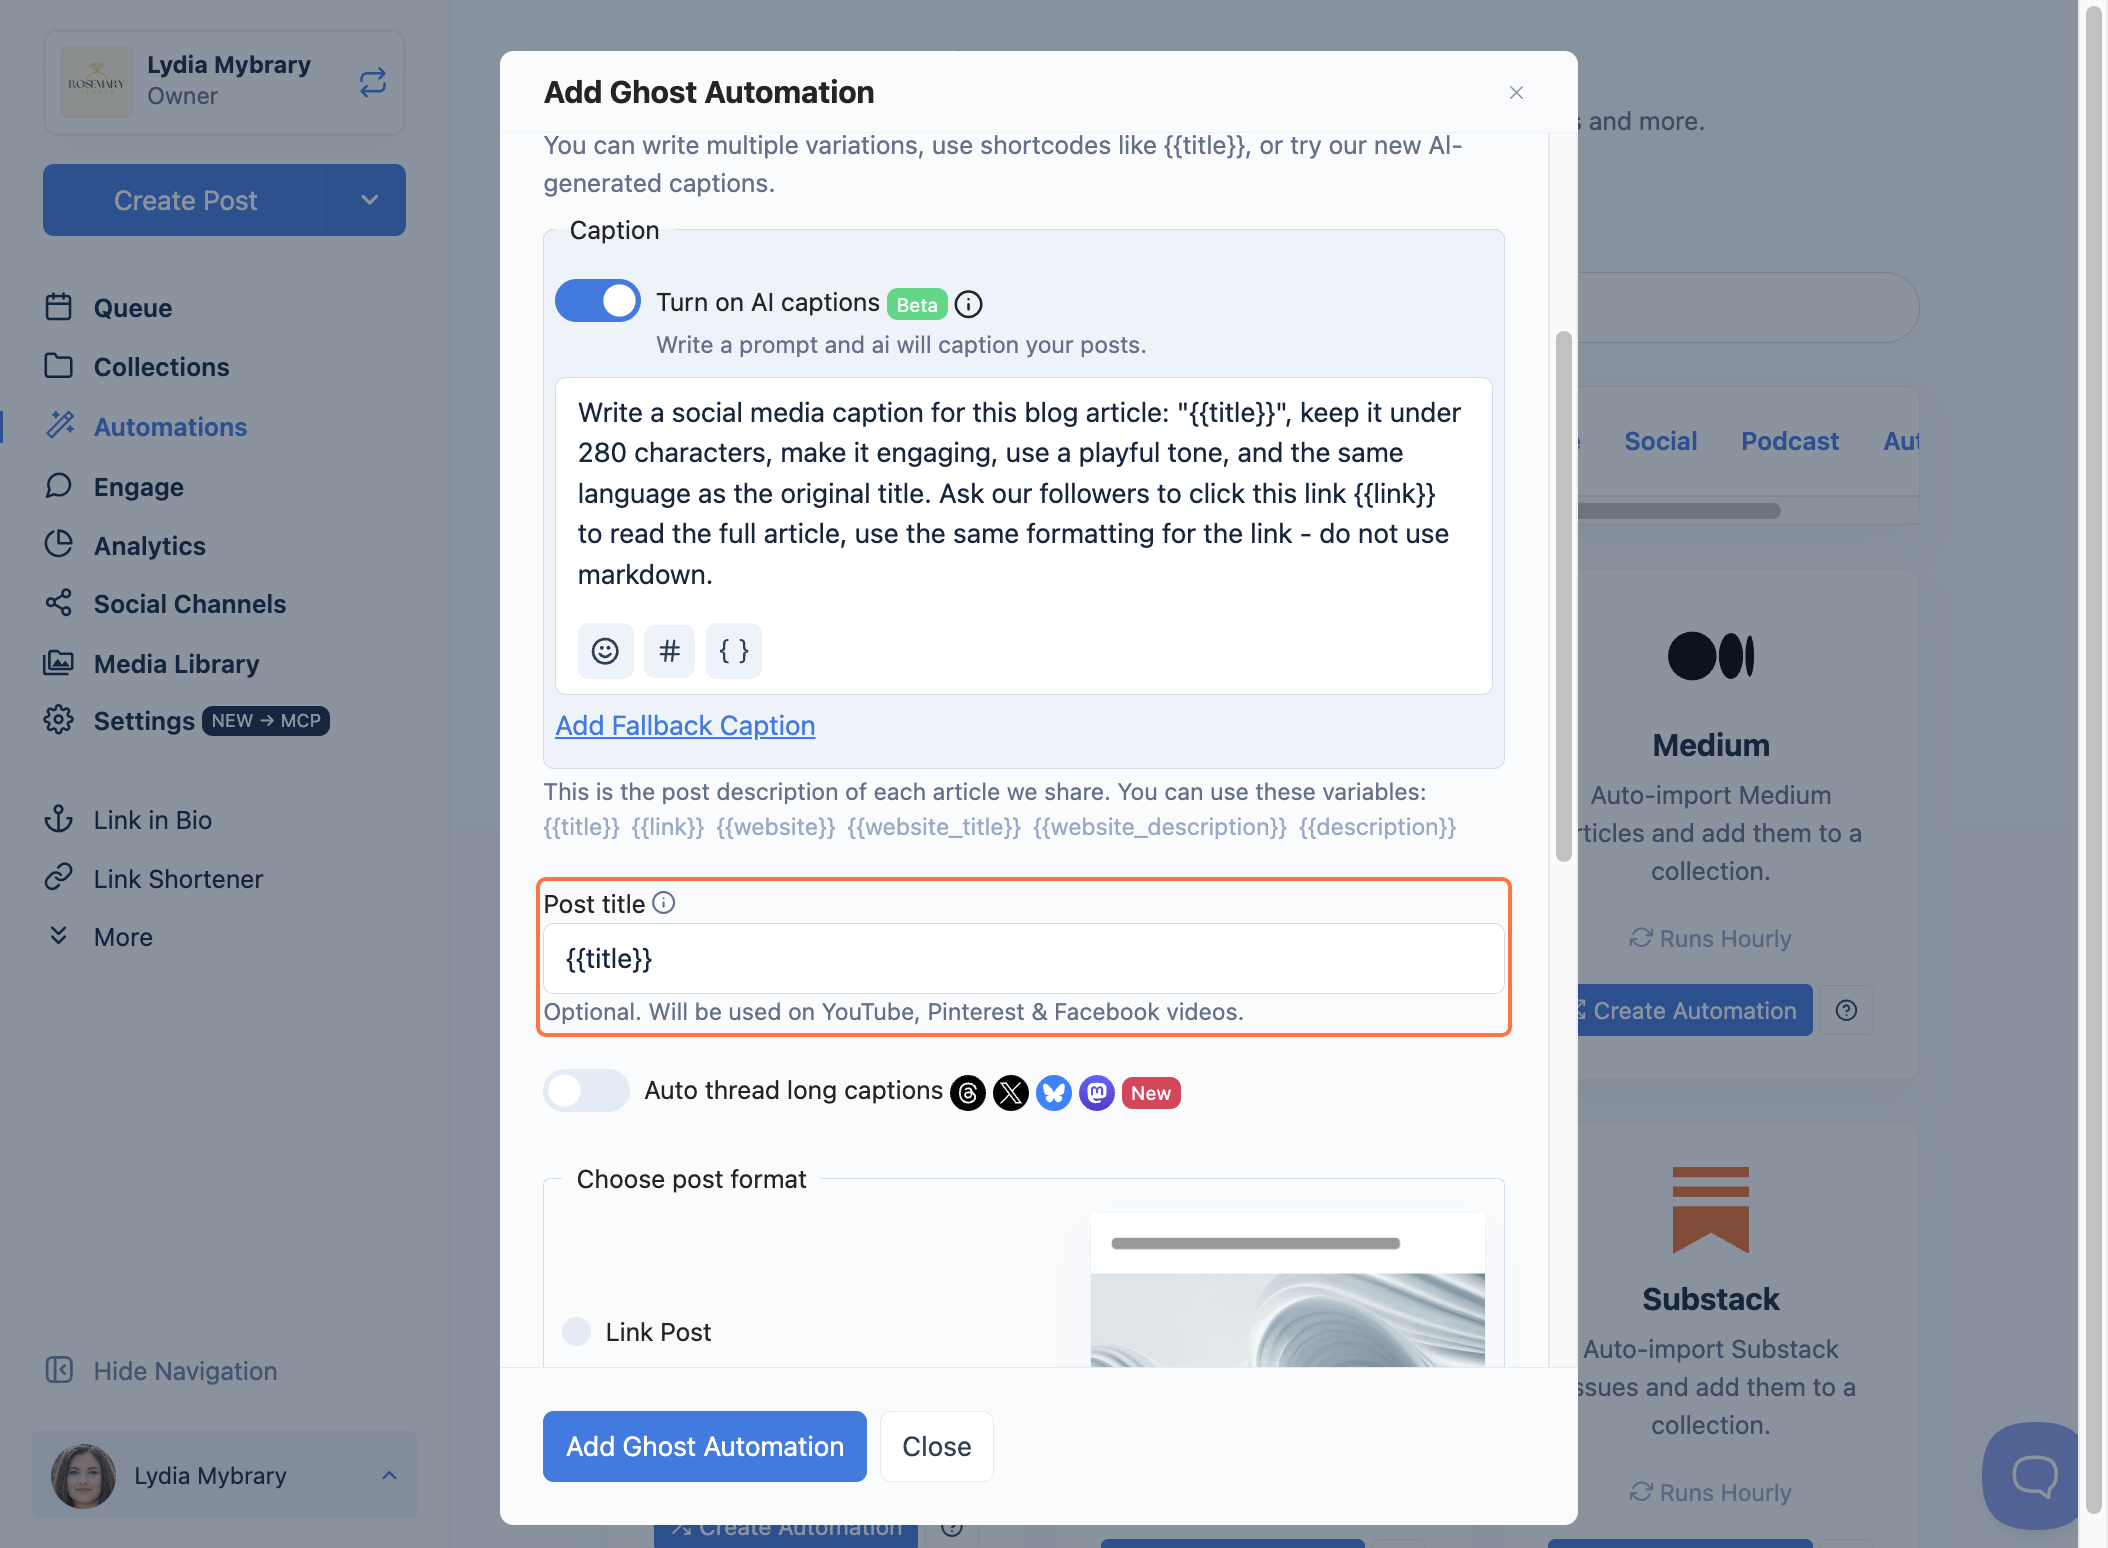
-
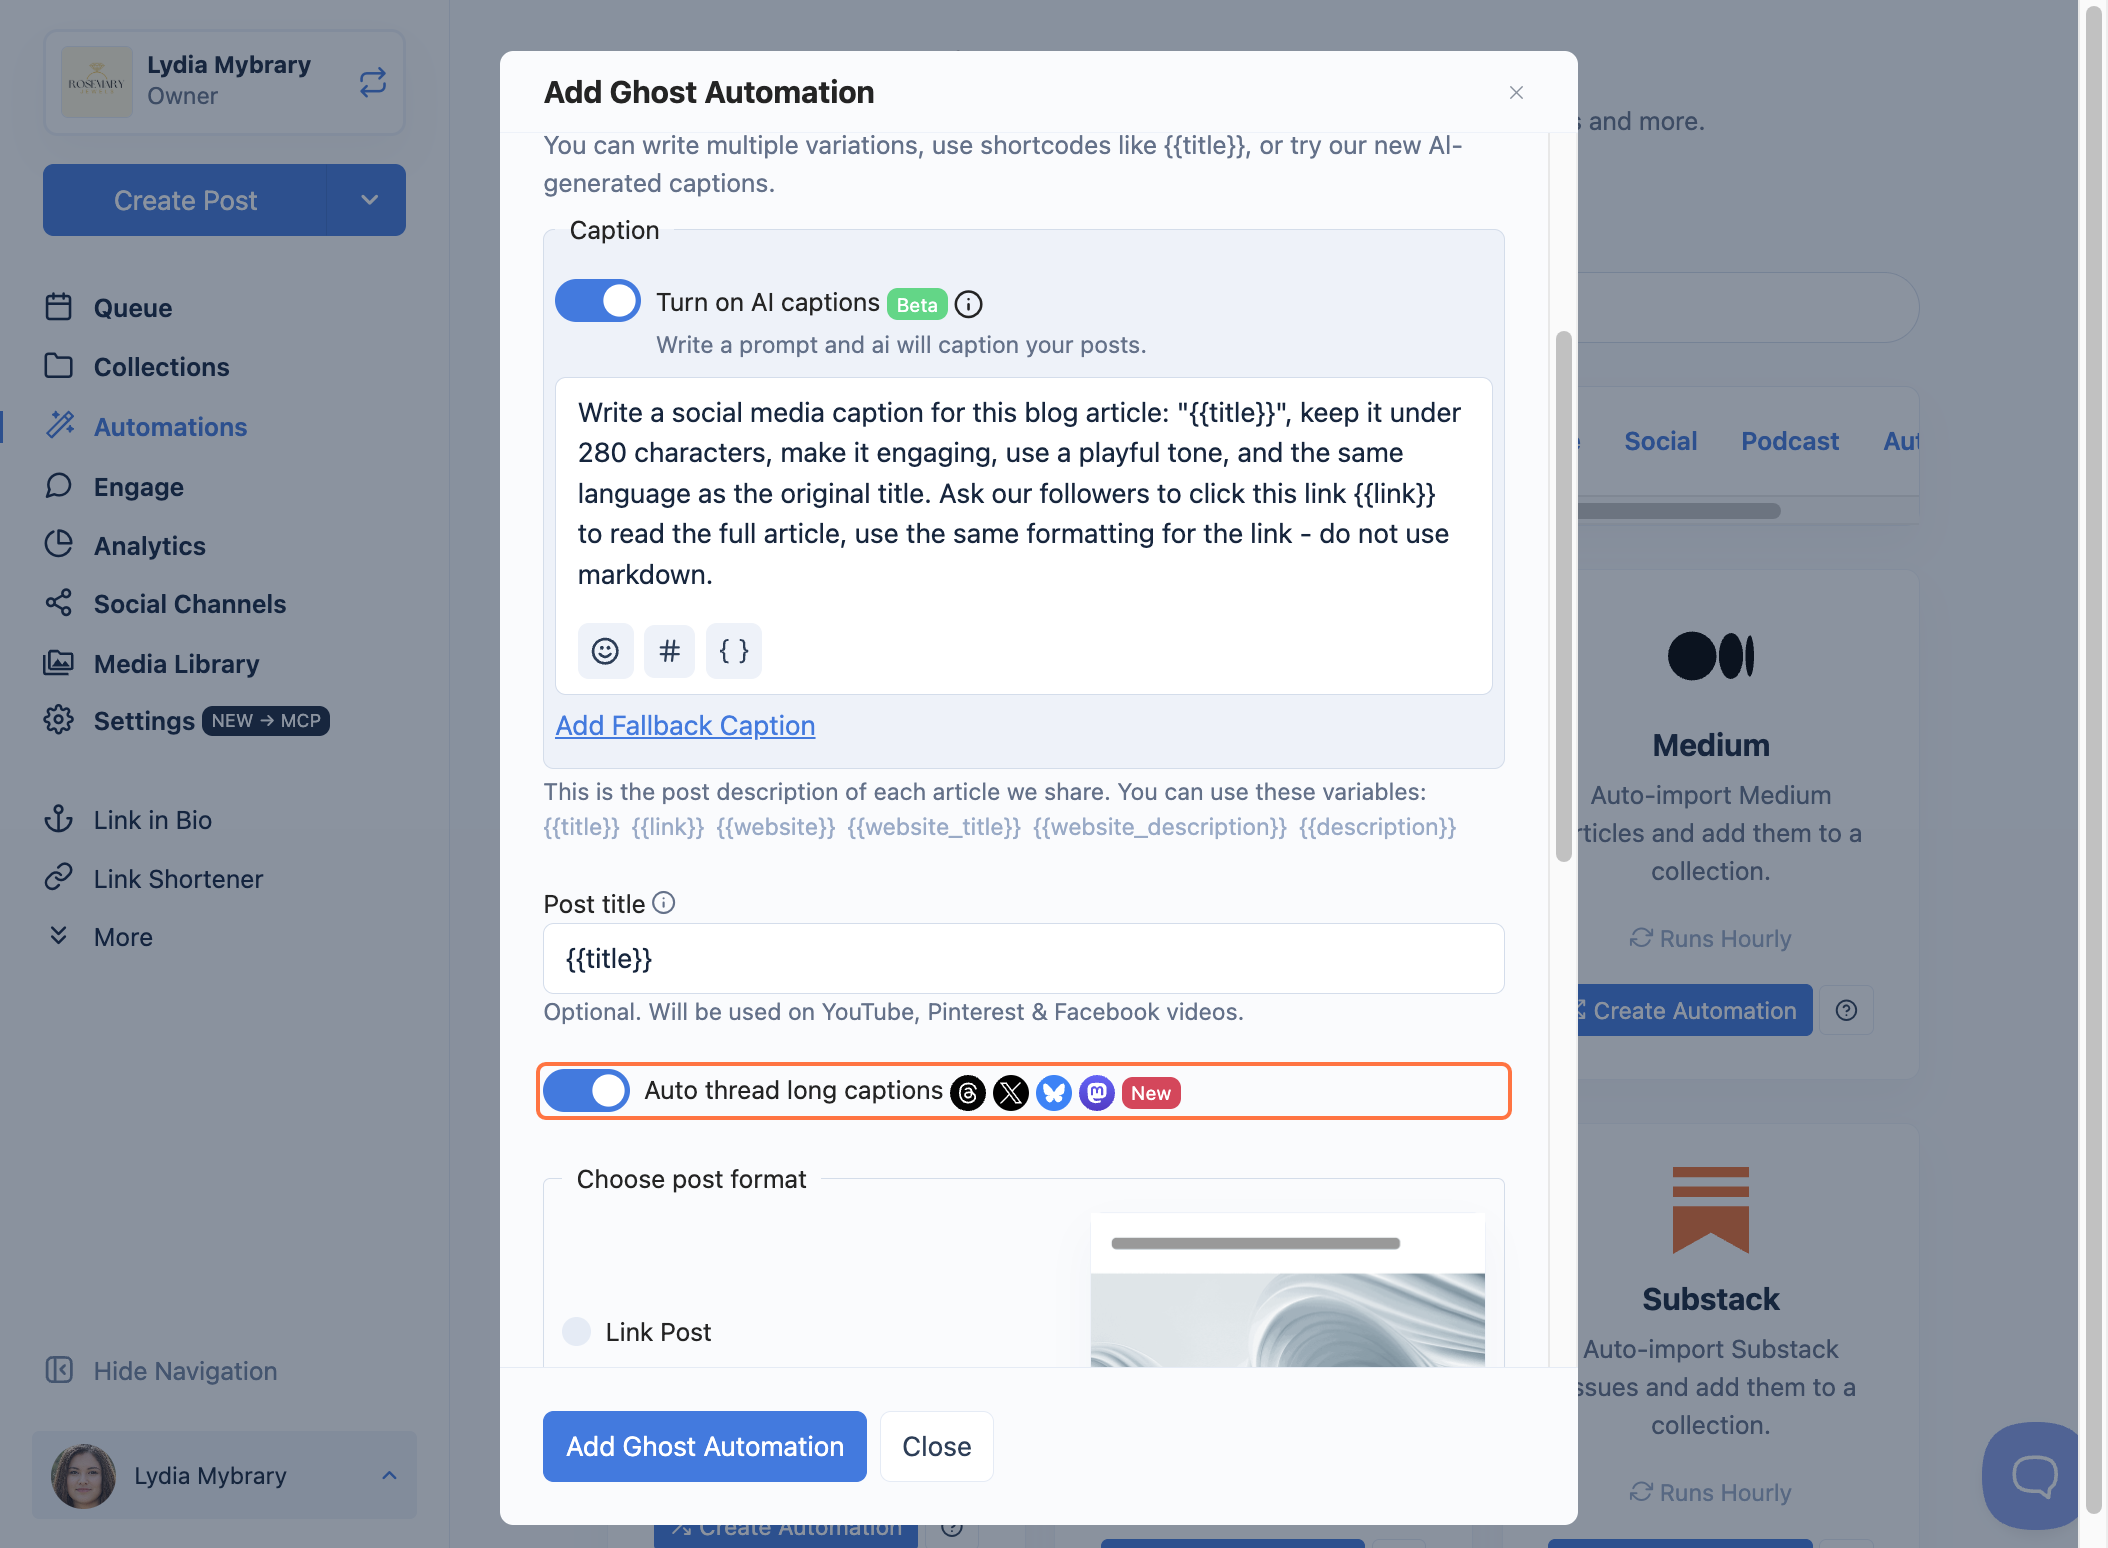
(Optional) Turn on Auto thread long captions to automatically split long captions into a thread on platforms that support it, like Threads, 𝕏, Bluesky, and Mastodon.
-
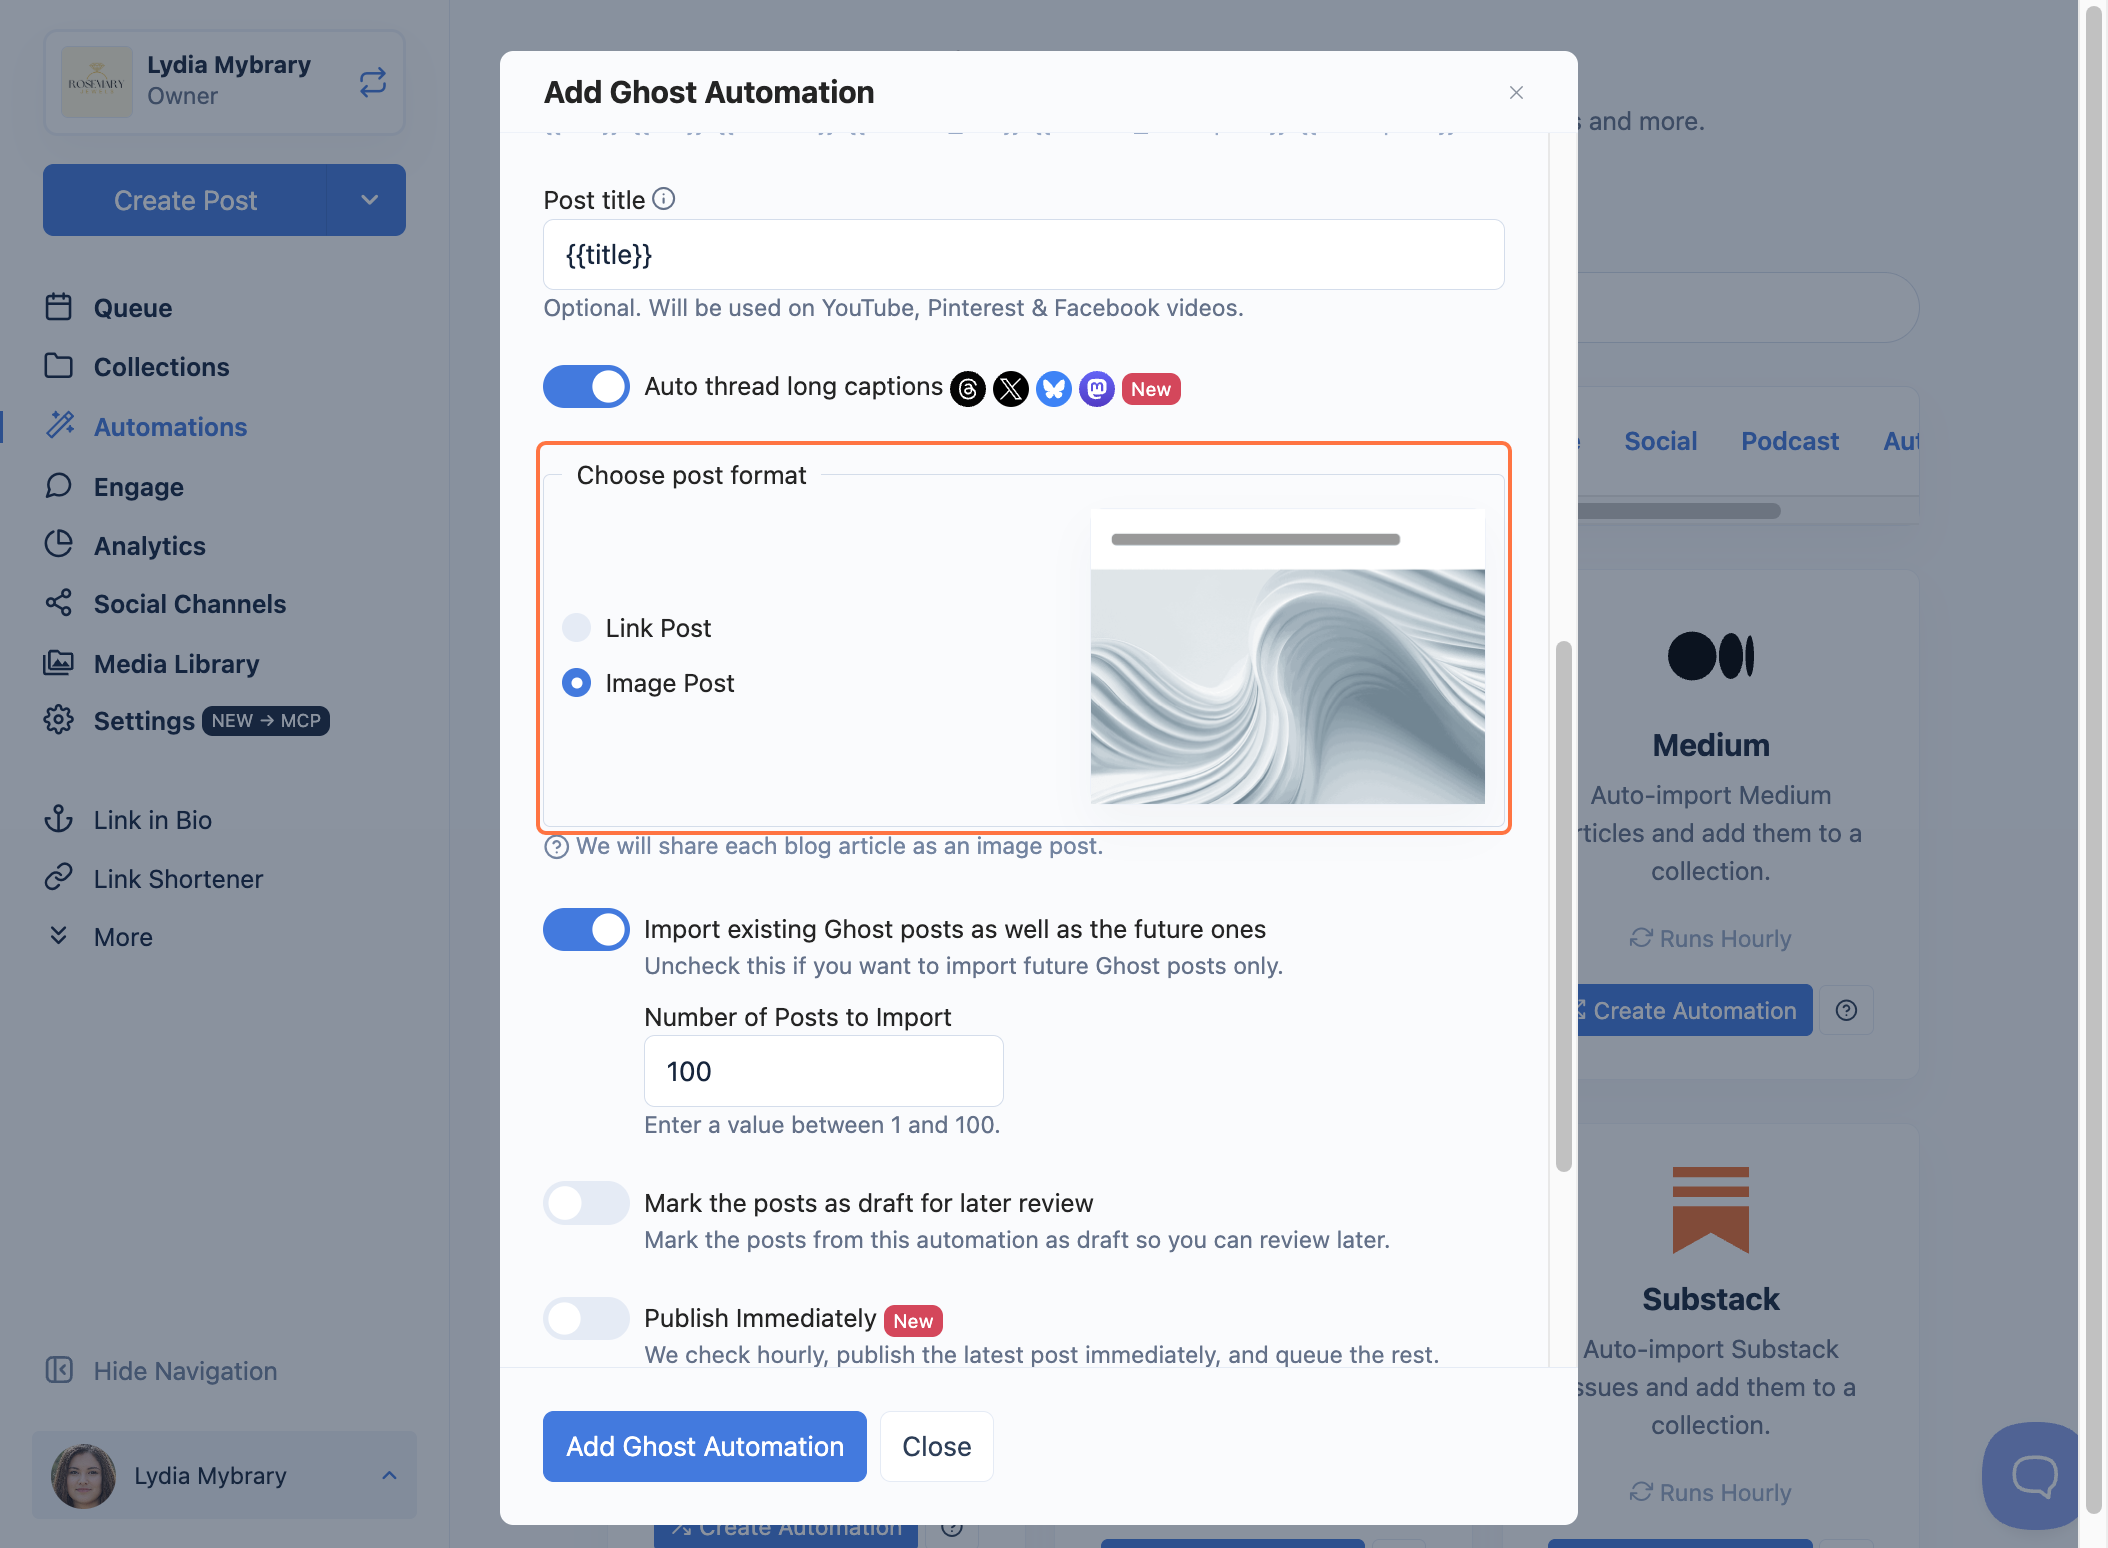
Under Choose post format, pick how your articles are shared. Select Link Post to share them as clickable links, or Image Post to share them as images.
-
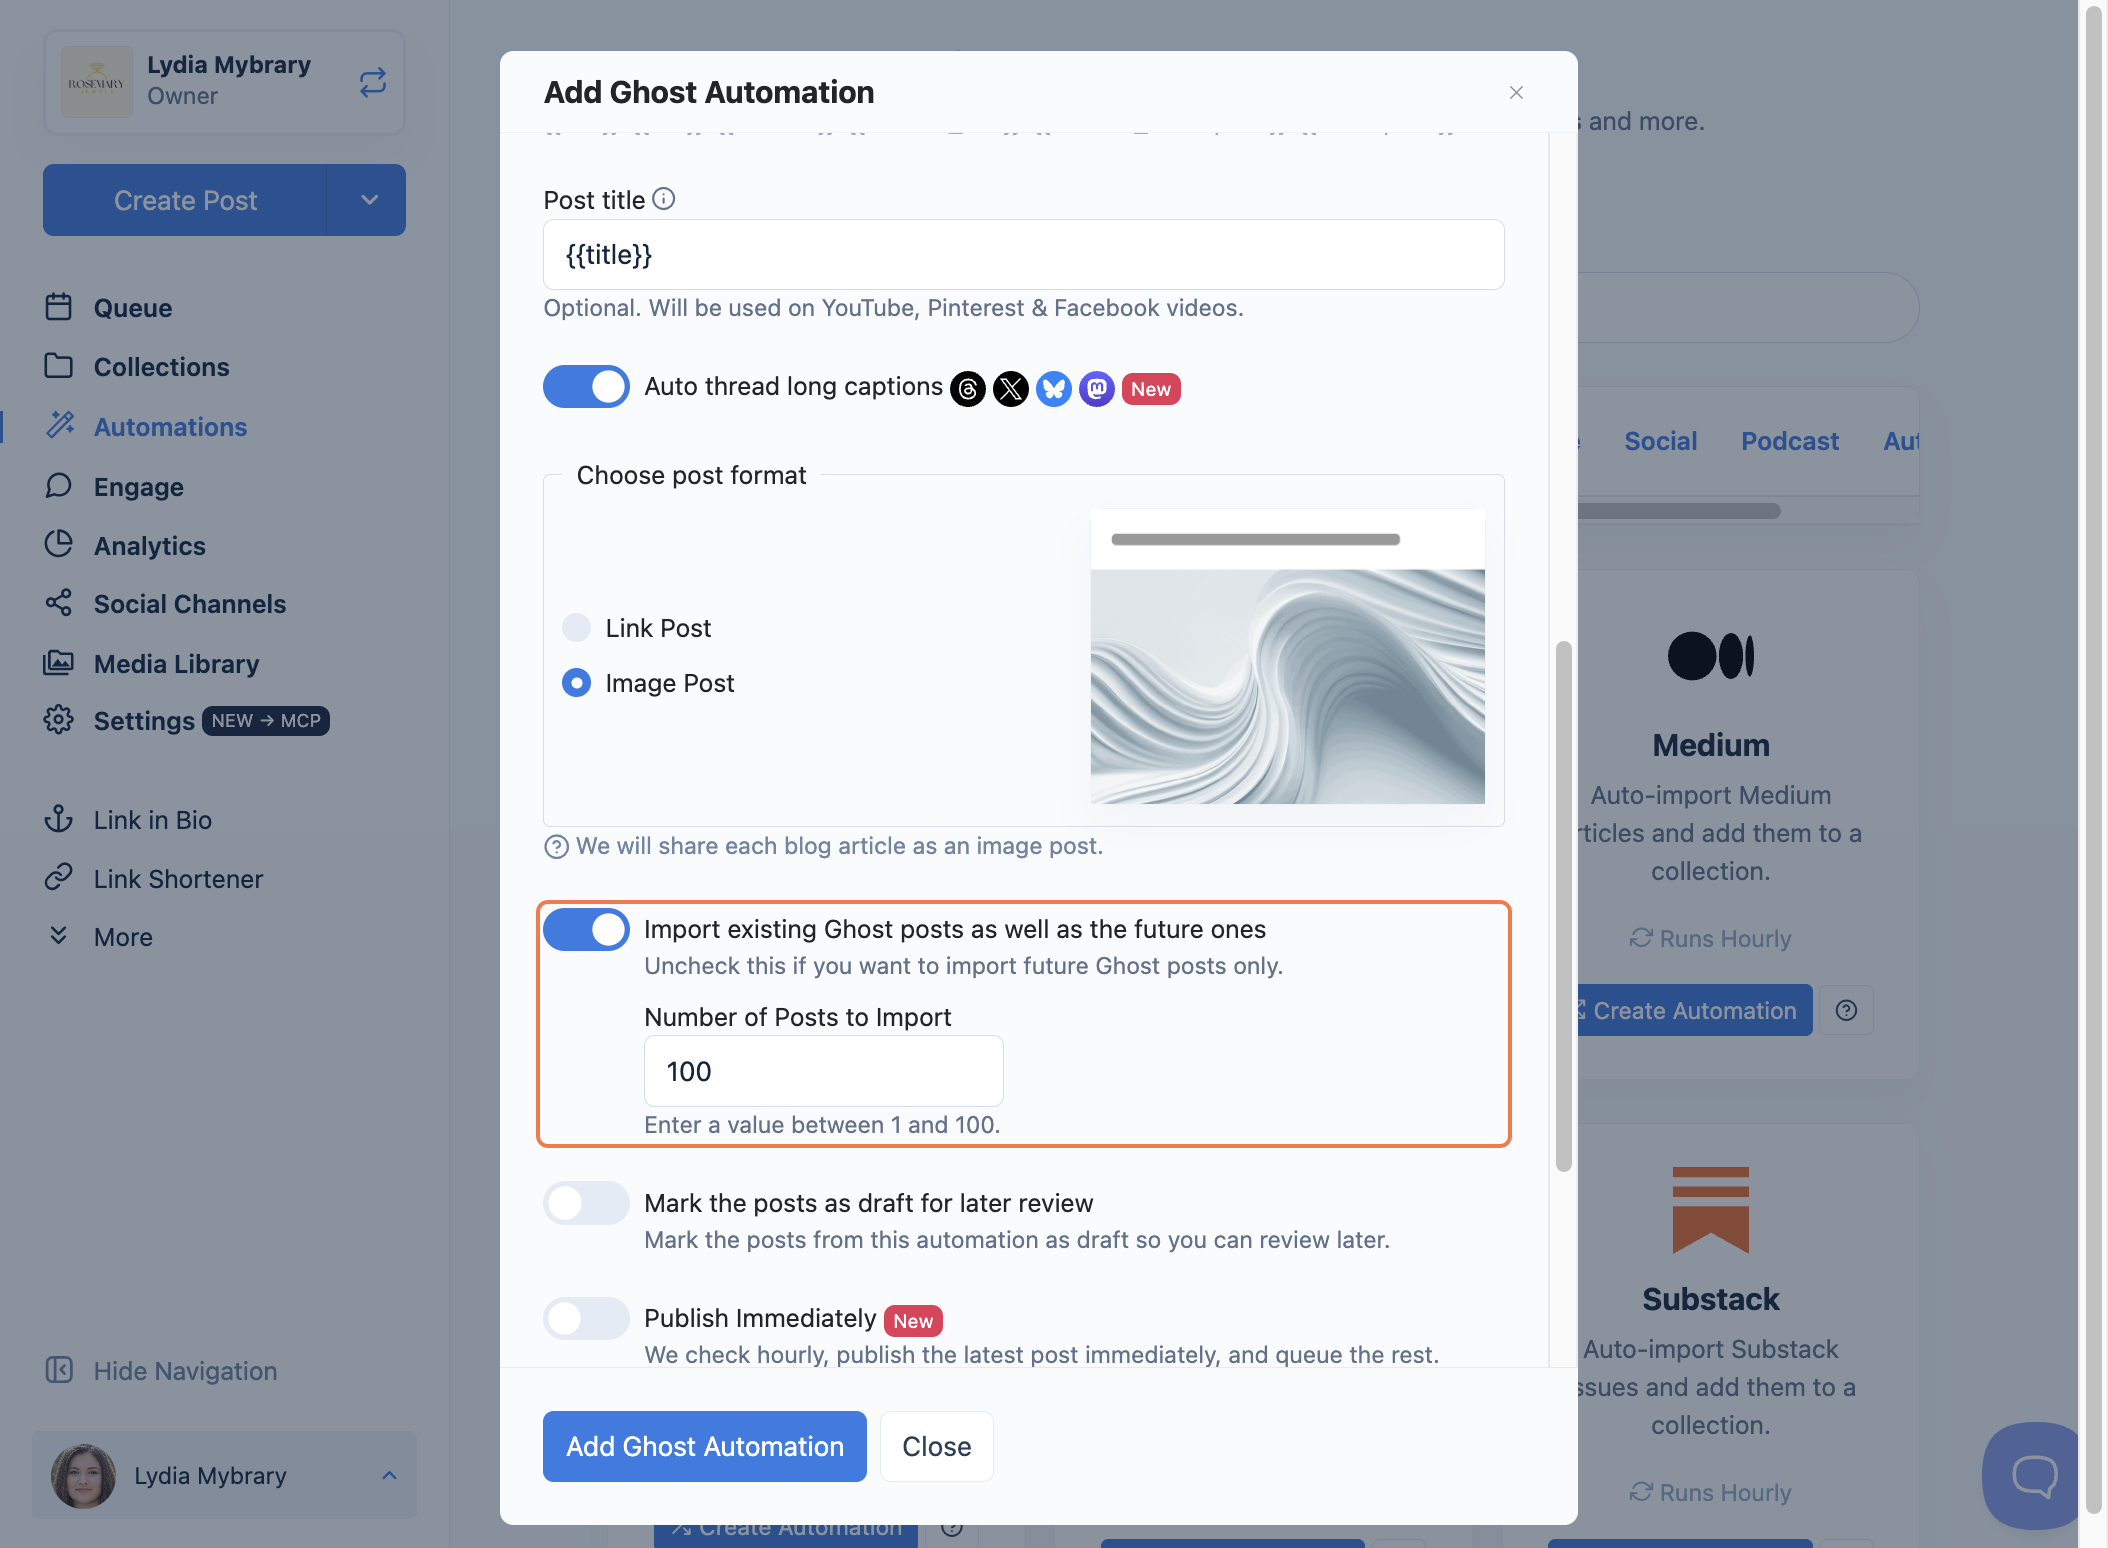
Keep Import existing Ghost posts as well as the future ones on to bring in your older articles along with new ones, then set the Number of Posts to Import (any value between 1 and 100). Uncheck it if you only want future posts.
-
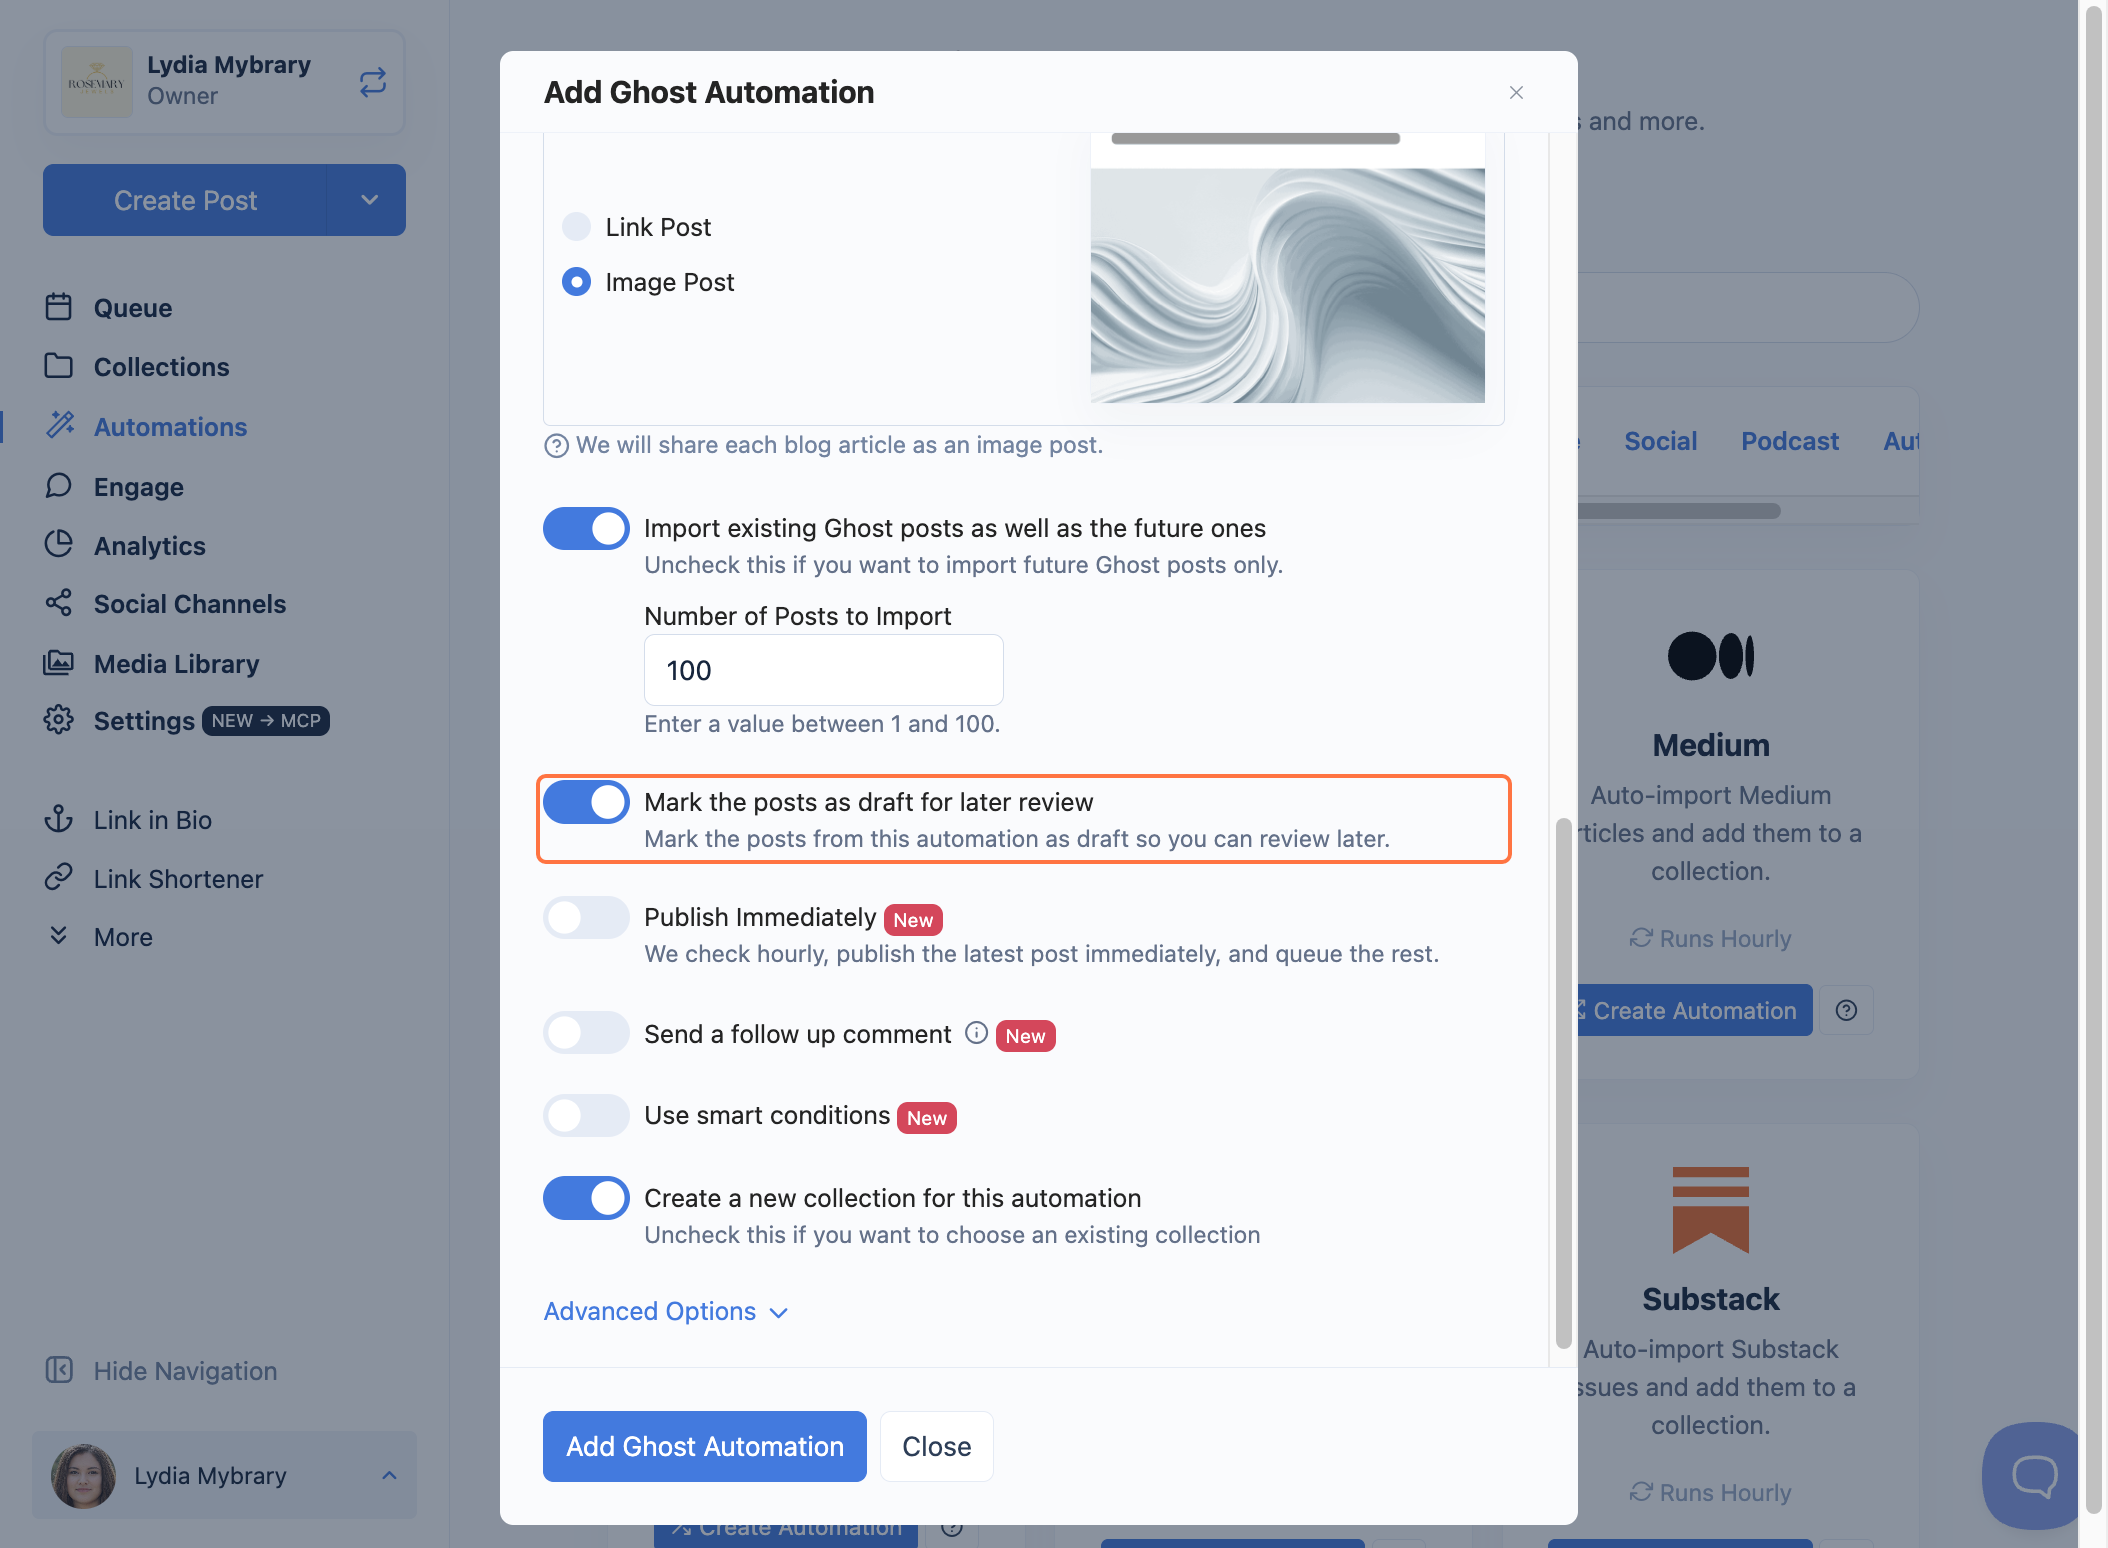
(Optional) Turn on Mark the posts as draft for later review to save posts as drafts so you can review and approve them before they go out.
-
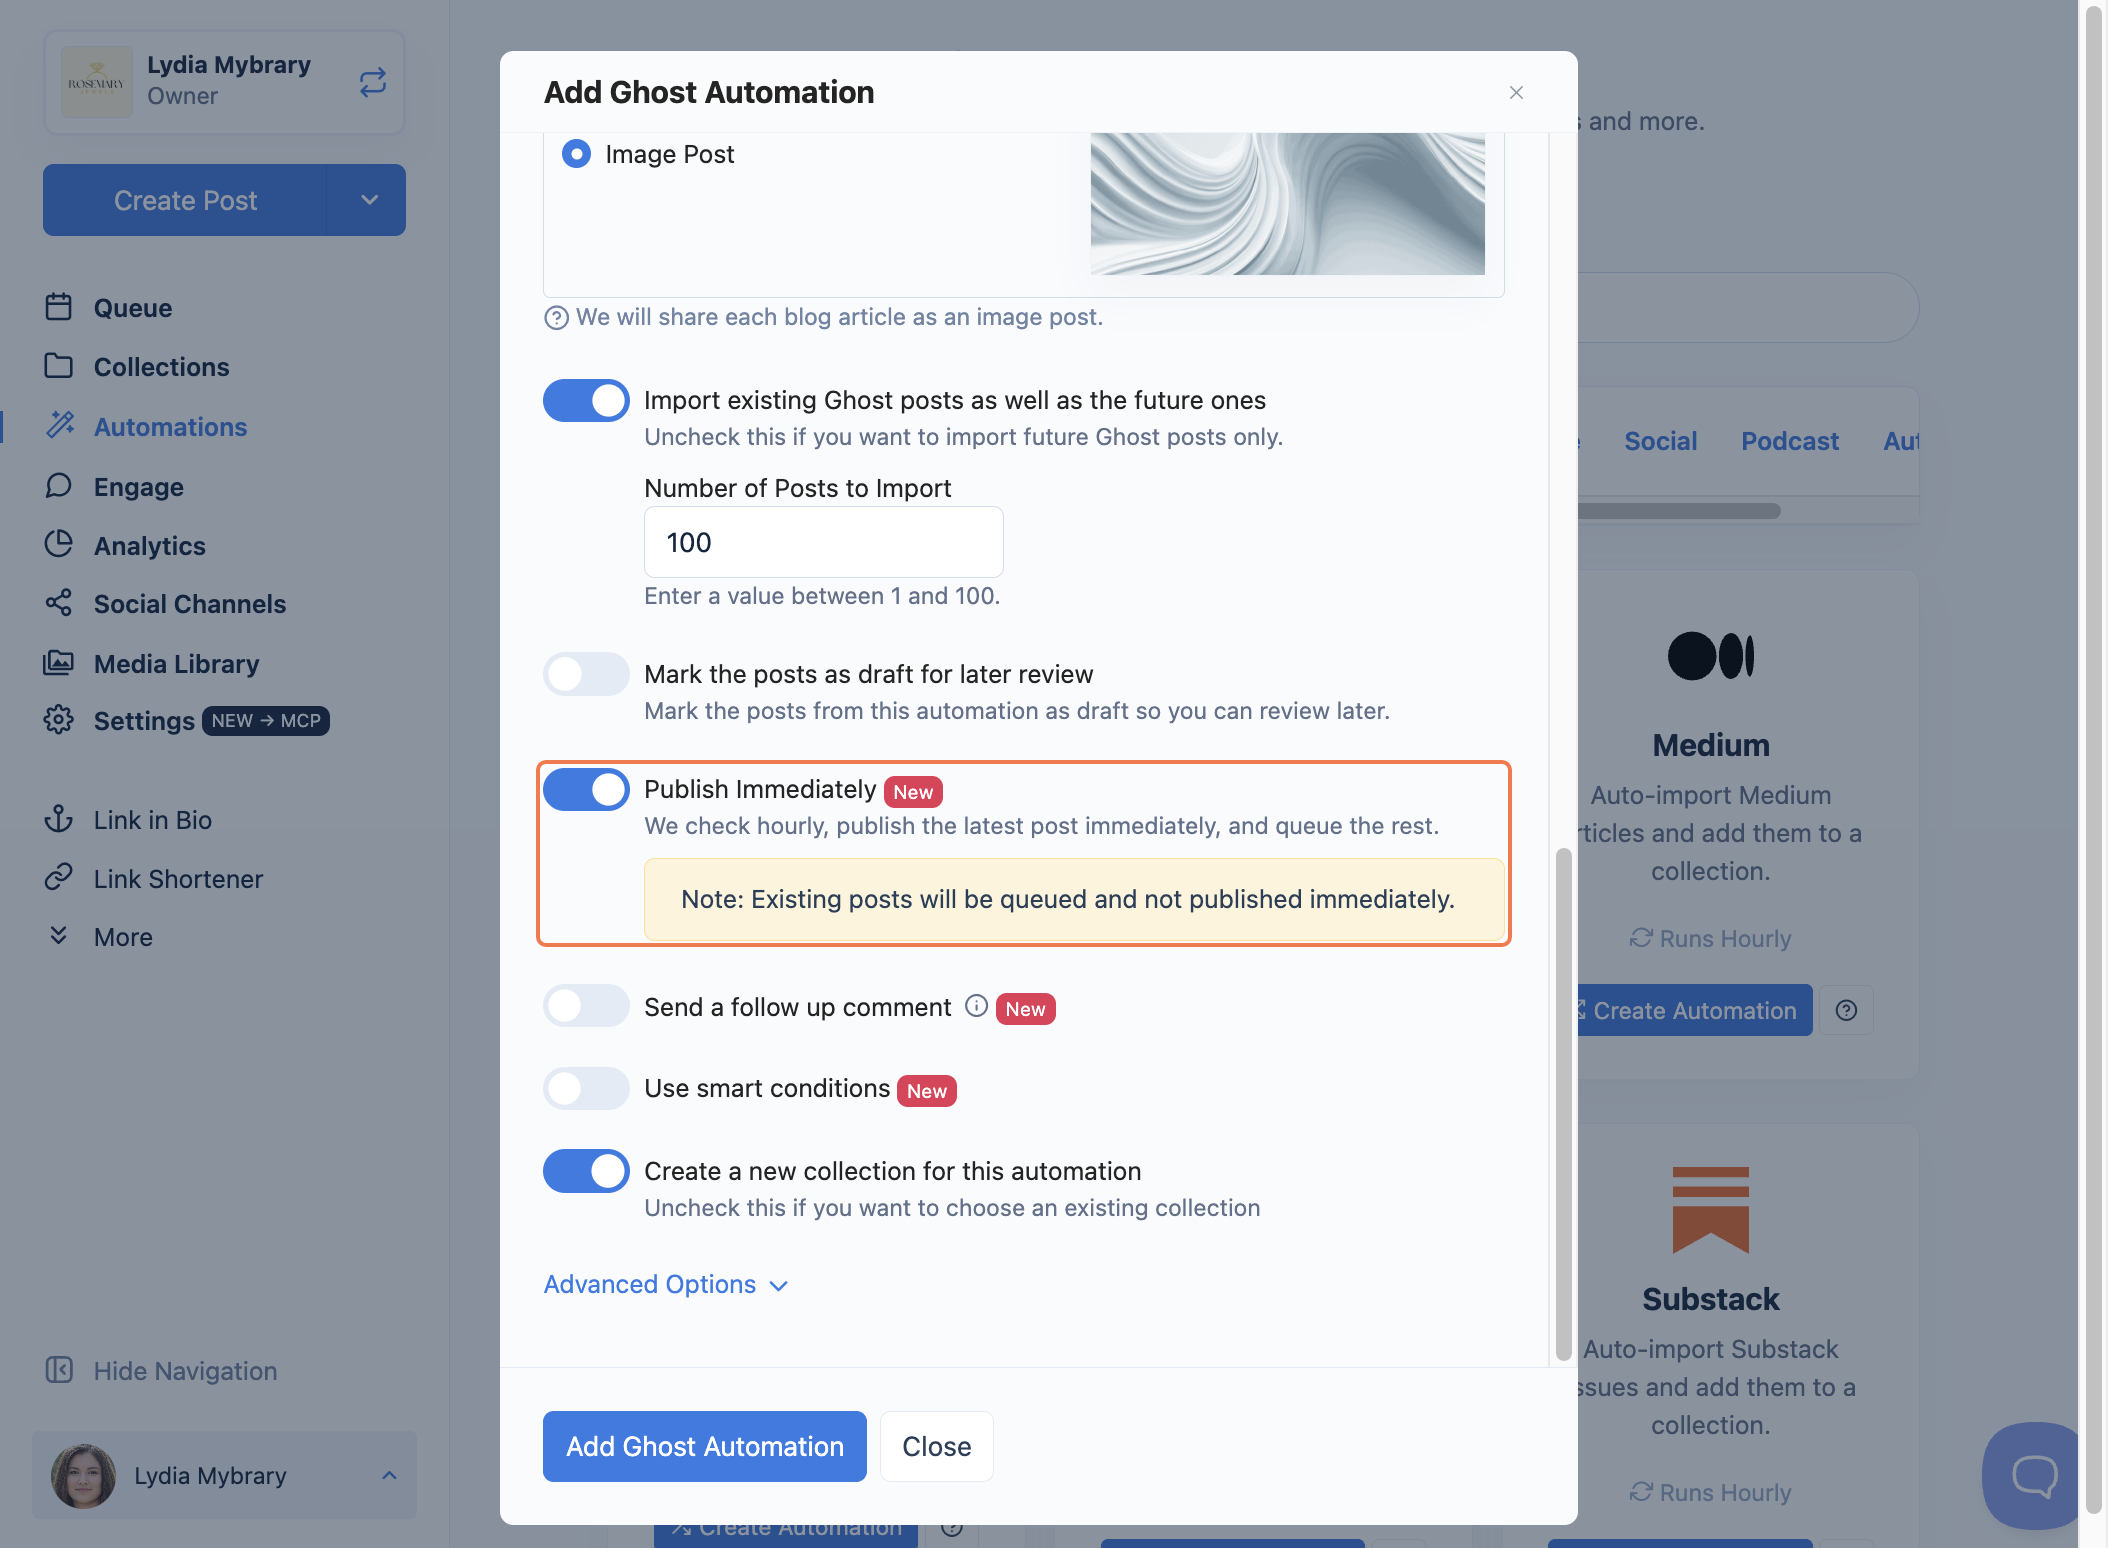
(Optional) Turn on Publish Immediately to have Nuelink check your blog hourly, publish the latest post right away, and queue the rest. Note: your existing posts will be queued, not published immediately.
-
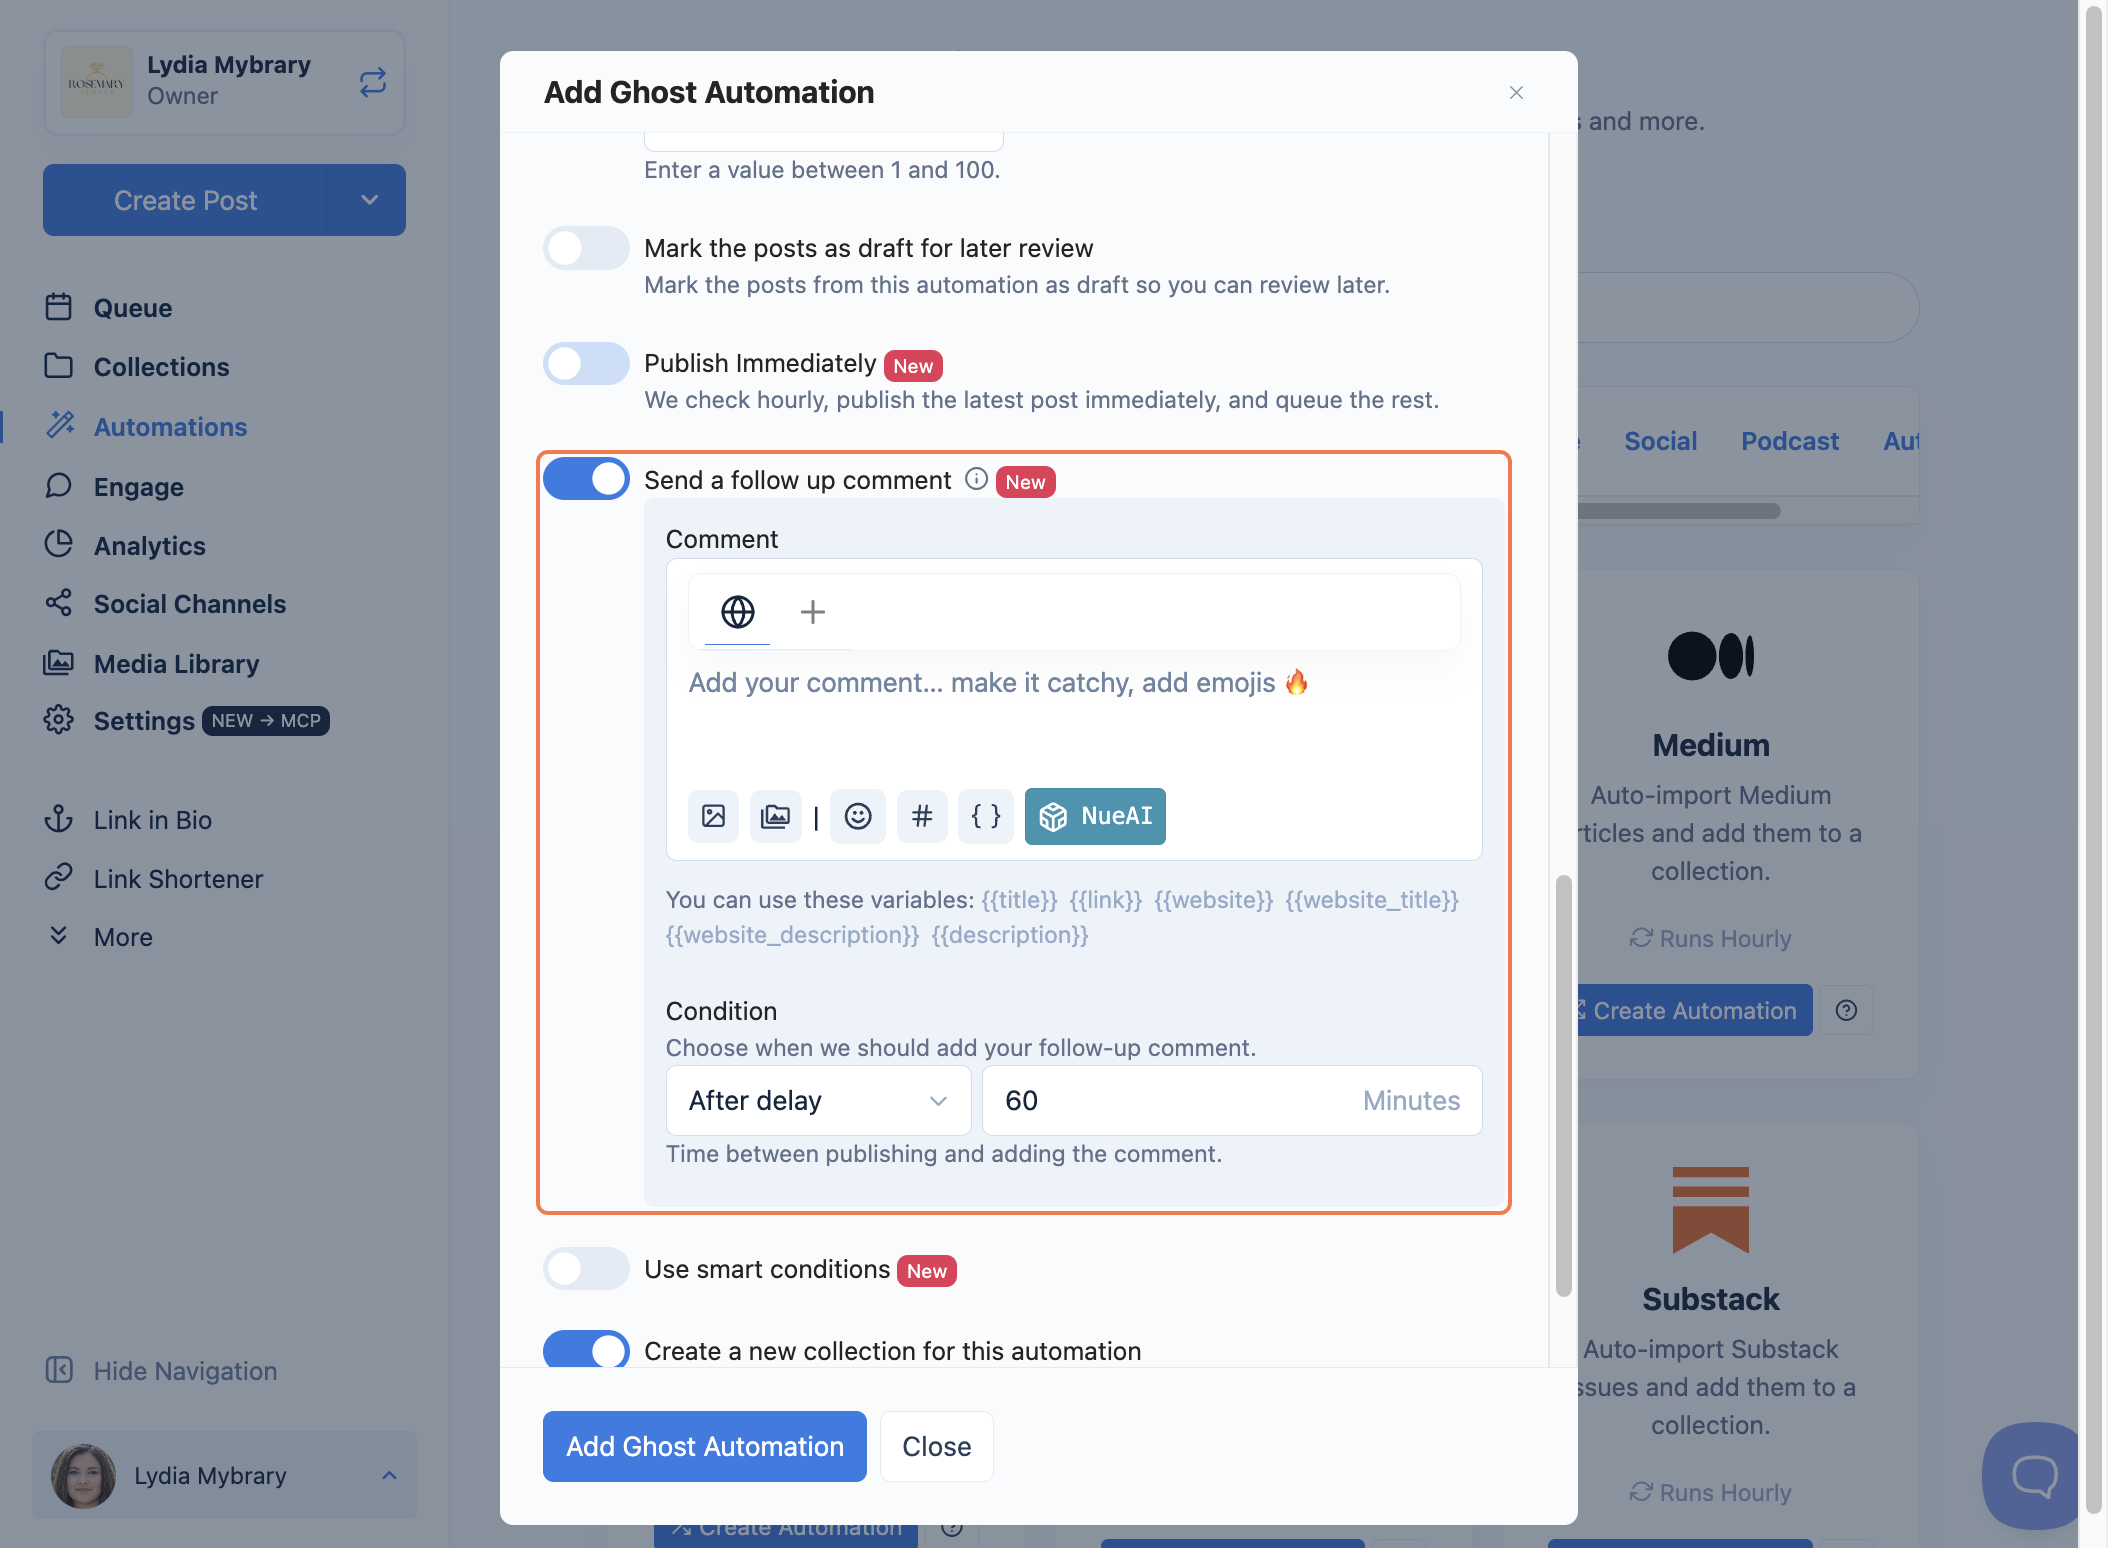
(Optional) Turn on Send a follow-up comment to automatically add a comment to your post after it's published. Write your comment (the same shortcodes are available), then use the Condition setting to choose when it's added, such as after a set delay.
-
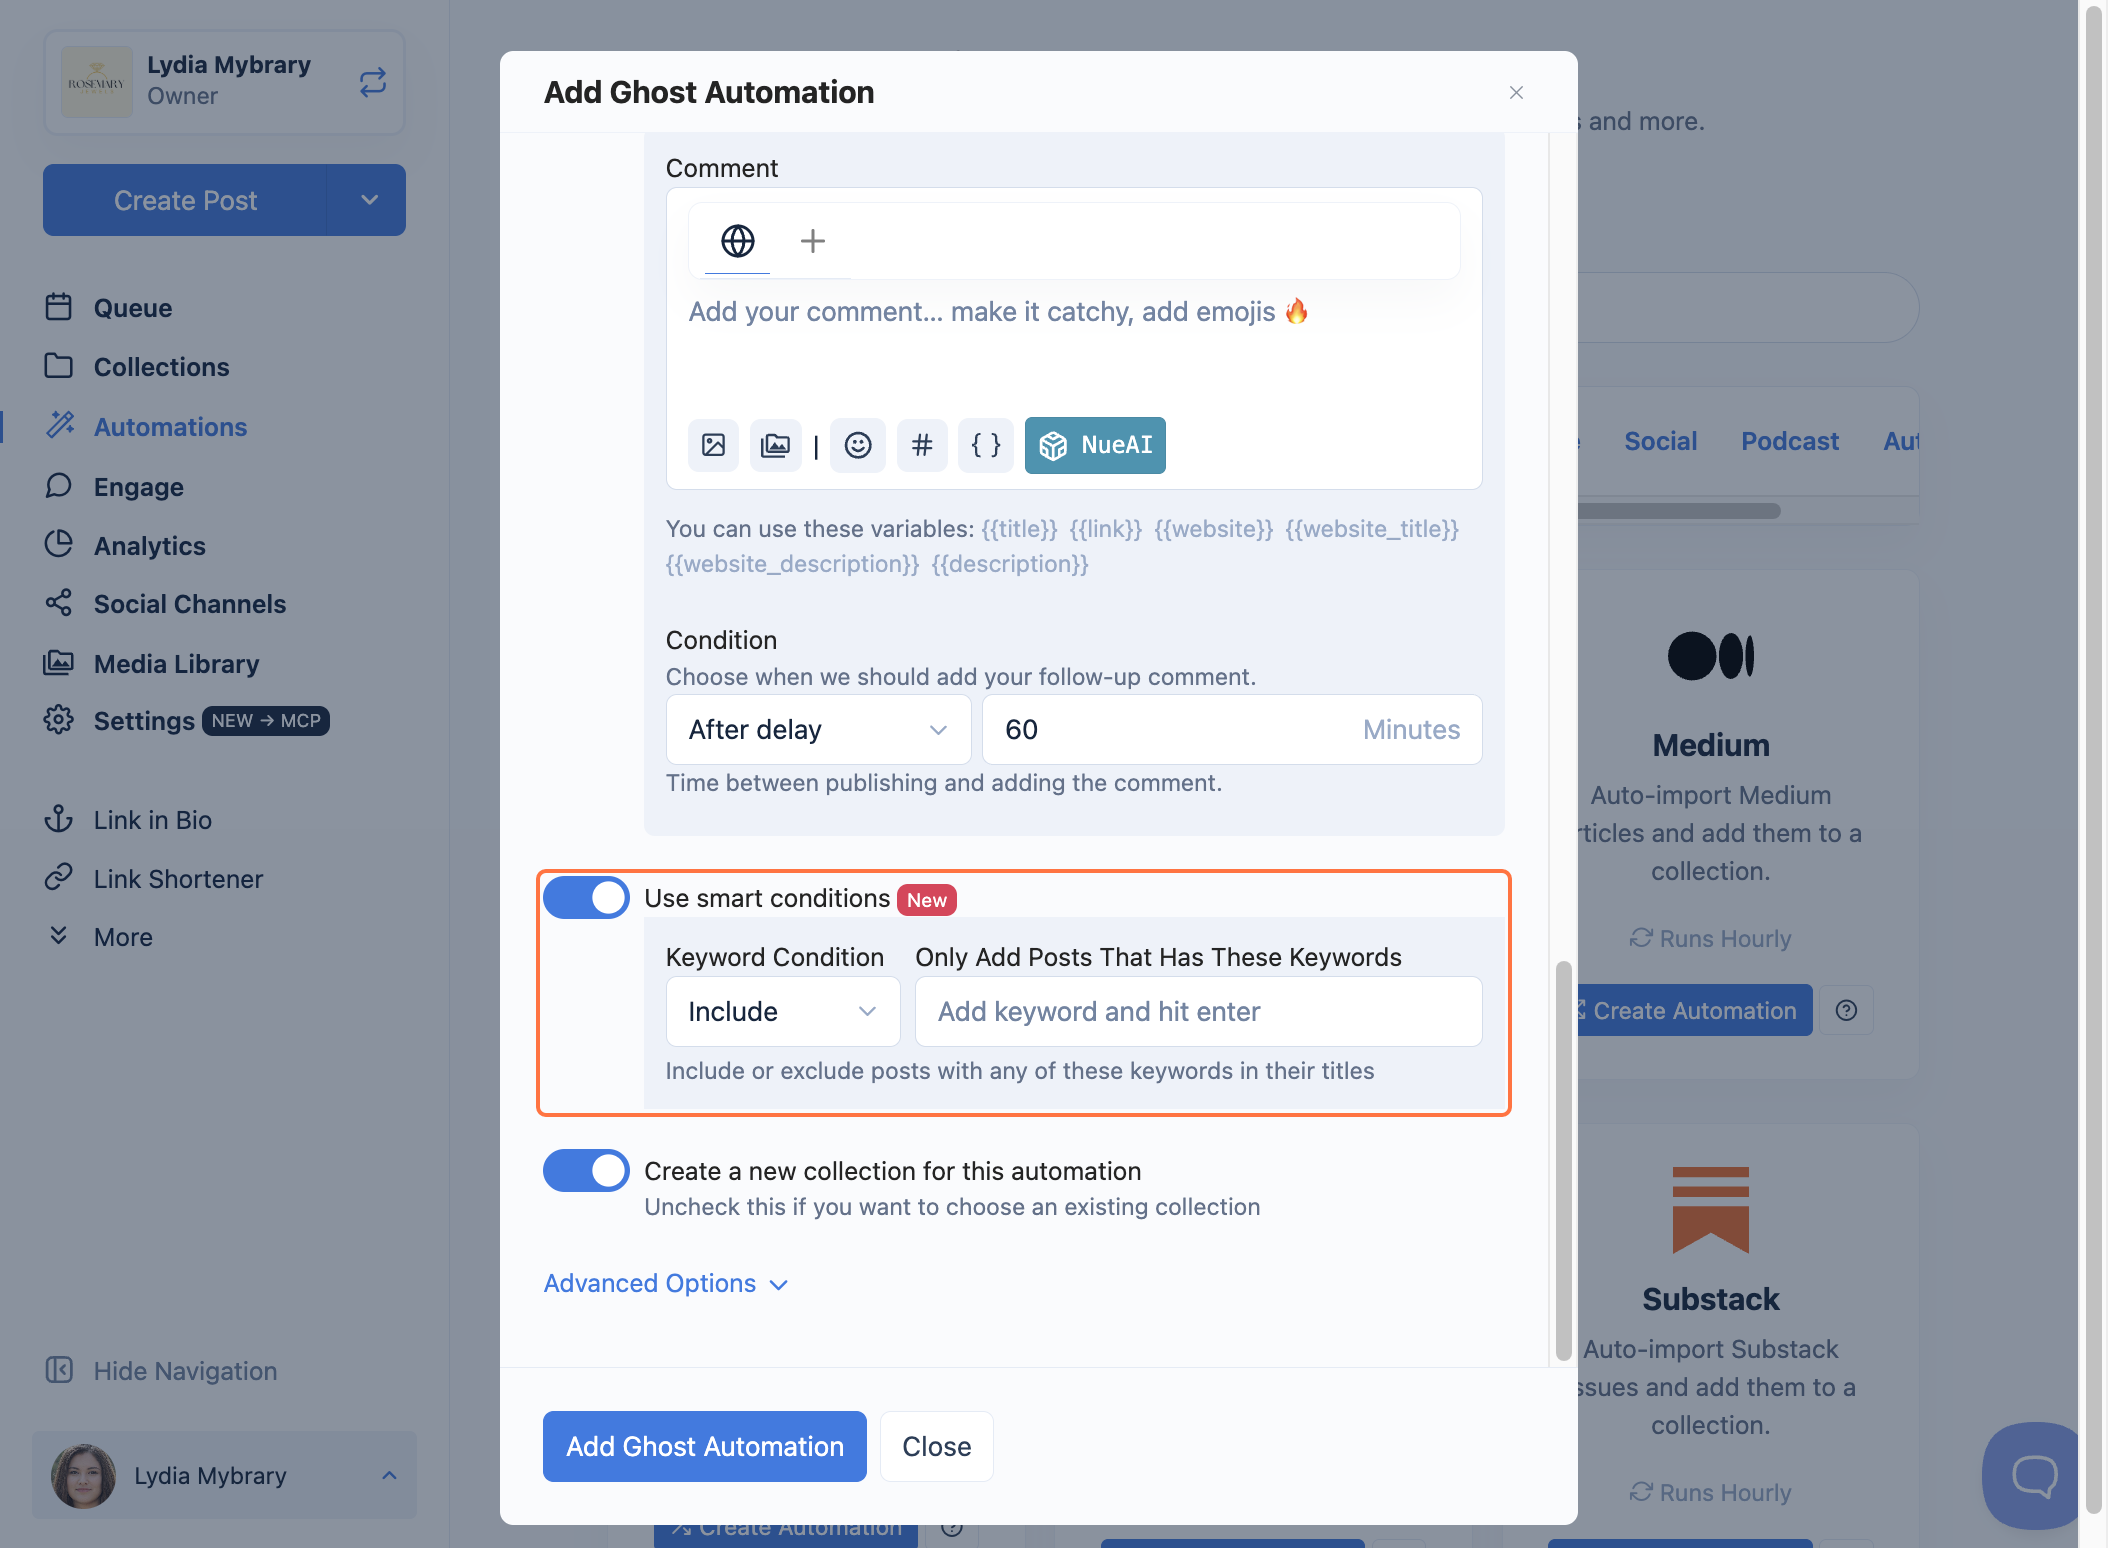
(Optional) Turn on Use smart conditions to set rules that control when and how your posts are shared.
-
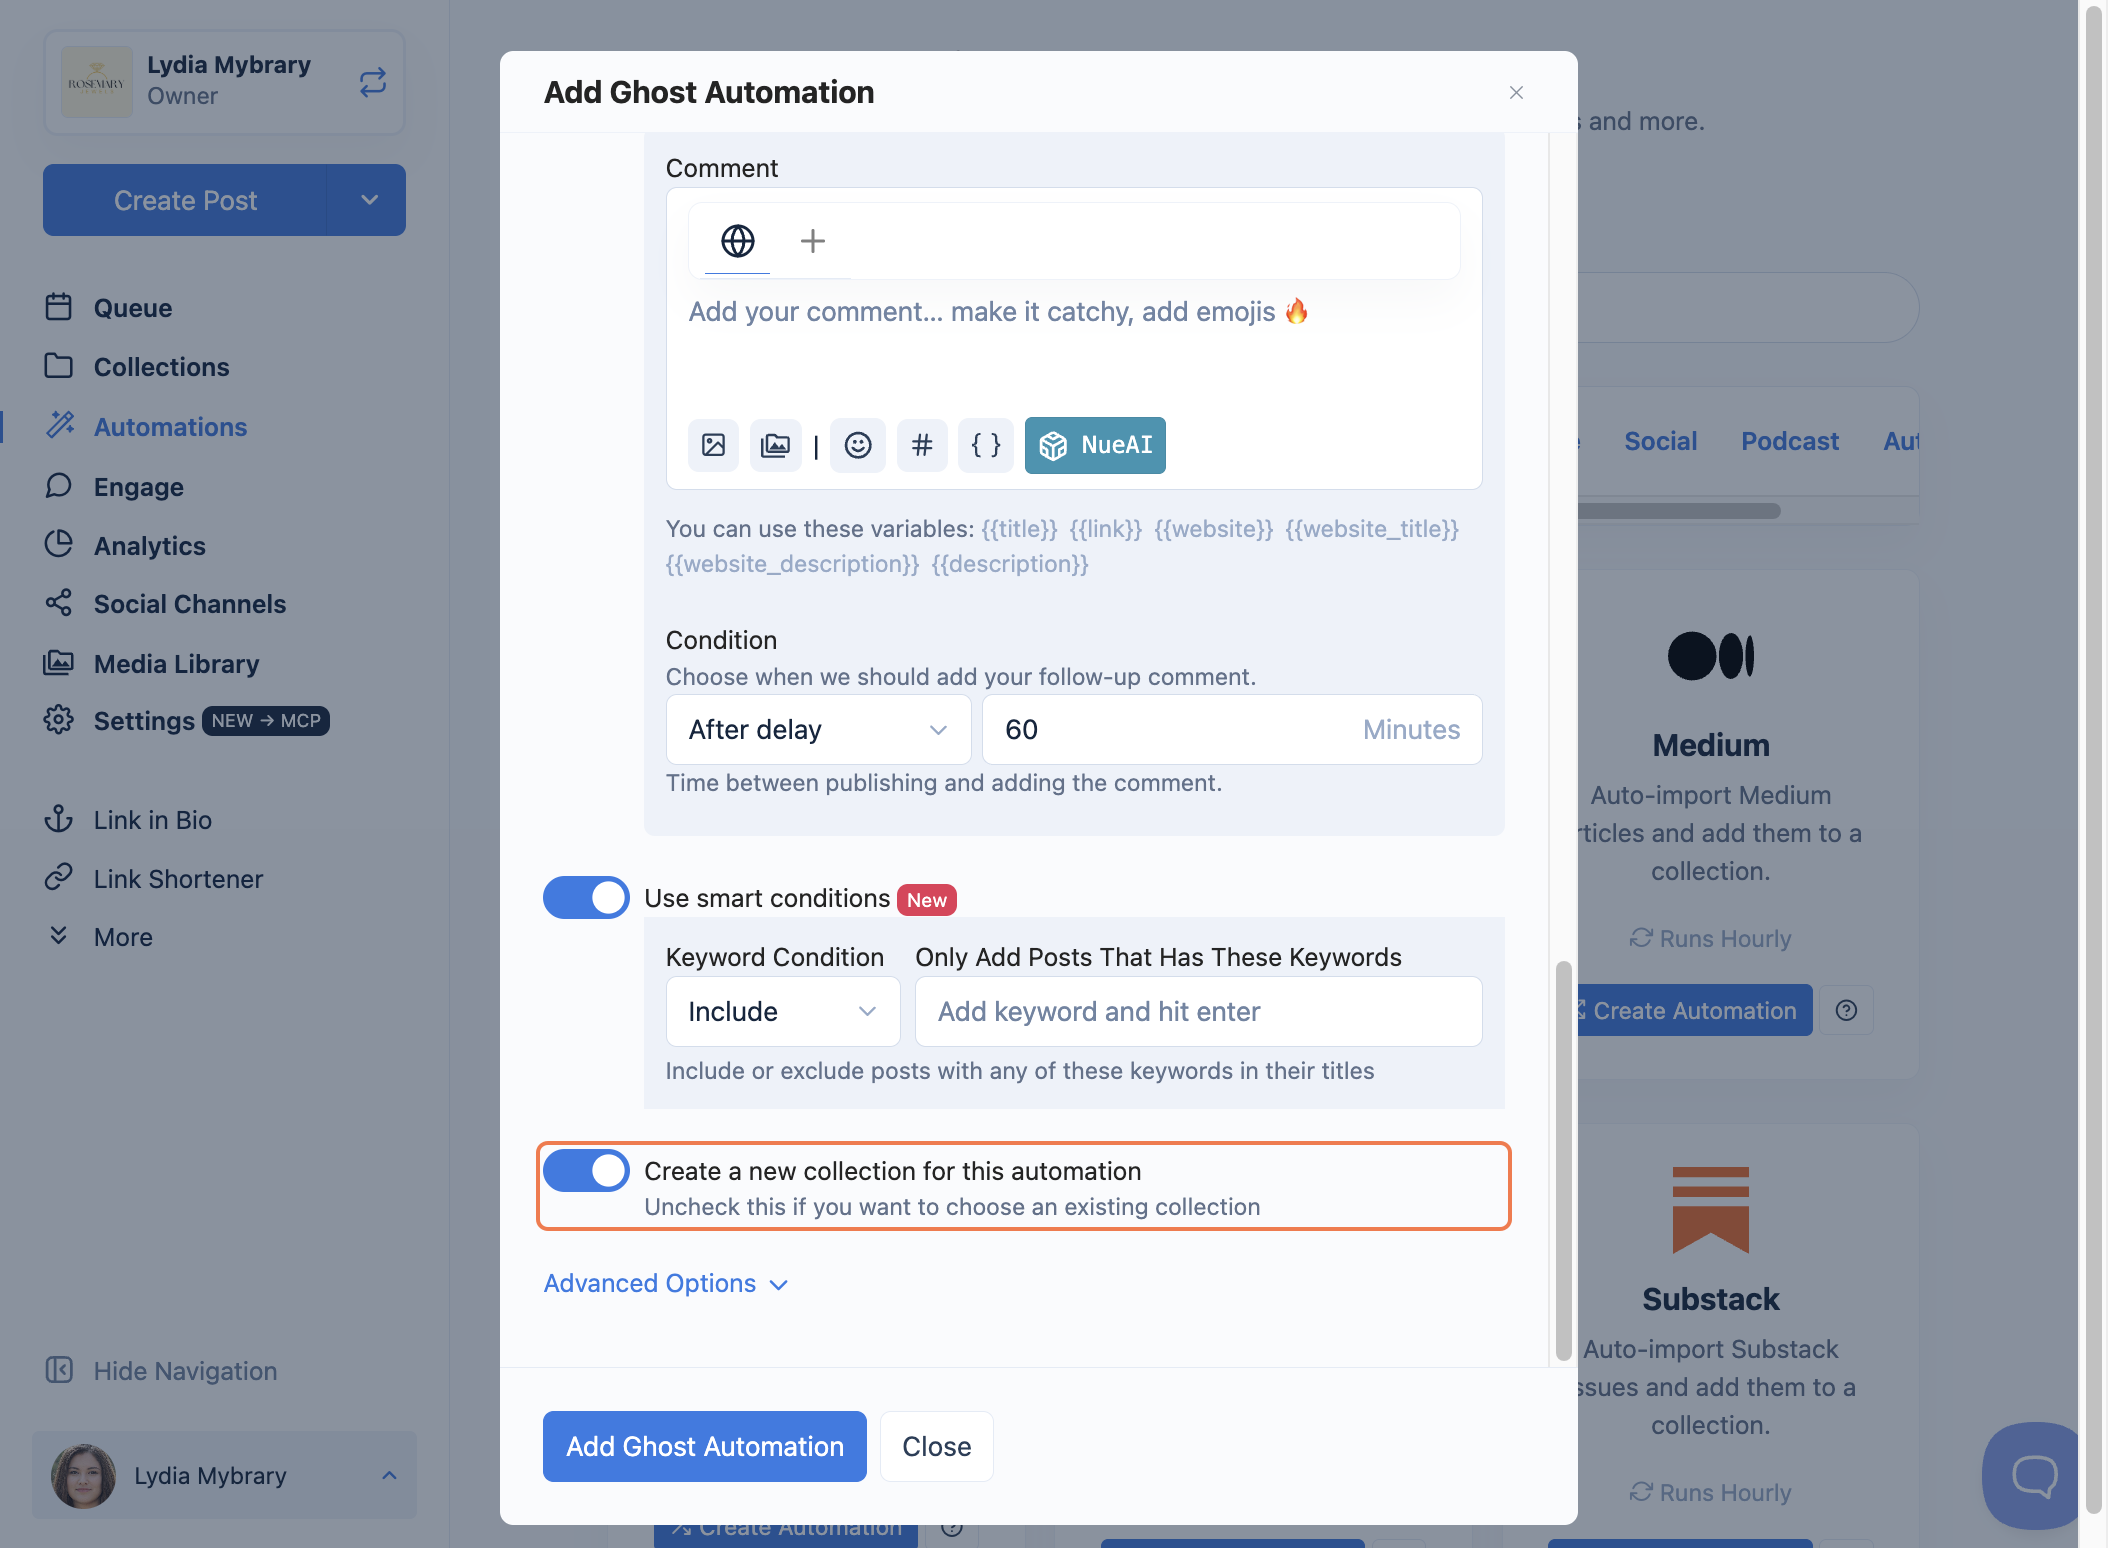
Choose where your posts go. Leave Create a new collection for this automation on to keep your Ghost posts in a brand-new collection, or uncheck it to pick an existing collection instead.
-
(Optional) Click Advanced Options for two extra settings. Turn on Auto-clean links to strip UTM and tracking parameters from your links before posting (applies to the
{{link}}shortcode only). Turn on Use a custom user agent if your blog blocks default crawlers from reading it.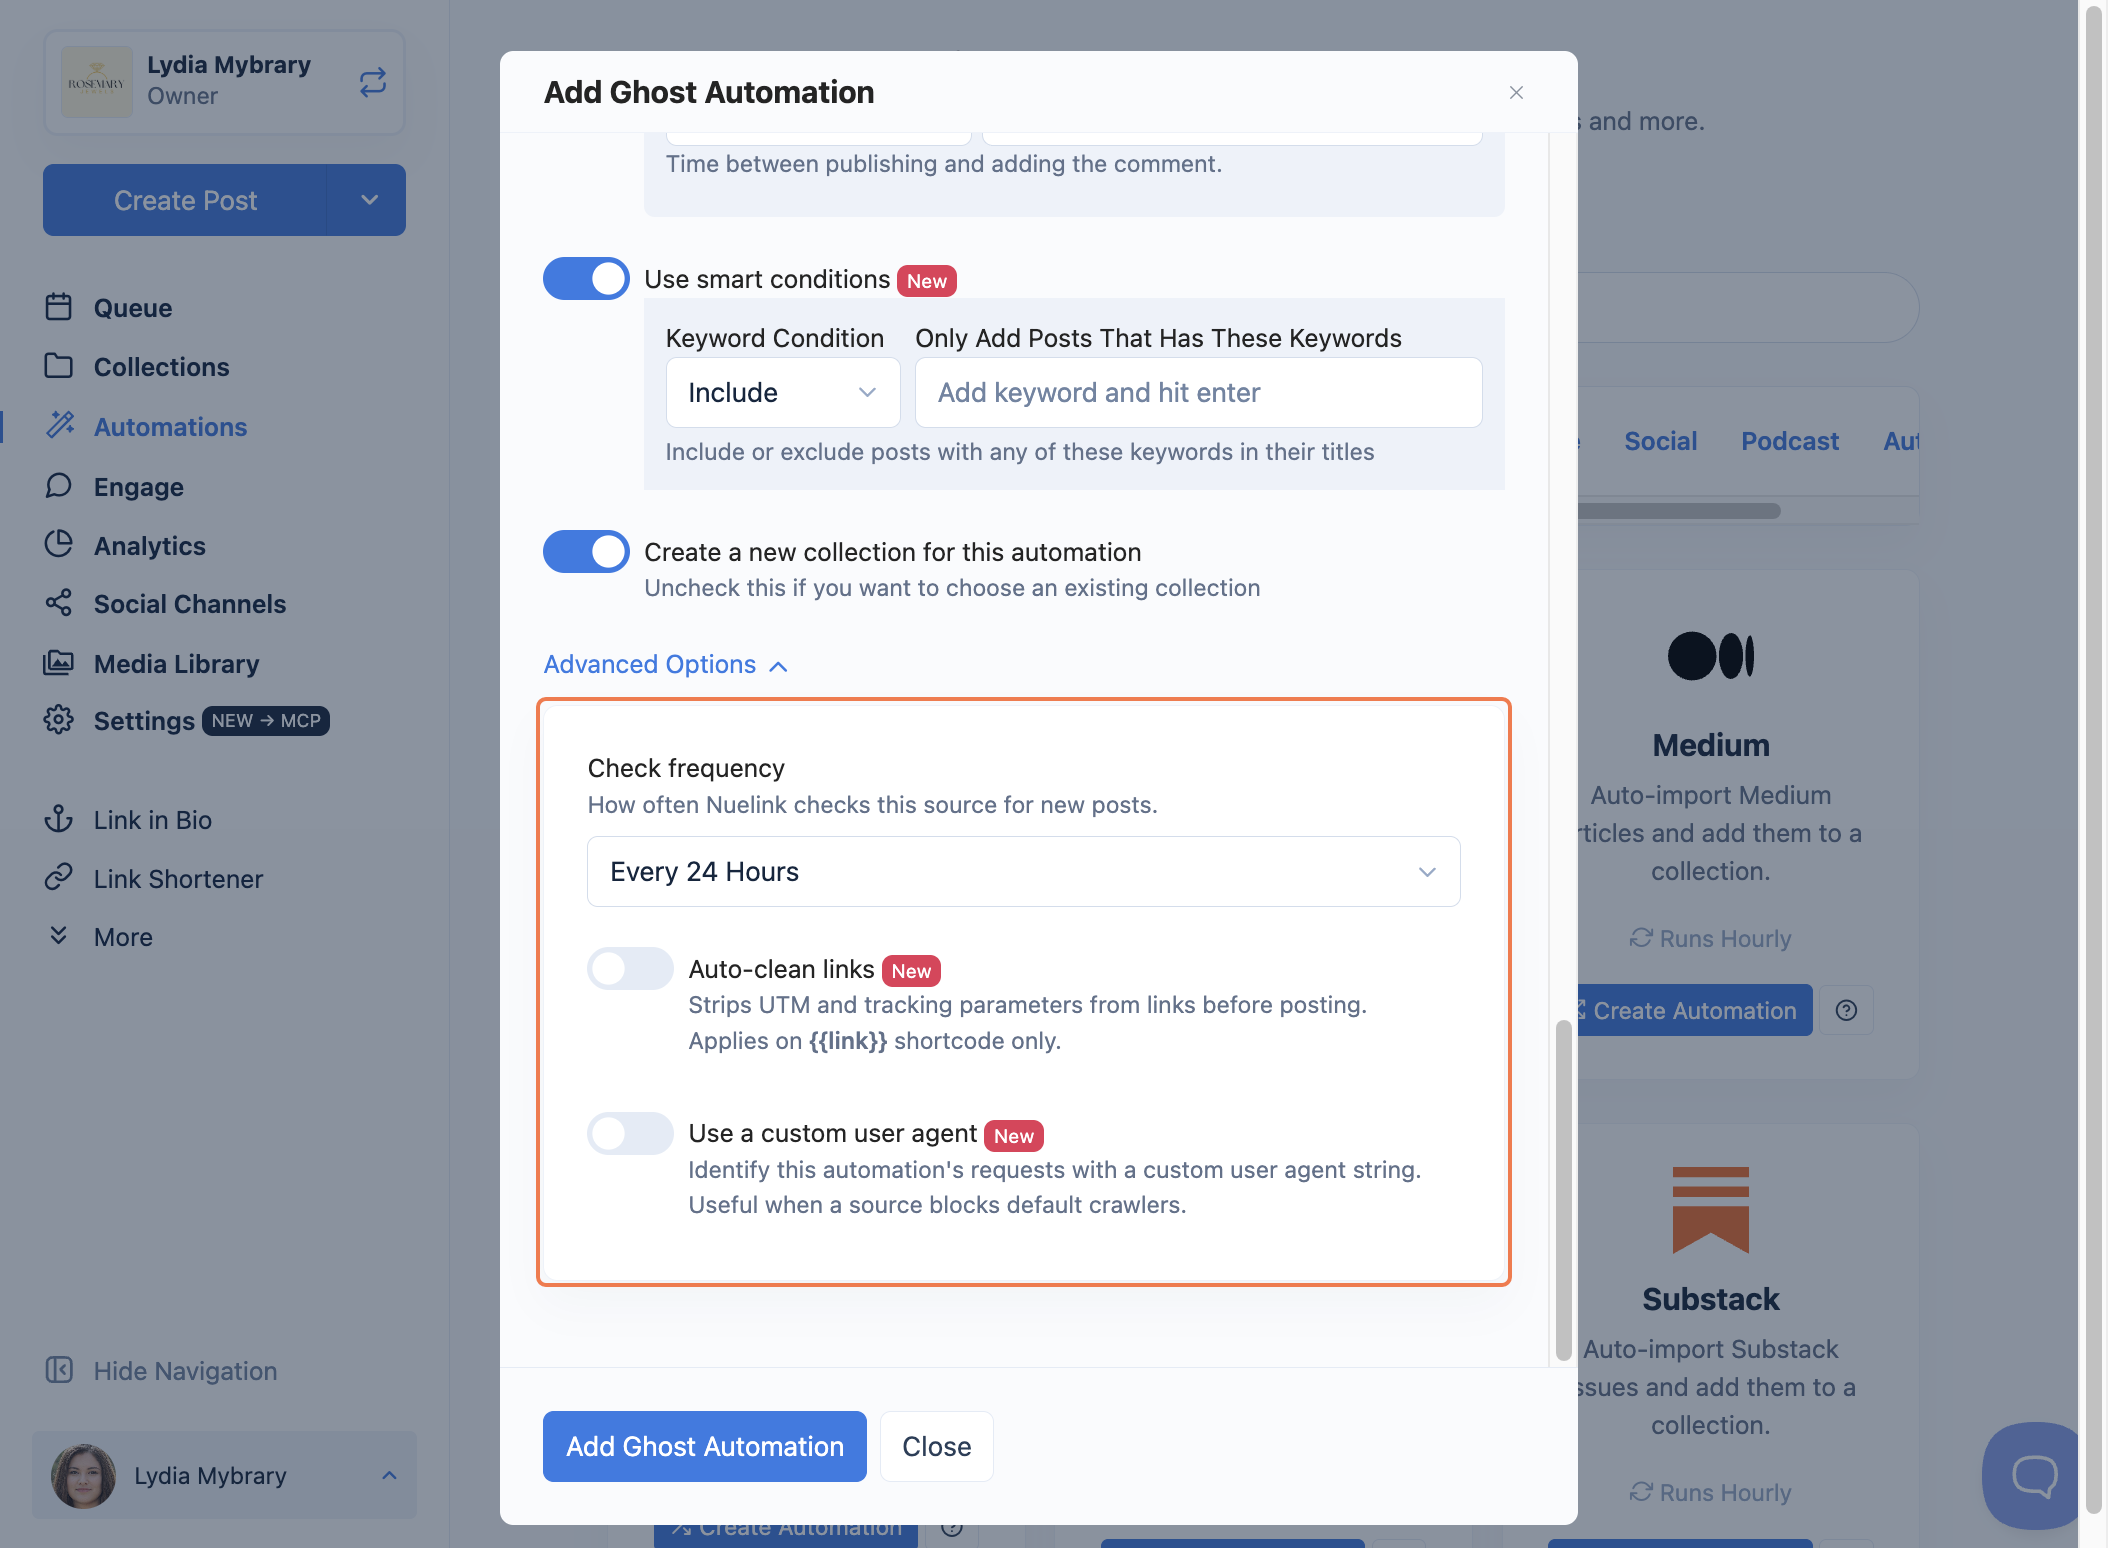
-
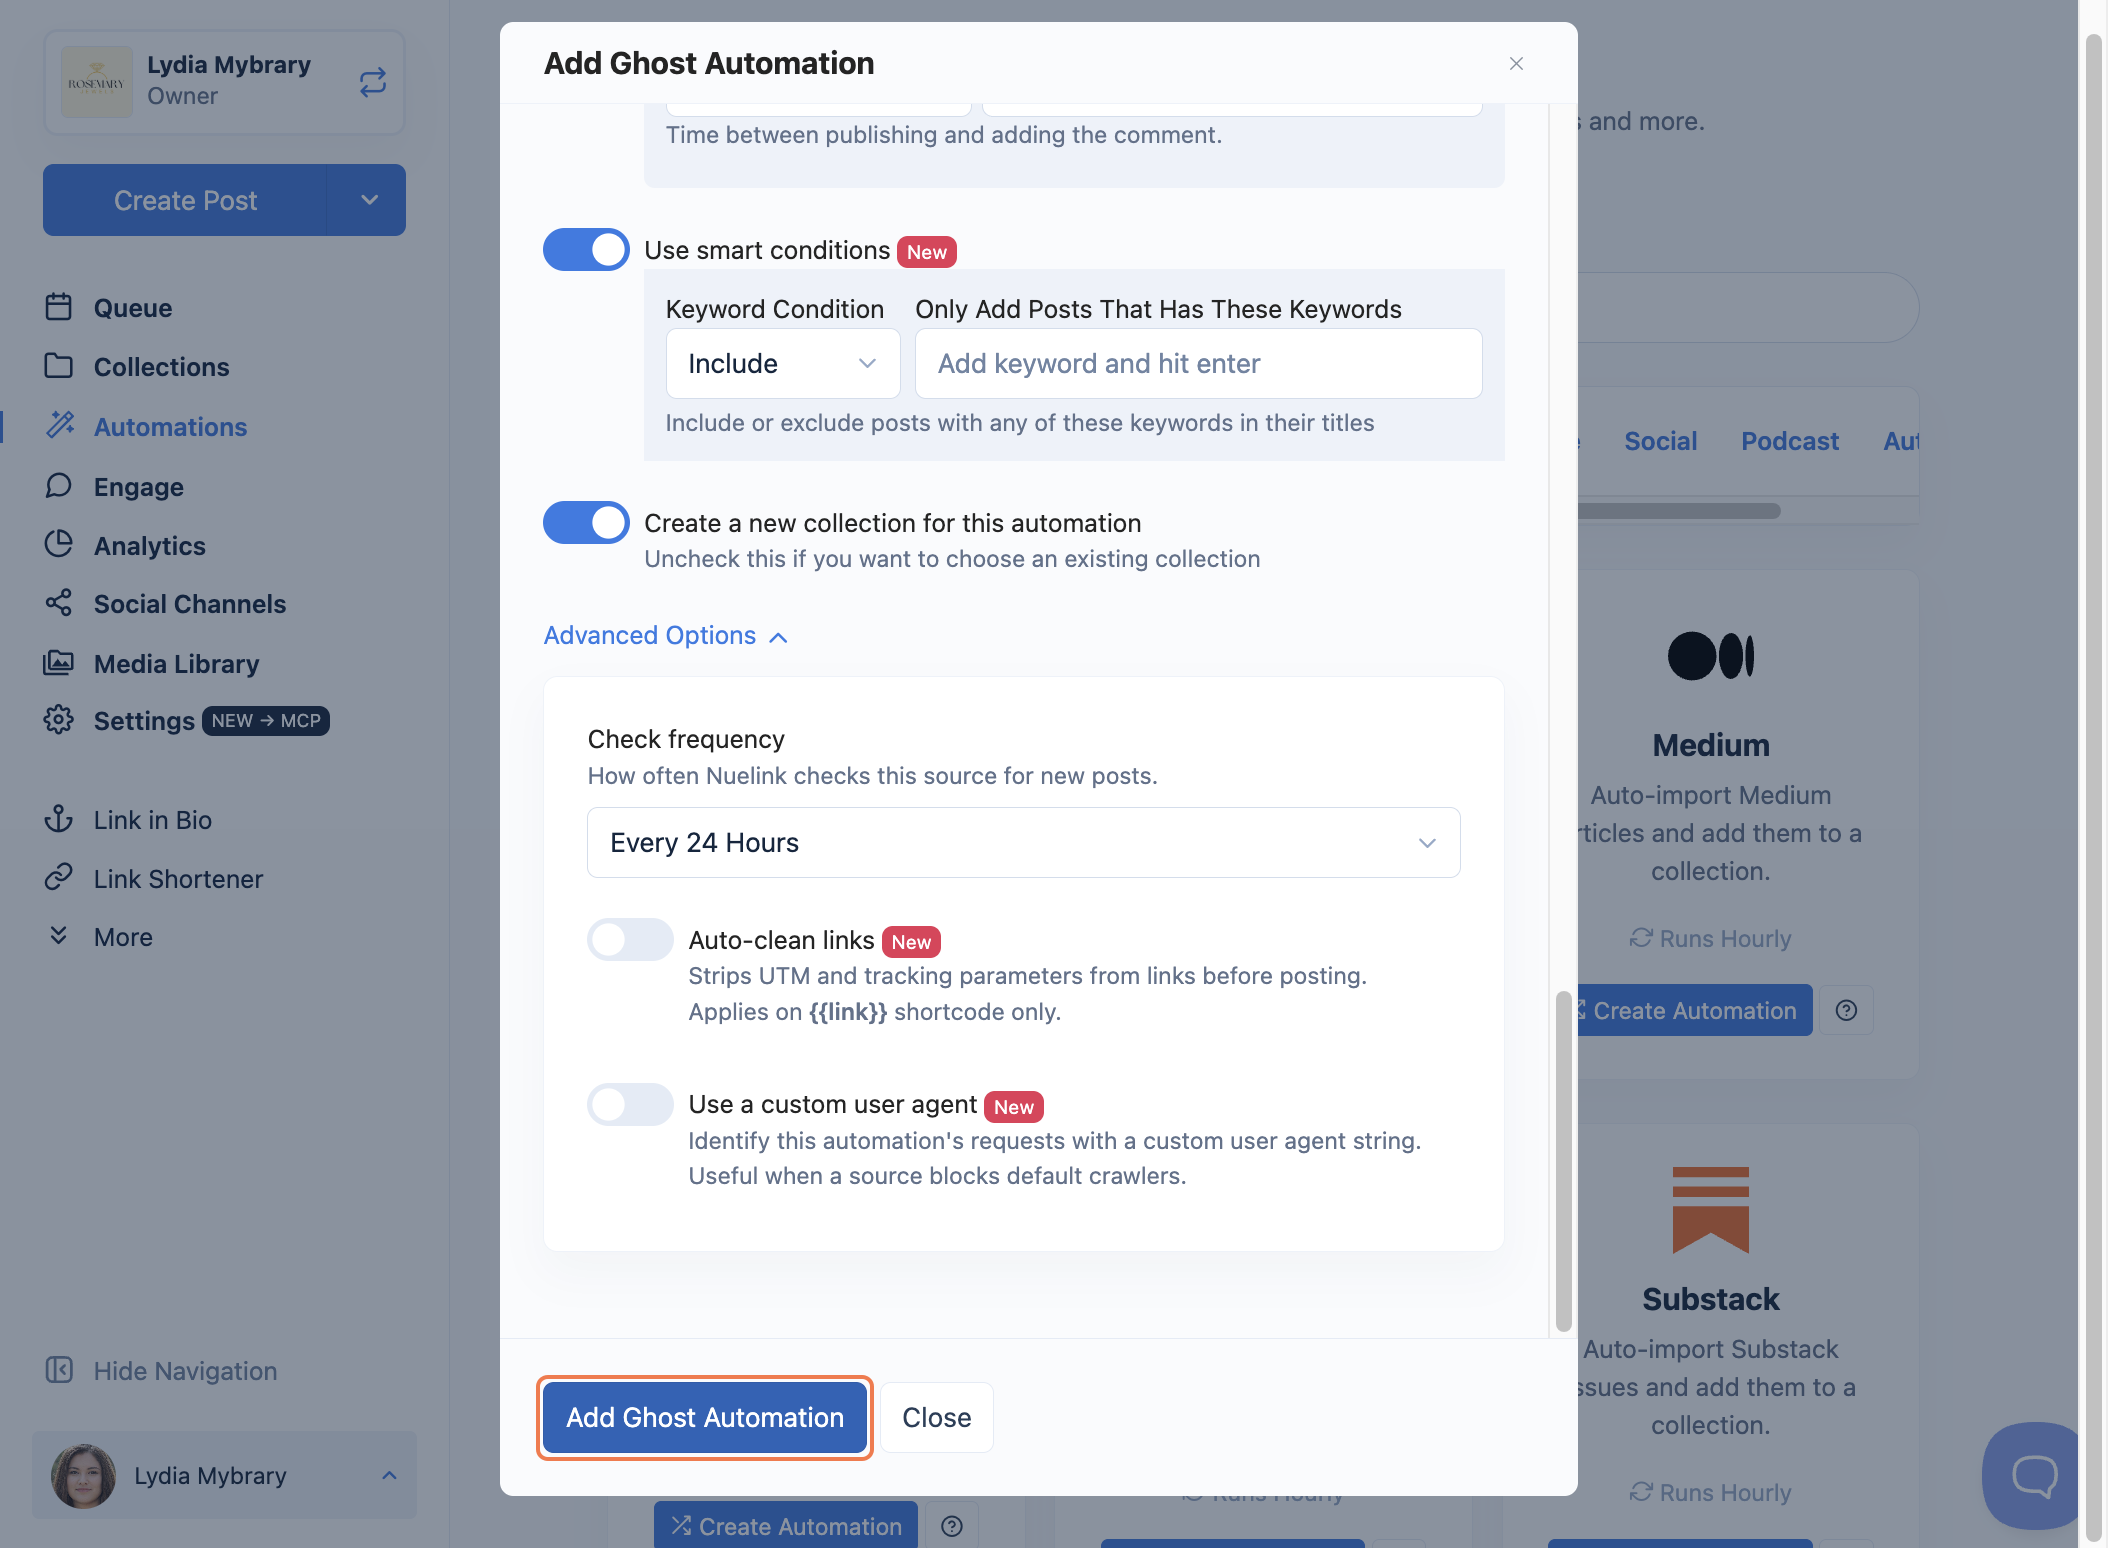
Click Add Ghost Automation at the bottom of the window.
You're all set! ✅ Your blog articles will be added to your collection automatically, both the ones you've already published and any new ones you post in the future. Nuelink checks your Ghost blog regularly for new articles, and if you turned on Publish Immediately, it checks every hour.
Step 2: Set Up the Collection
When you create the automation, Nuelink makes a collection for it and starts importing your posts. Open that collection and go to its Settings tab to choose your channels, schedule, and recycling rules. Posts in this collection follow these defaults automatically.
-
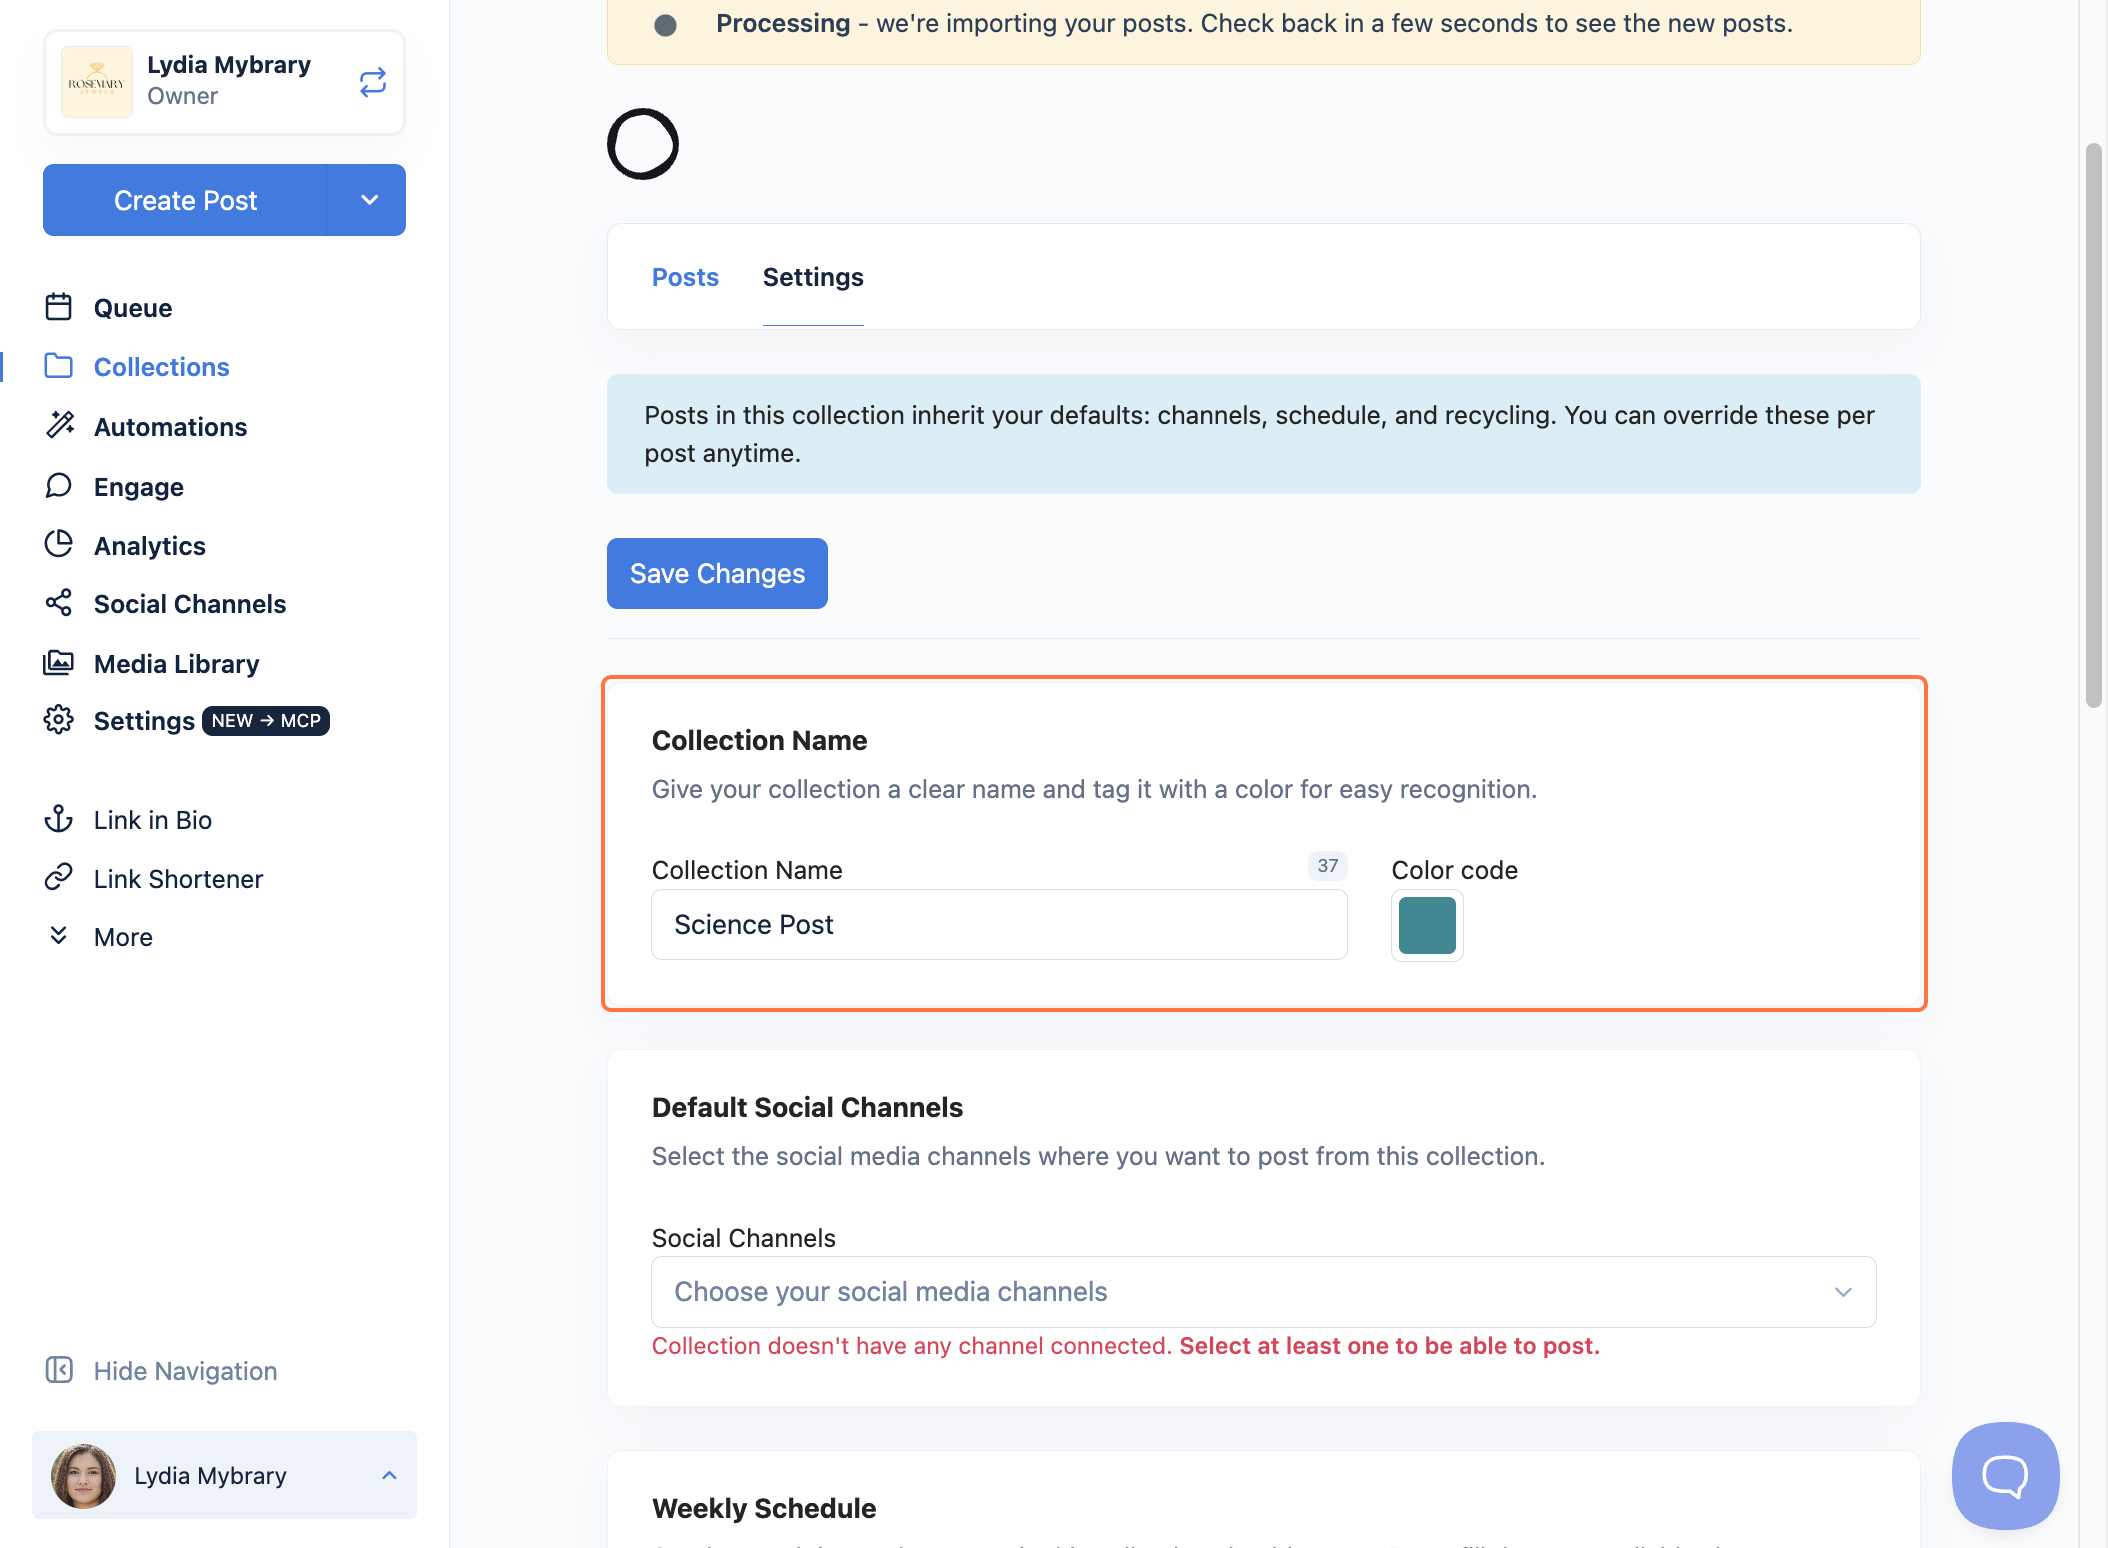
Under Collection Name, give the collection a clear name and pick a Color code so it's easy to spot.
-
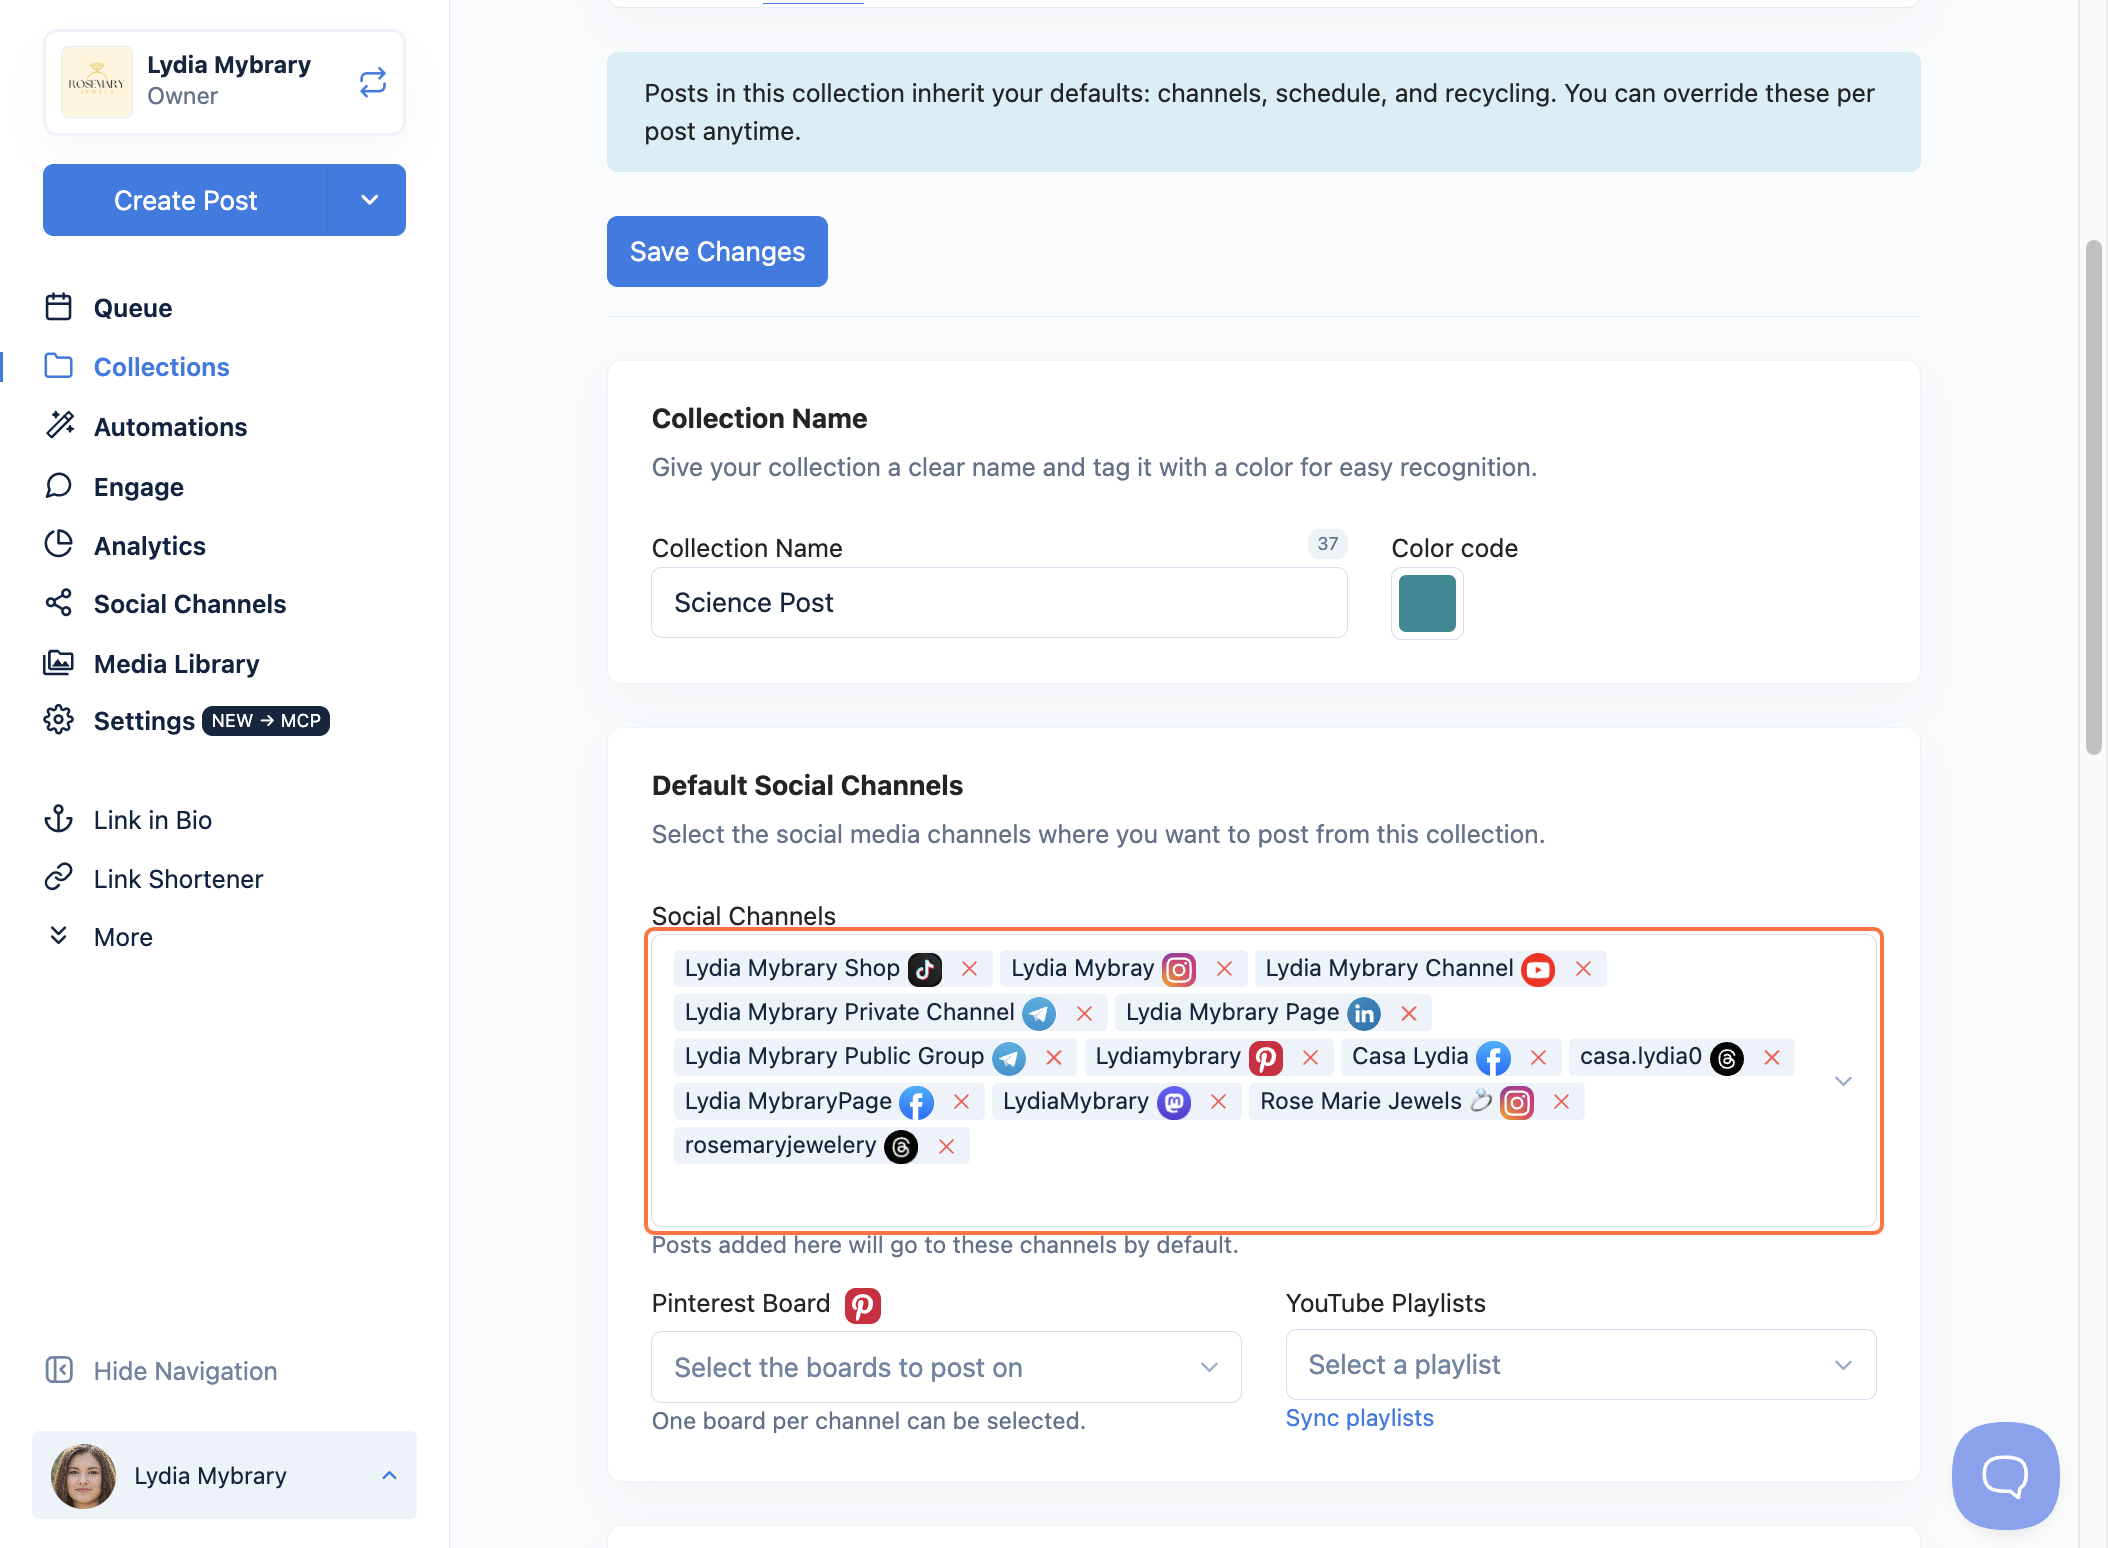
Under Default Social Channels, select the channels you want to post to. If you post to Pinterest, choose a board under Pinterest Board (one board per channel).
-
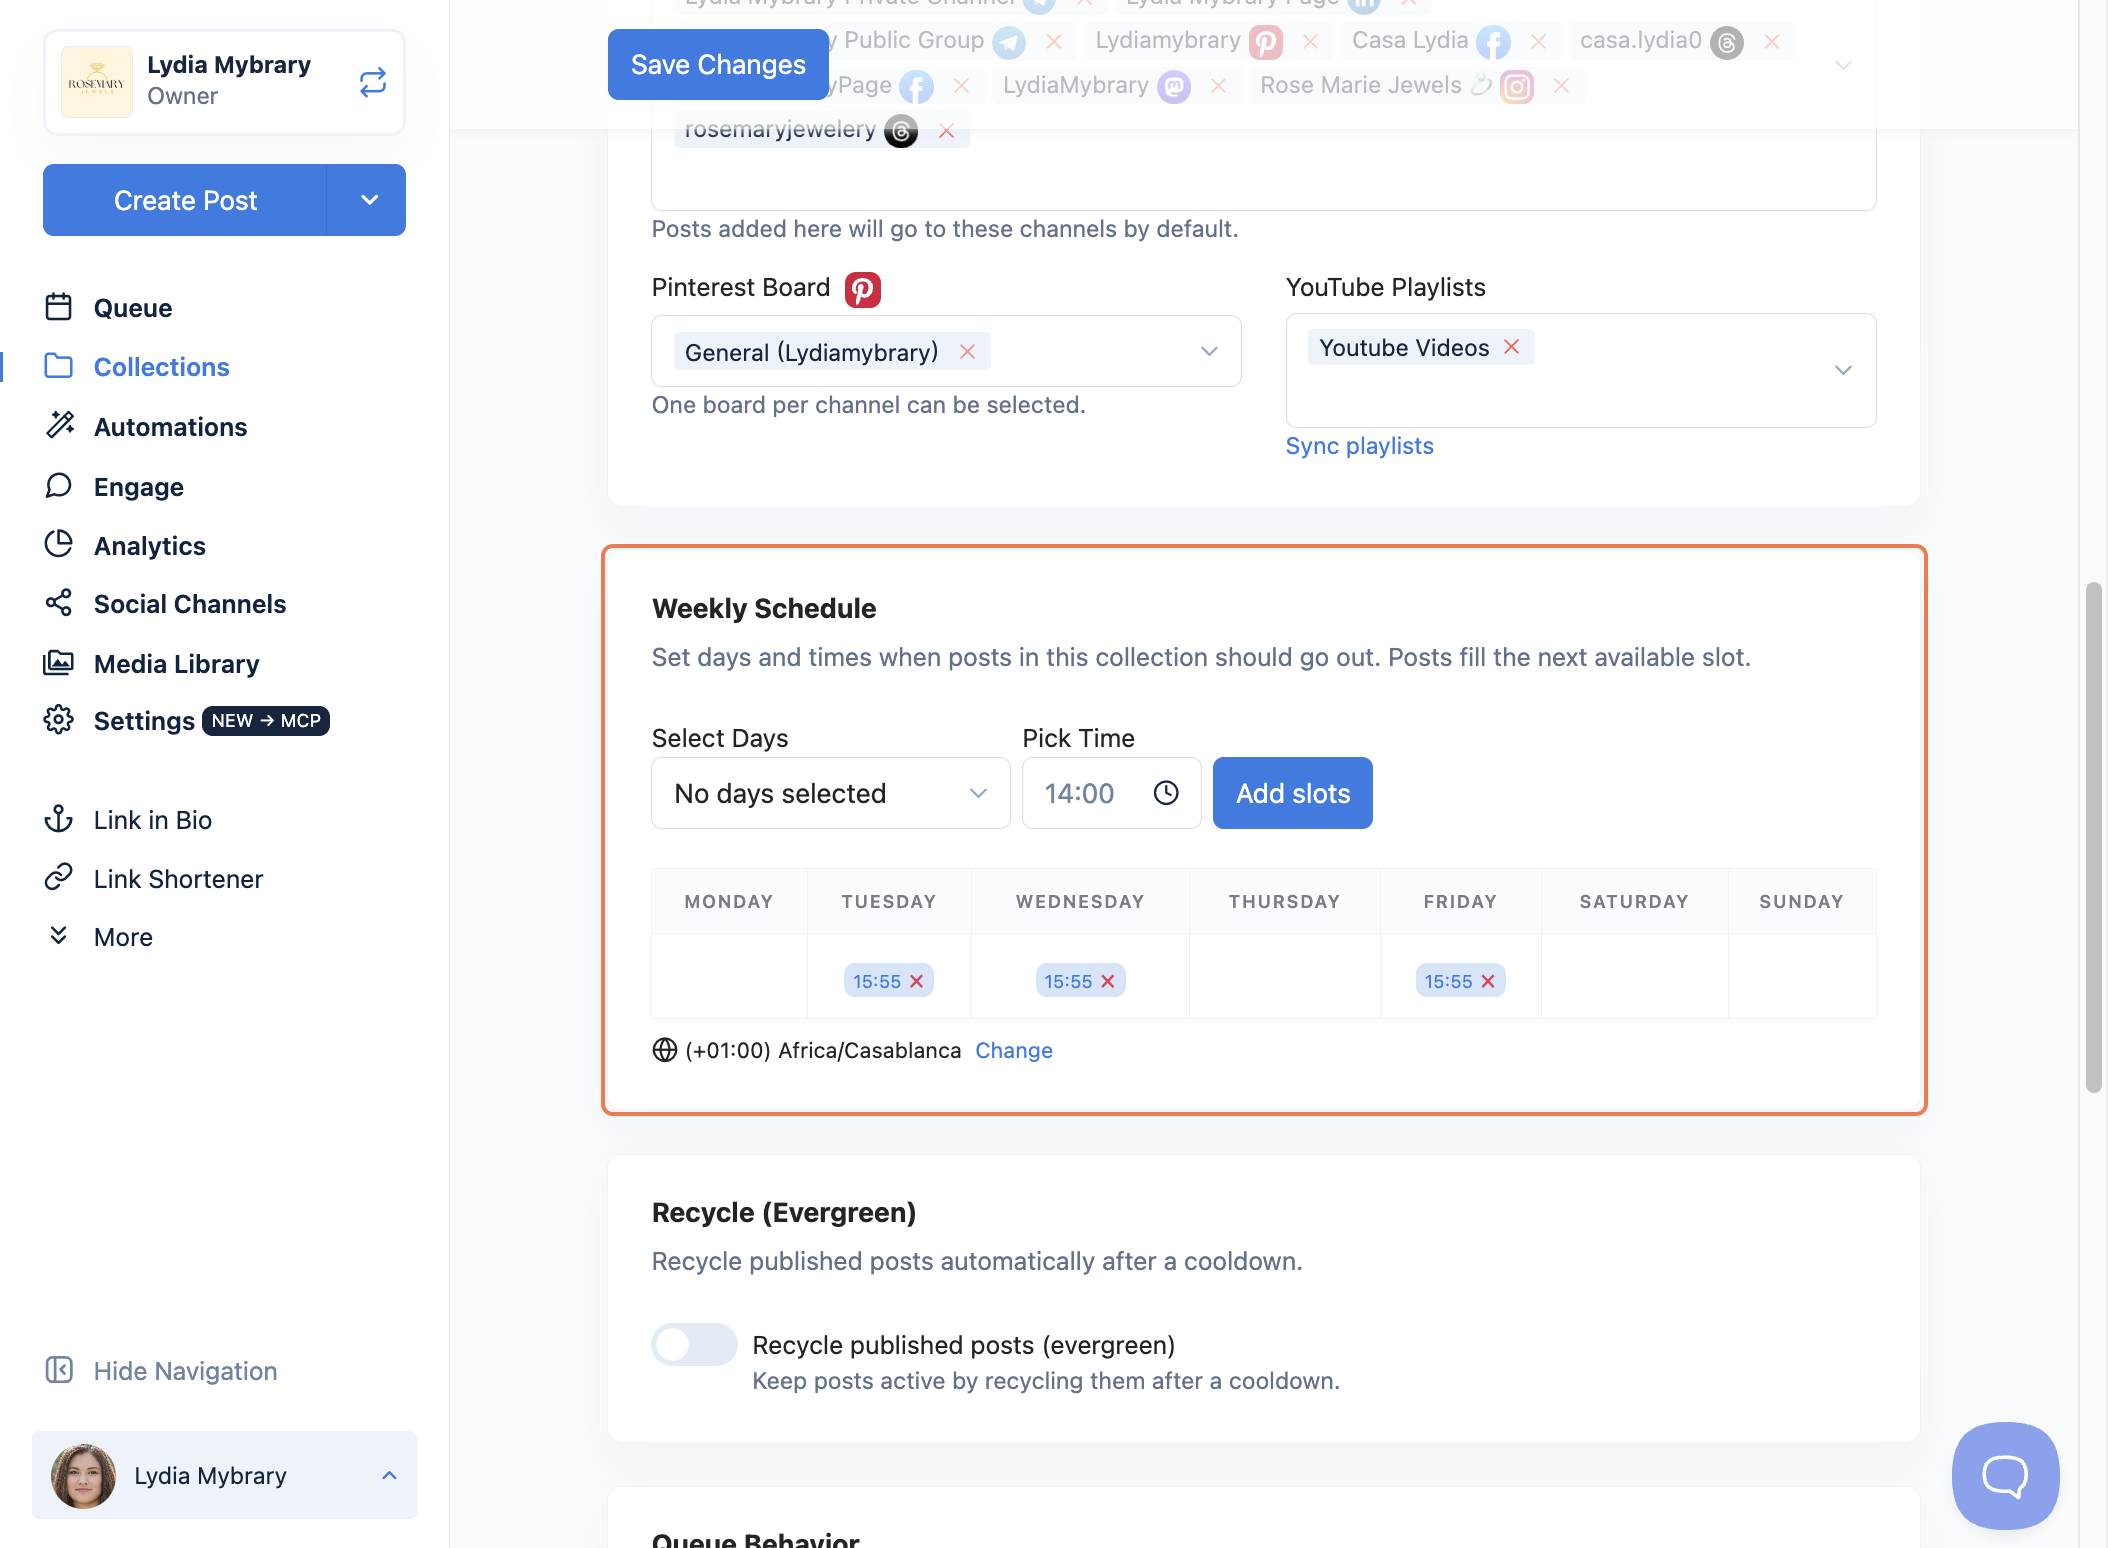
Under Weekly Schedule, set the days and times your posts should go out. Choose your days under Select Days, pick a time under Pick Time, then click Add slots. Posts fill the next available slot. Check that the time zone shown is correct, and click Change if you need to adjust it.
-
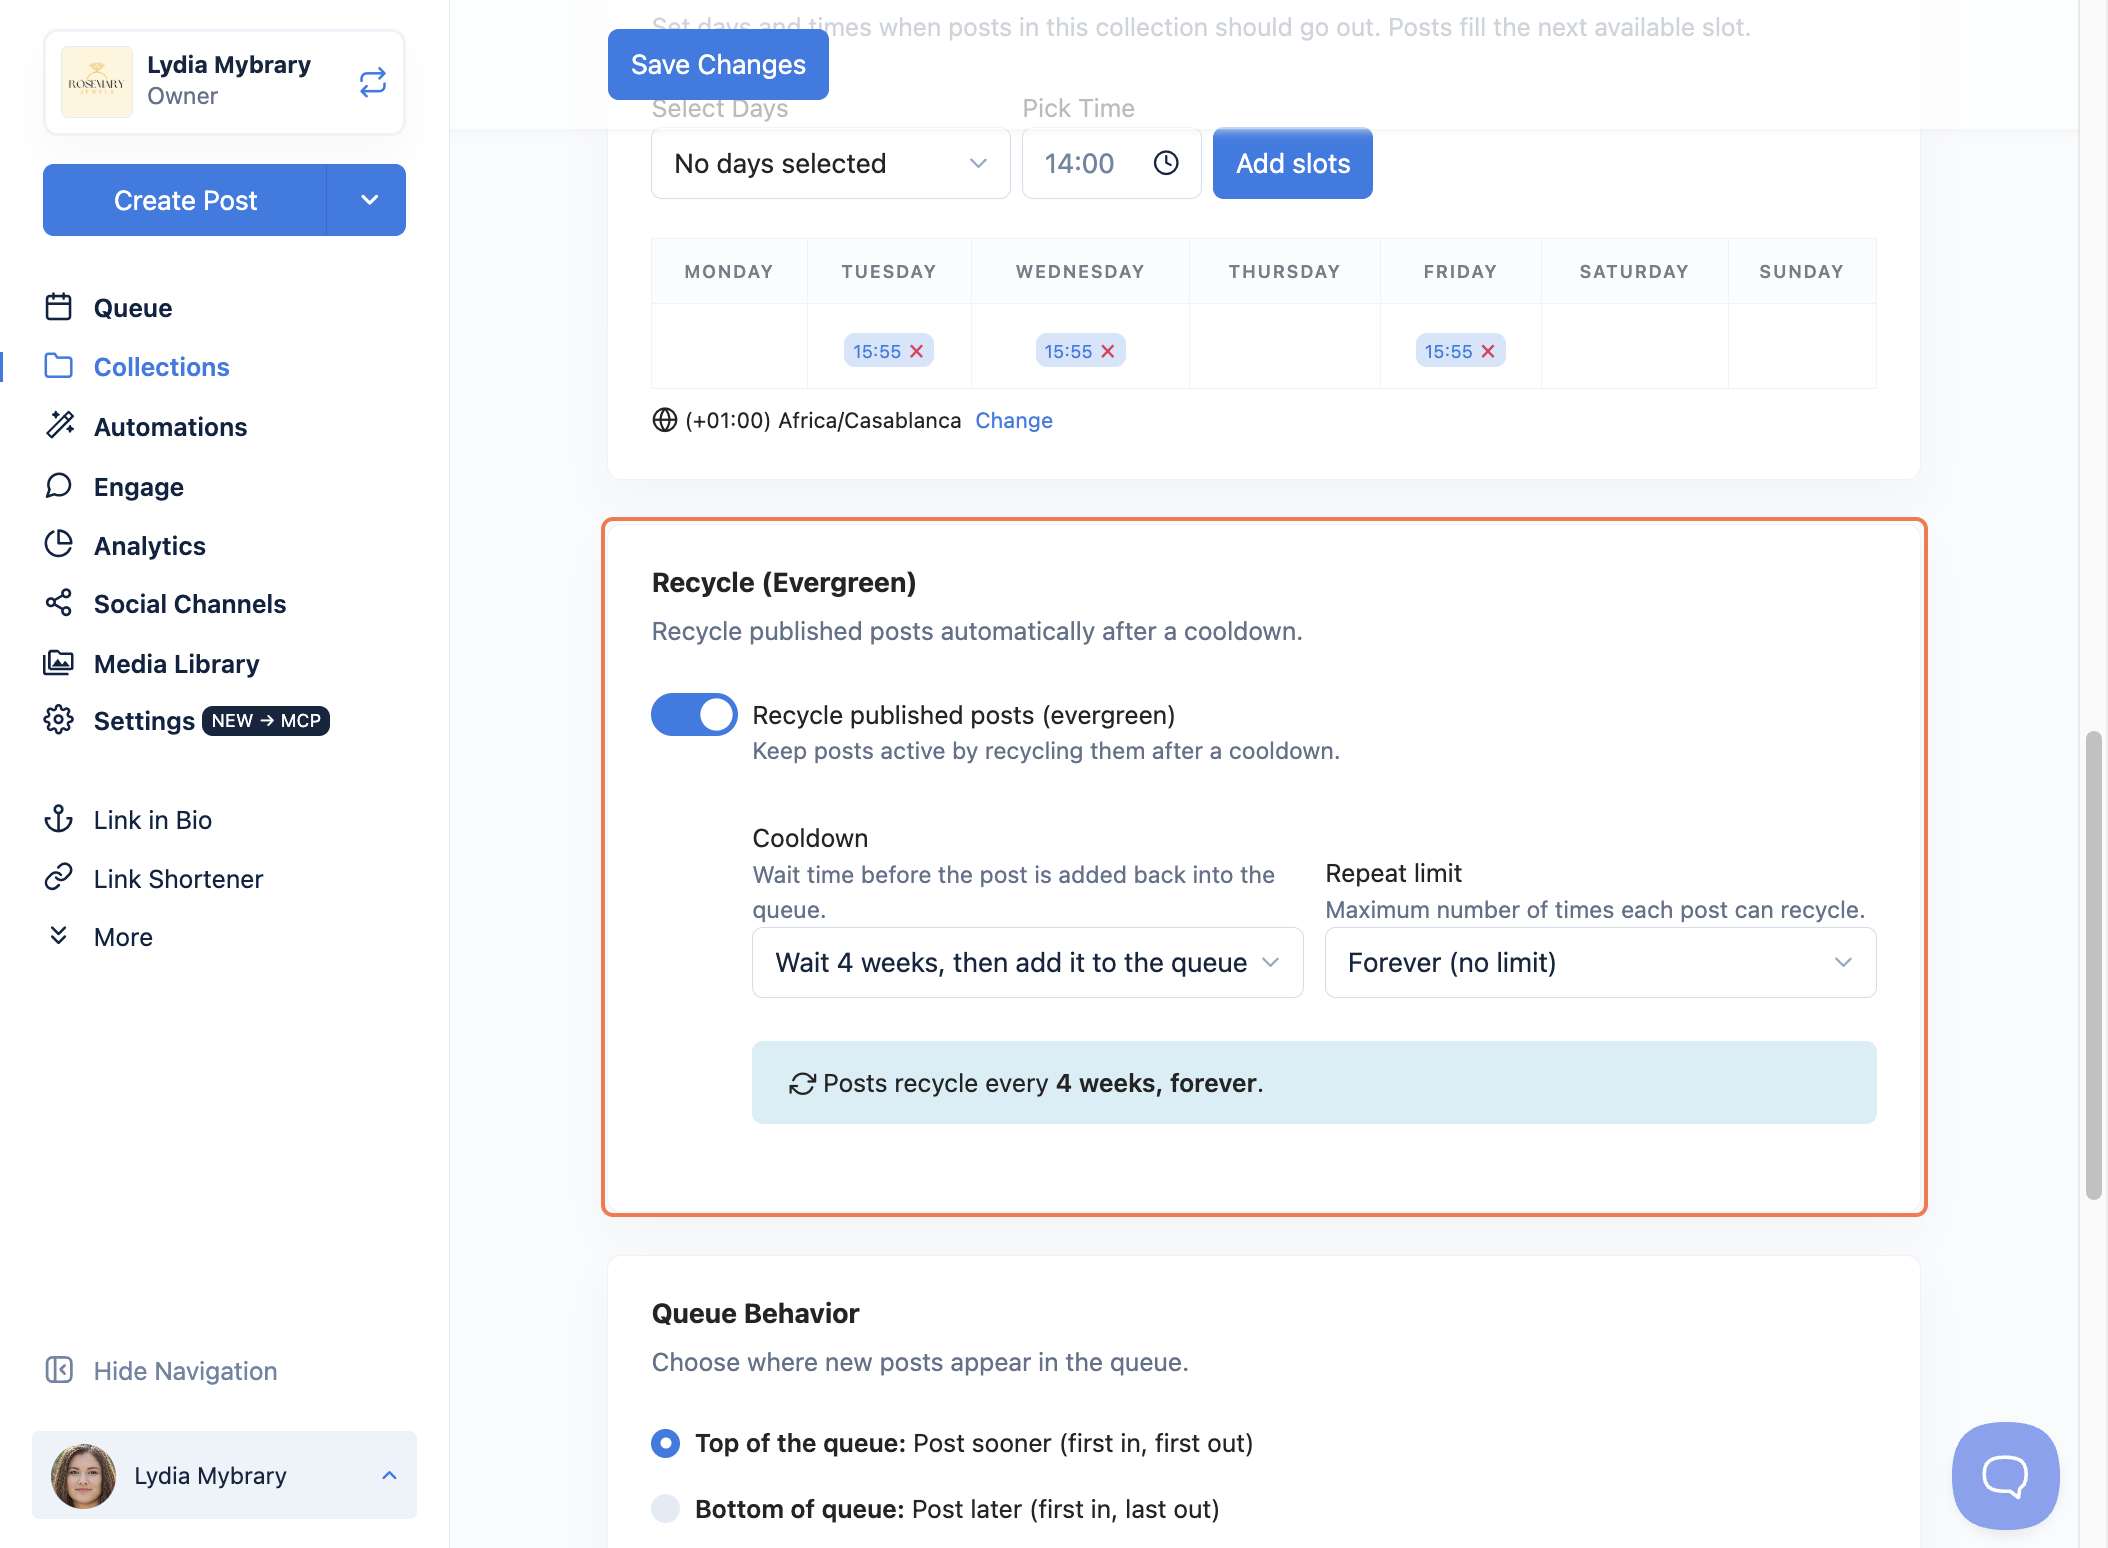
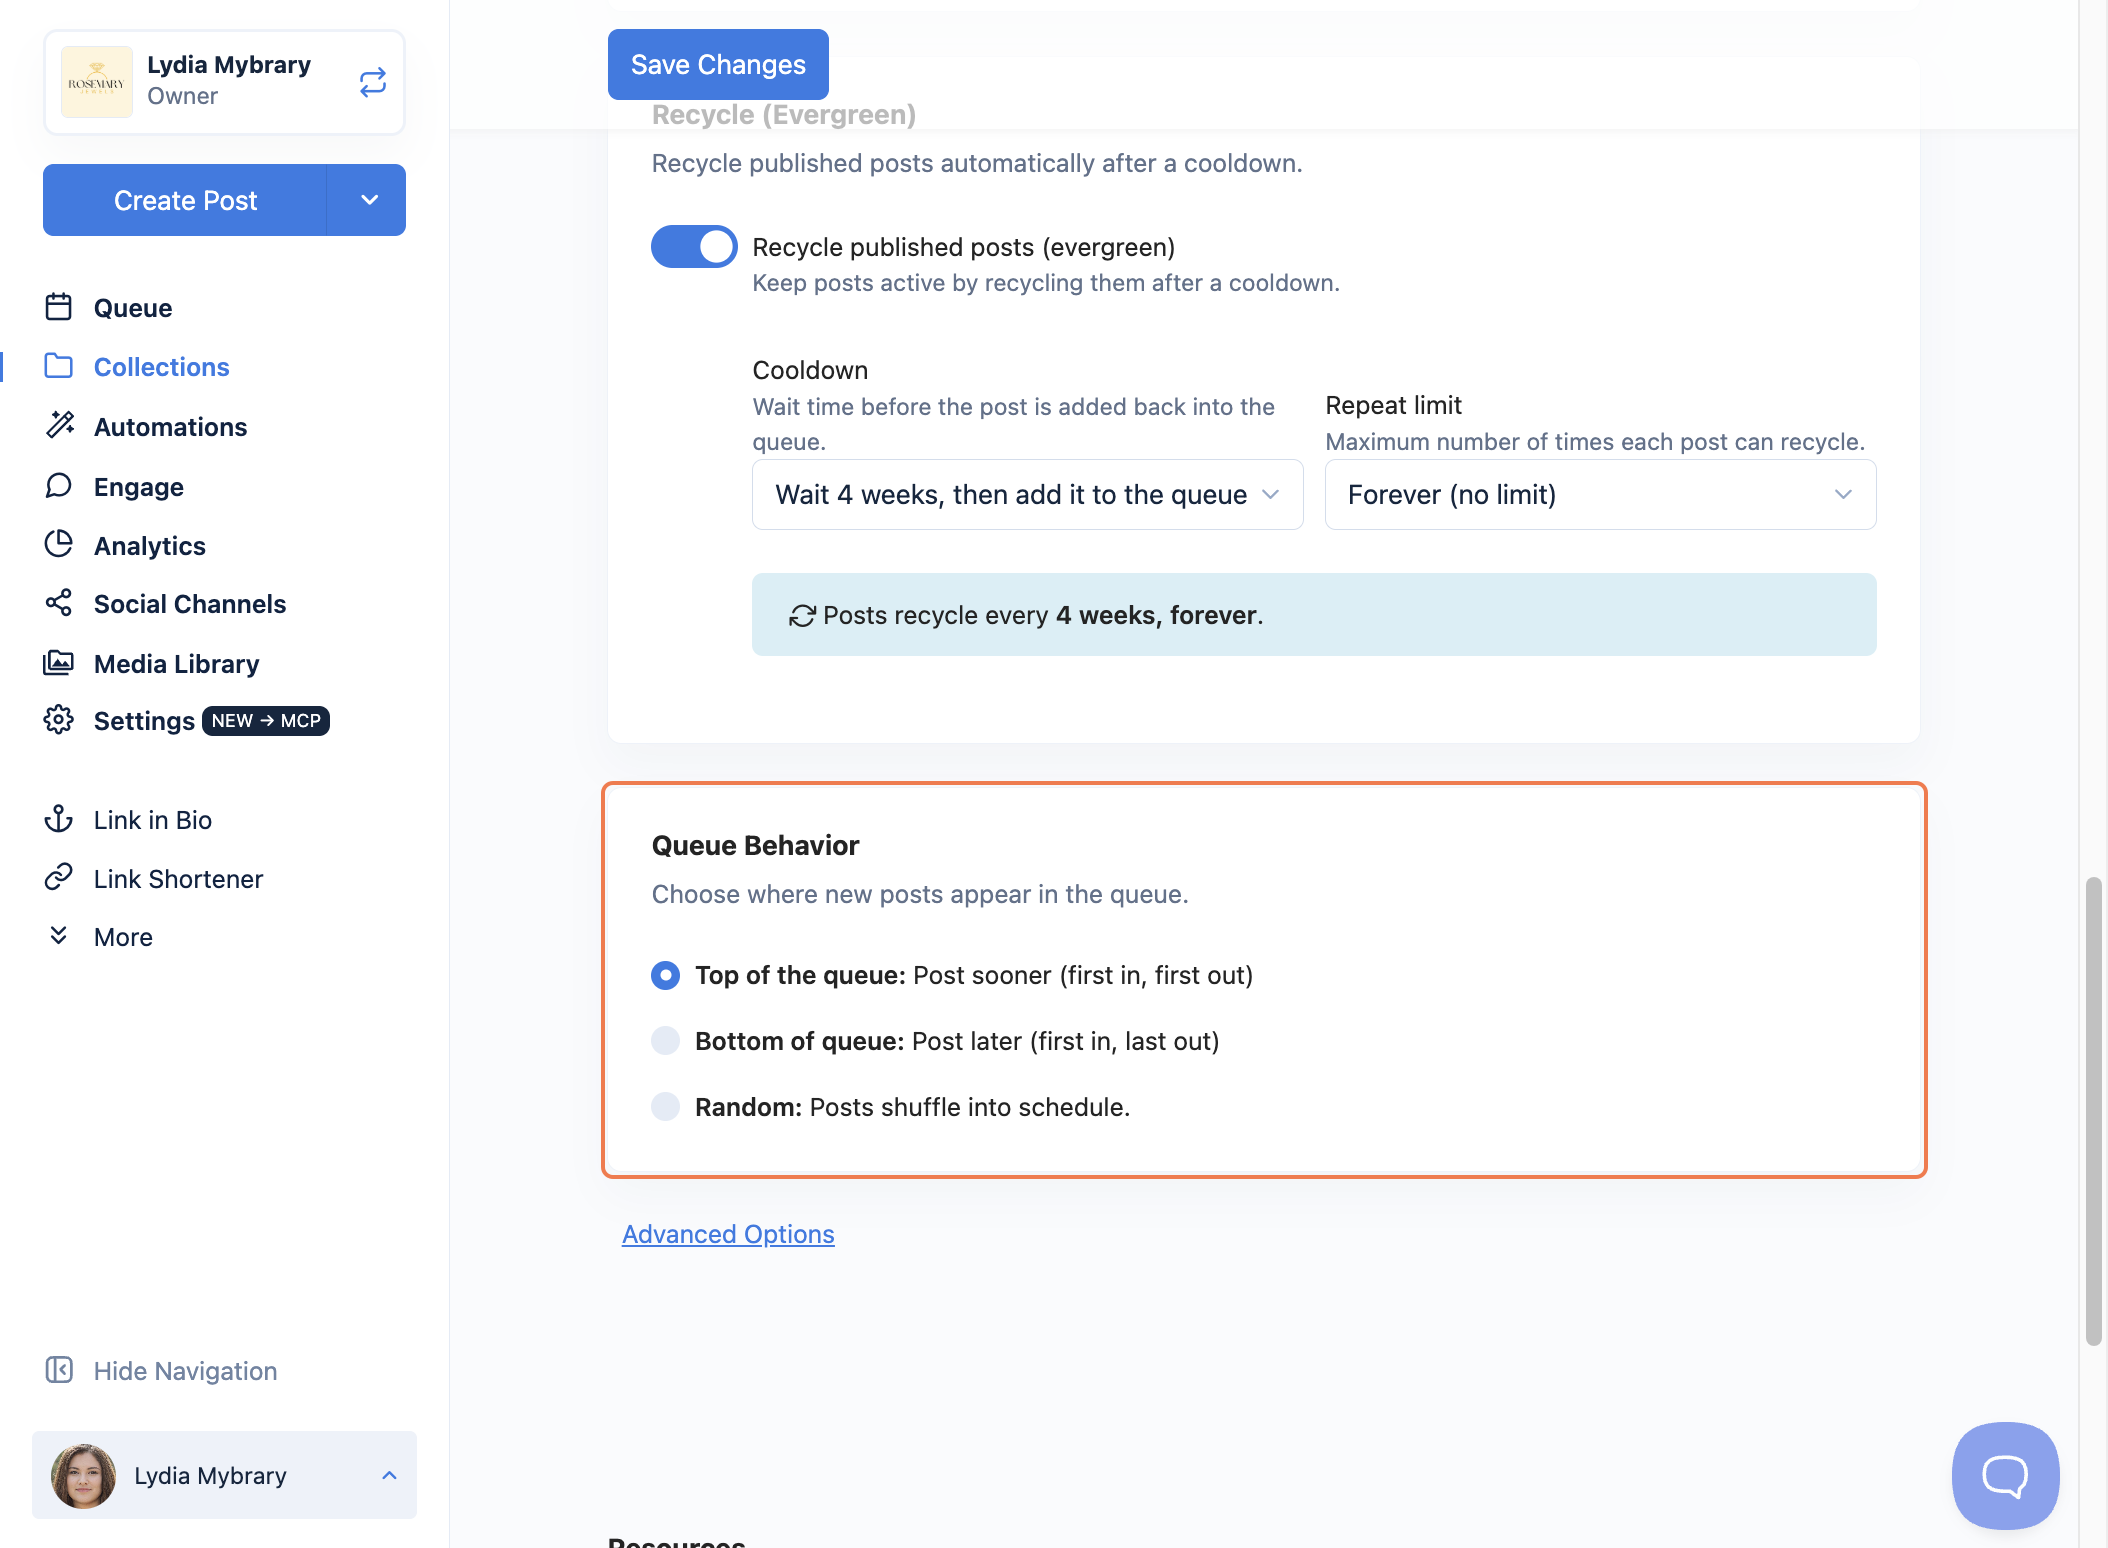
(Optional) Under Recycle (Evergreen), turn on Recycle published posts to reshare your content automatically. Set the Cooldown (how long before a post goes back into the queue) and the Repeat limit (how many times each post can recycle).
-
Under Queue Behavior, choose where new posts land: Top of the queue (post sooner), Bottom of the queue (post later), or Random (shuffle into the schedule).
-
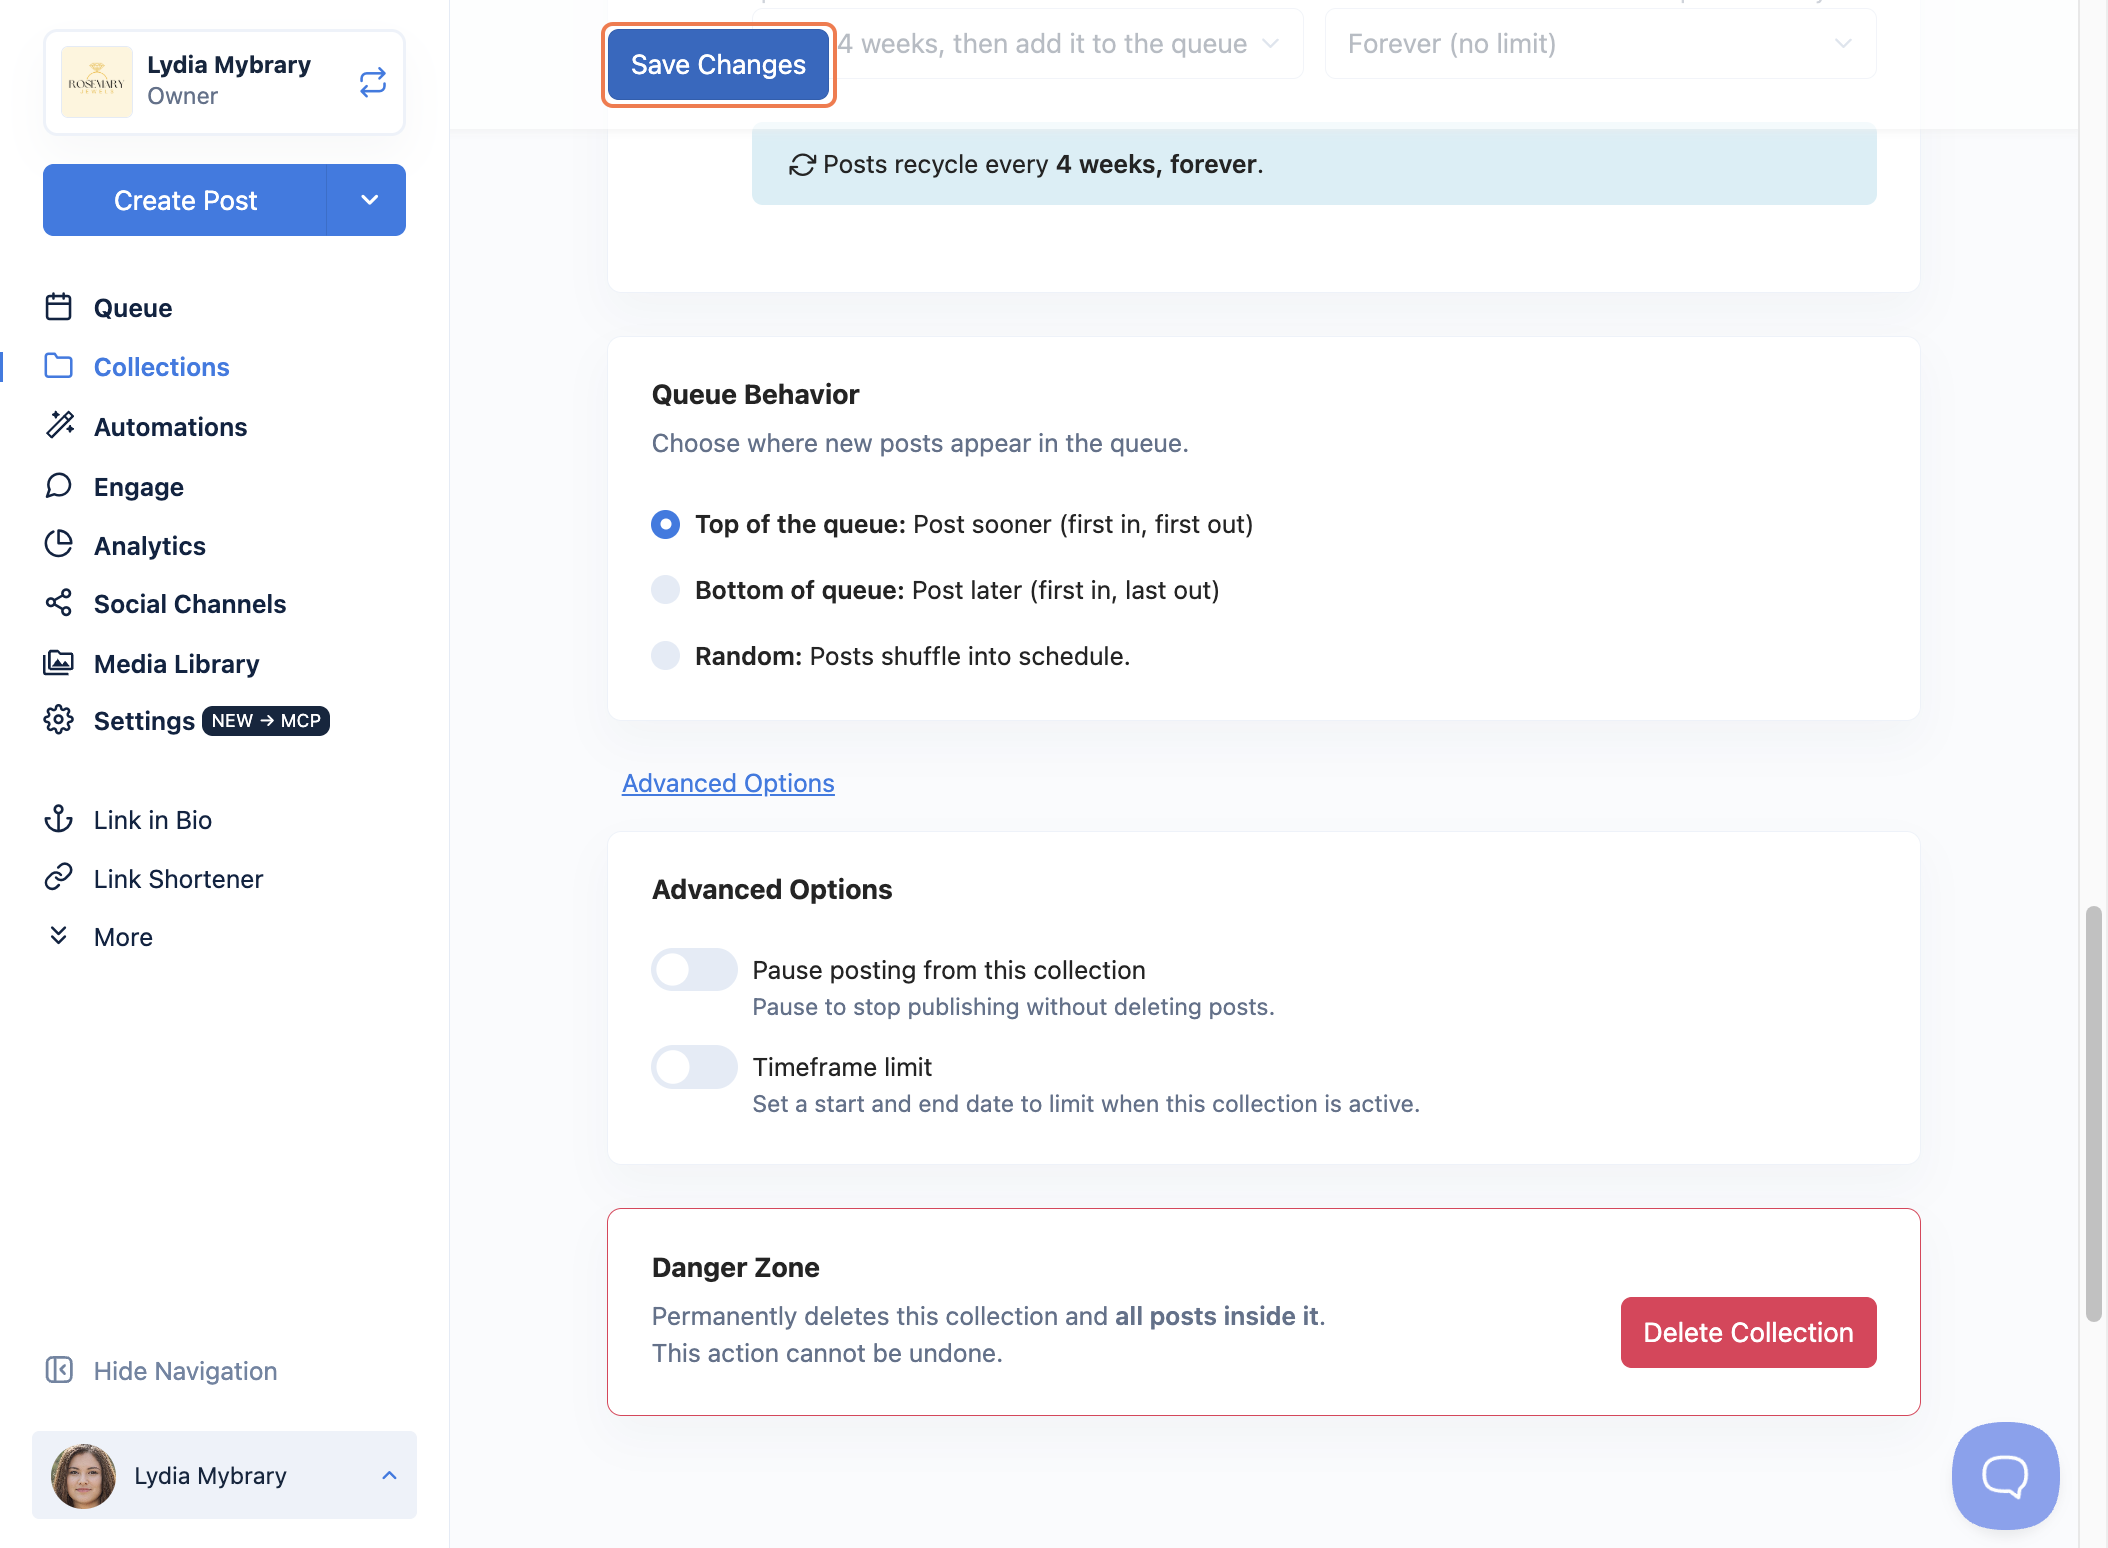
Click Save Changes.
-
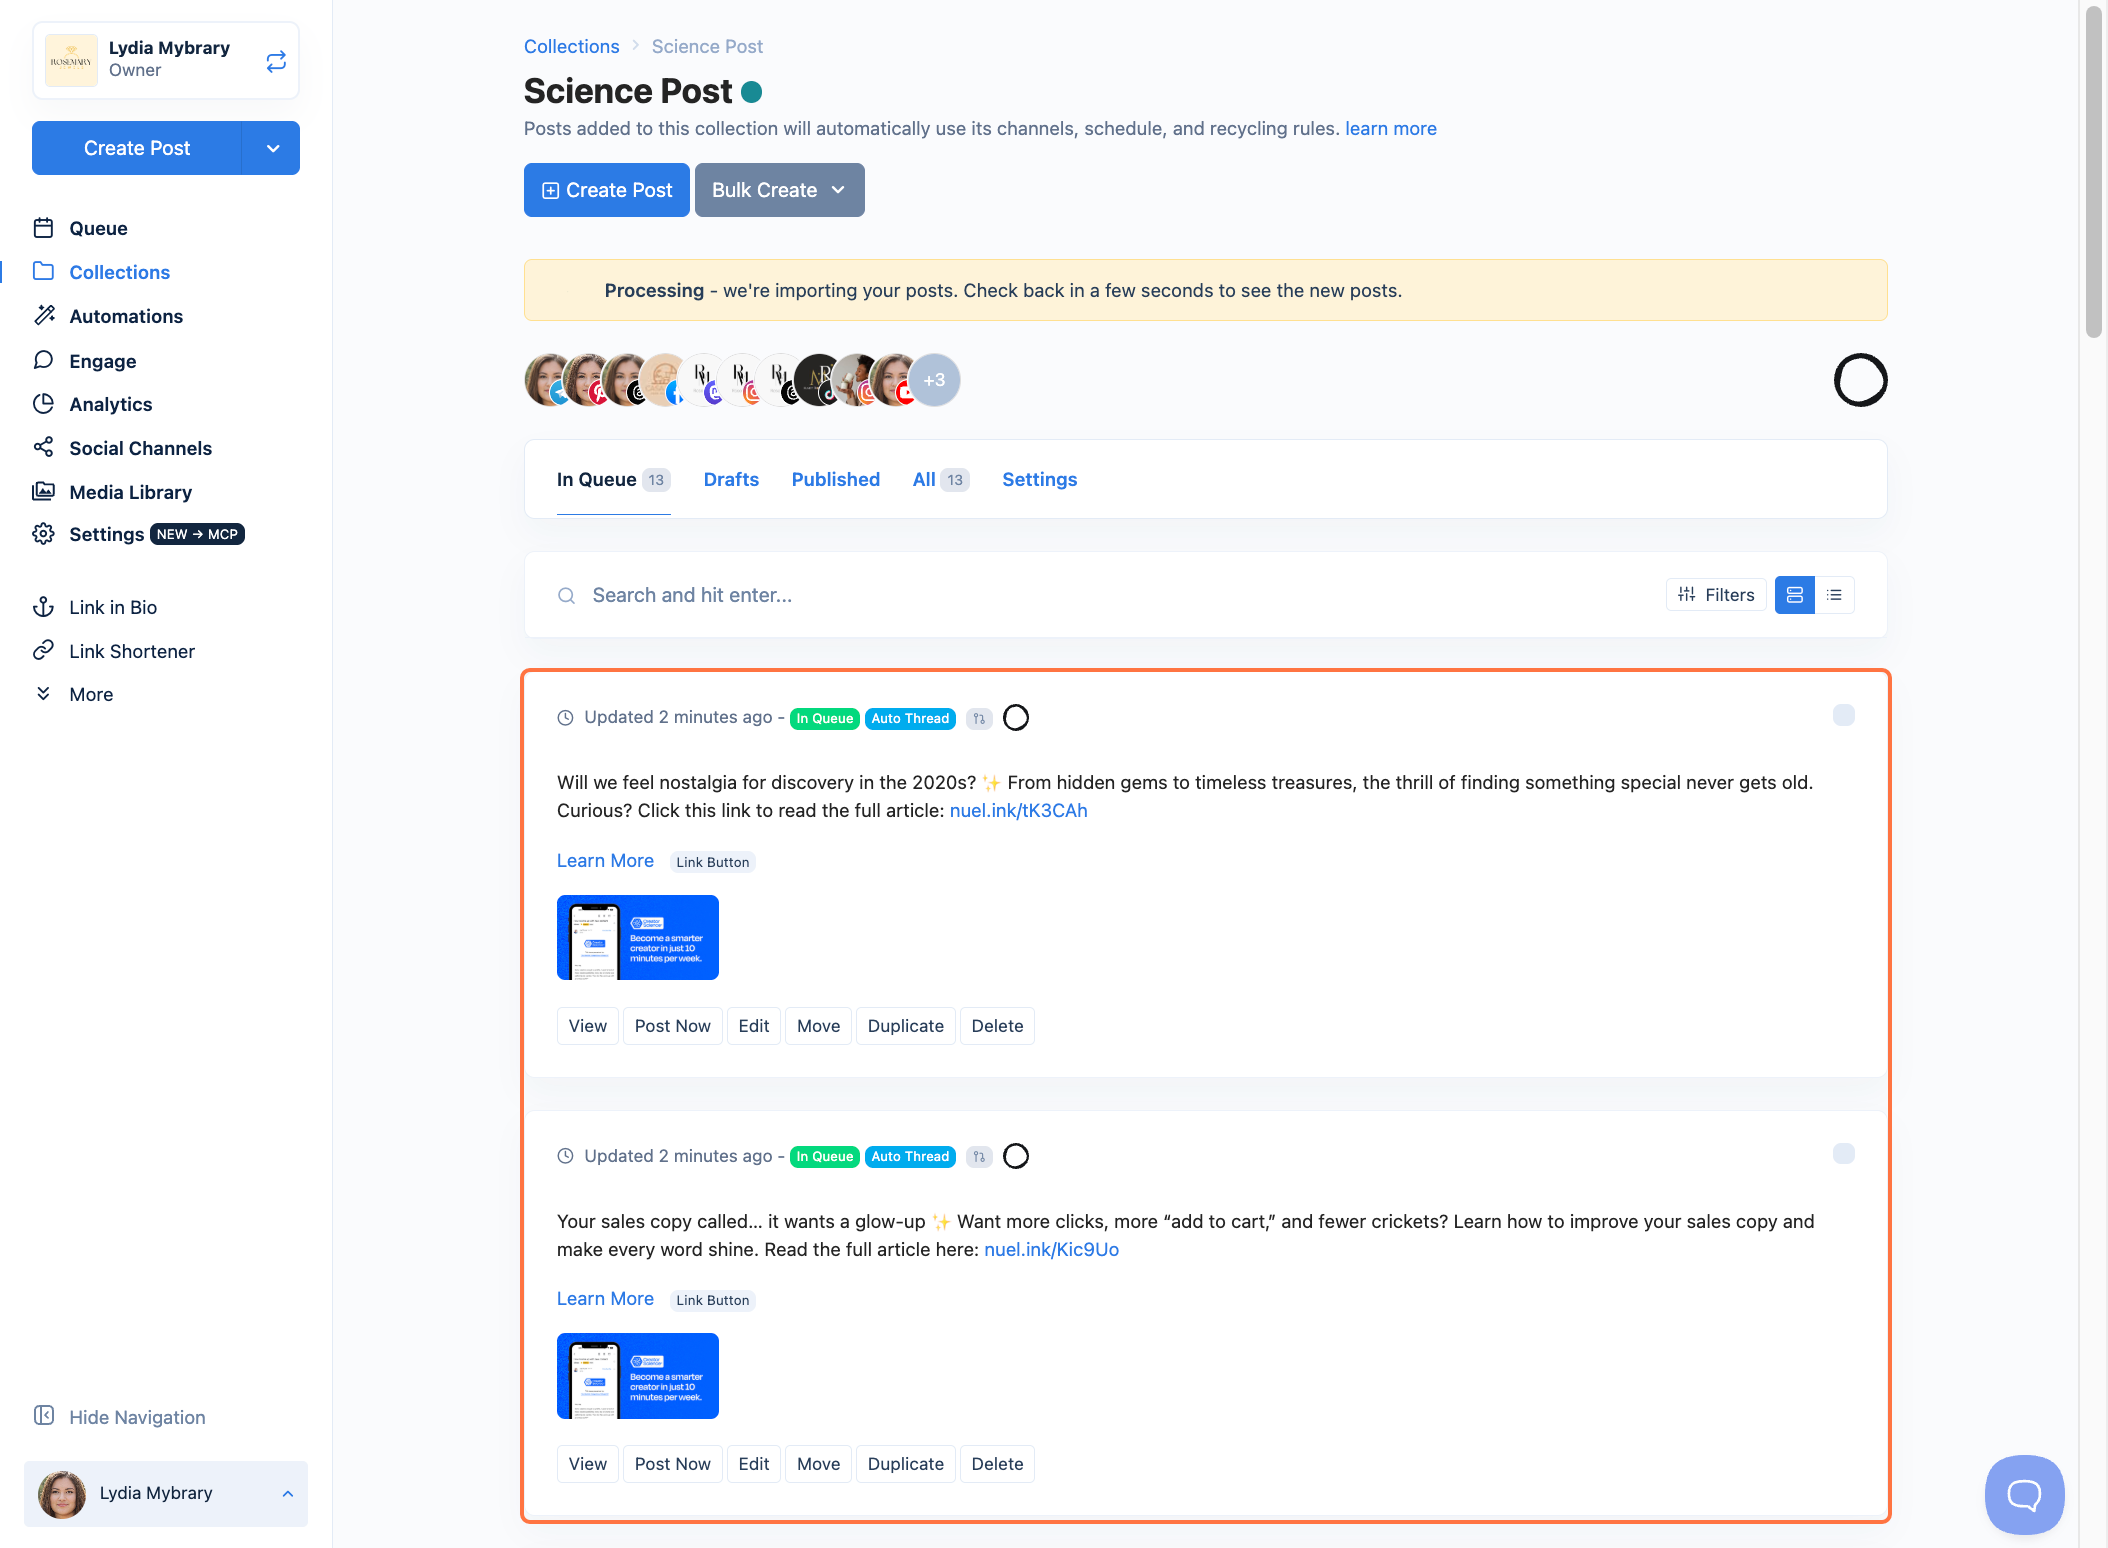
Open the Posts tab to review everything Nuelink has imported and lined up.
That's it! You're all set! From now on, every new Ghost article will turn into a social media post automatically, right on your schedule.
FAQs
How often does Nuelink check my Ghost blog for new posts?
Nuelink checks your blog regularly and adds new articles automatically. If you turn on Publish Immediately, it checks every hour, publishes the newest post right away, and queues the rest.
Do I have to write my own captions?
No. You can turn on AI captions and type a short prompt describing the caption you'd like. Nuelink will then write a caption for each post automatically. You can also set a fallback caption as a backup.
Can I share my articles as images instead of links?
Yes. Under Choose post format, select Image Post and your articles will be shared as images instead of clickable links.
Will my older Ghost articles be imported too?
Yes, as long as Import existing Ghost posts as well as the future ones is turned on. You can also set how many older posts to import, up to 100. Uncheck it if you only want future posts.
Can I review posts before they go live?
Yes. Turn on Mark the posts as draft for later review, and your posts will be saved as drafts for you to approve first.
Can I choose which collection my Ghost posts go into?
Yes. Uncheck Create a new collection for this automation, then pick an existing collection instead.
Troubleshooting
My Ghost posts aren't showing up in my collection.
Nuelink checks your blog on a regular schedule (every hour if Publish Immediately is on), so new posts may take some time to appear. If a post still hasn't shown up, double-check that your Ghost link was entered correctly in the Ghost Link field.
I entered my Ghost link but the automation won't save.
Make sure you pasted the full website link, starting with https:// . Remove any extra spaces before or after the link, then click Add Ghost Automation again.
My old articles were imported, but I only wanted future ones.
When setting up the automation, uncheck Import existing Ghost posts as well as the future ones. If it's already set up, remove the automation and add it again with that option unchecked.
Nuelink can't read my blog, or no posts are being imported.
Some blogs block automated readers. Open Advanced Options, turn on Use a custom user agent, then save the automation again.
Have more questions? Browse our Frequently Asked Questions or visit the Help Center for more tutorials and videos.
Still need help? Contact Us.