
How to Connect Your Facebook Group To Nuelink
Important Notice: Starting April 22, 2024, the Facebook Groups API will be deactivated due to Meta's updates. This means that third-party apps like Nuelink will no longer be able to support posting in Facebook Groups.
Here’s a step-by-step guide to swiftly connecting your Facebook group to Nuelink.
📝Note: Due to Facebook requirements, you should be the admin of the group to post on it using Nuelink. Before we get started, make sure you log into Nuelink and your Facebook account.
📝 Although we authenticate your Facebook Group through your personal profile, we won't have access to your personal information or publish content on your profile.
This Guide contains the following Steps:
Step 1. Connecting your Facebook Group(s) to Nuelink.
Step 2. Installing the Nuelink App on Facebook Group.
What Is a Facebook Group?
A Facebook group is an online community created within the Facebook platform, where users can come together to discuss, share, and connect around a specific topic or interest.
Facebook groups can be public, closed, or secret, depending on the level of privacy and visibility the group creator desires.
Now, let’s get started with connecting your Facebook Group(s) to Nuelink.
1. Open Nuelink, then click on Social Channels on the left navigation bar.

2. Click on Connect Channel on the top right of your screen.

3. Scroll down to Facebook Group, then click Connect.

5. Then, click on Continue as [Your Name].

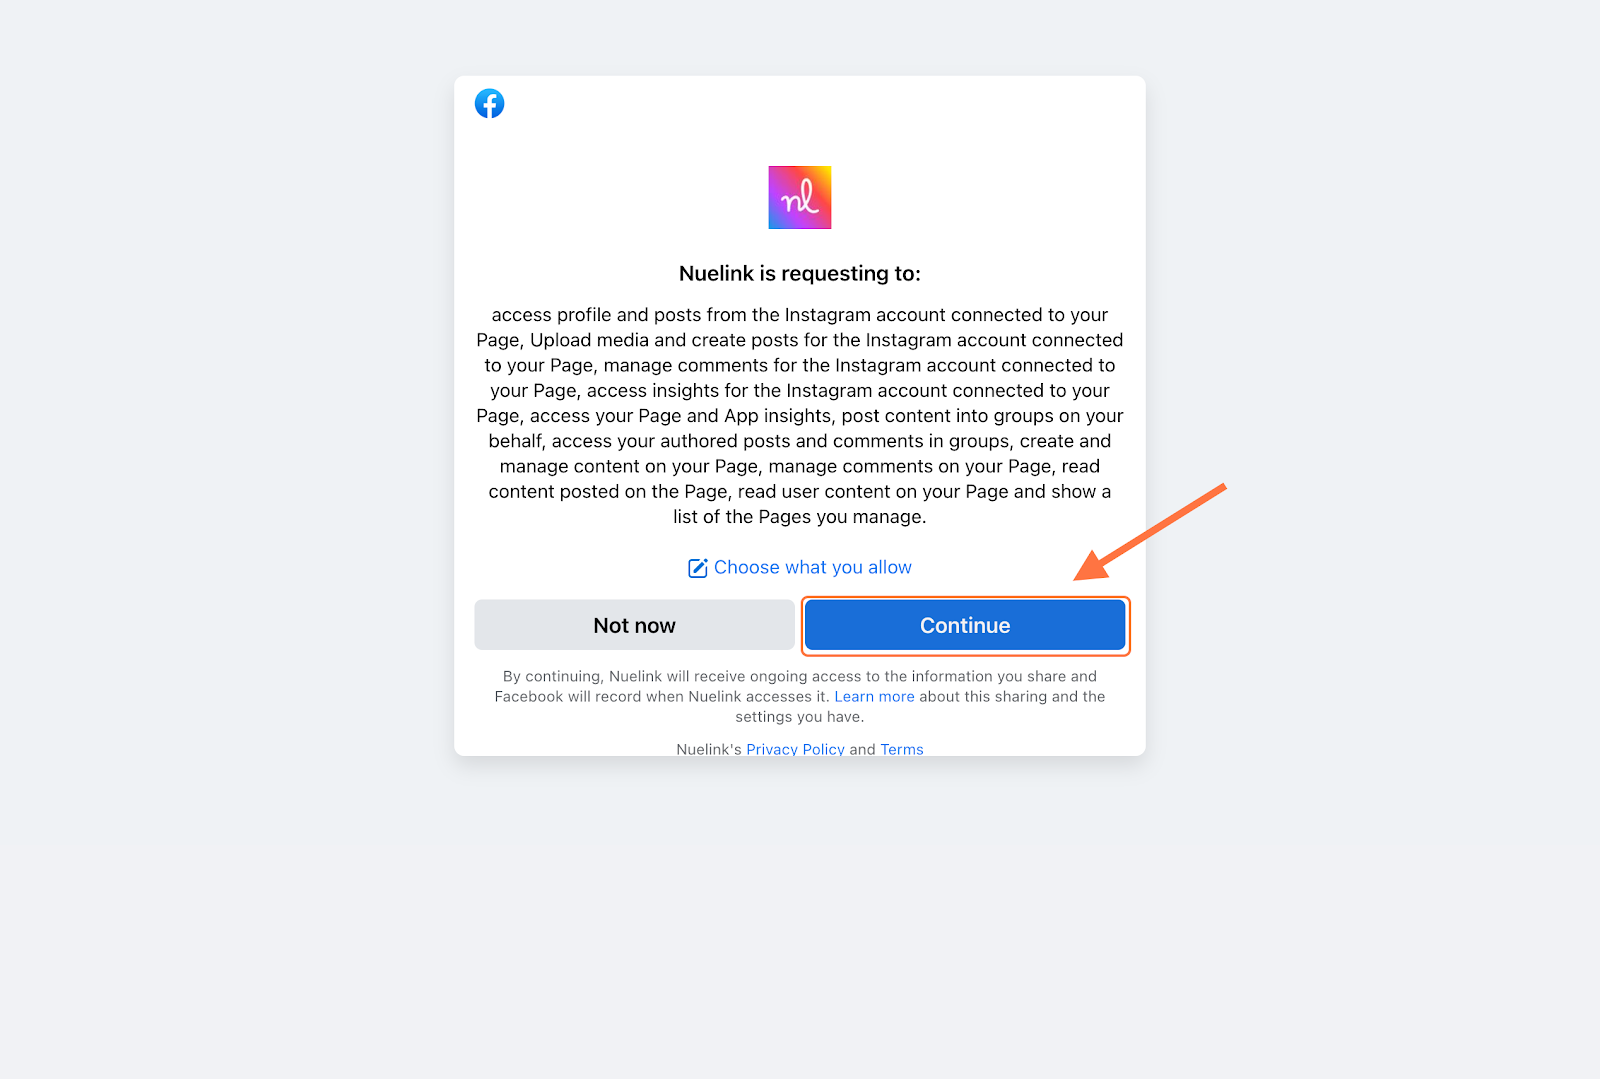
6. Then, click on Continue to give Nuelink access to manage your account.
⚠️ it's important to provide Nuelink with all the permissions required for a successful connection, without changing any of the permissions.
- Then, click on Select to choose the group(s) you would like to manage. Once the group(s) are added, Click on Save.

📝Now, please complete the following step to further verify the connection of your Facebook Group(s) to Nuelink.
To post and manage content on Facebook groups via Nuelink, install our App on Facebook following these steps:
⚠️If you run more than one Facebook Group or if you choose multiple groups to manage via Nuelink, you will be required to do this step for each group separately.
1. Log Into your Facebook account and click on Groups.

2. Click on the Group(s) you want to connect.

3. Click Manage.

4. Scroll down to Group Settings.

5. Scroll down and Click on Edit apps.

6. Search Nuelink, Click on Nuelink App.

7. Click Add.

Once you successfully Added the Nuelink app to your Facebook Group(s), You can find your Group(s) here ready to post and schedule your content.

And that’s all. You will have successfully connected your Facebook Groups after completing this step-by-step process.
You may also be interested in reading the following articles:
- Facebook Groups Publishing Errors and How to Fix Them.
- Facebook Publishing Errors and How to Fix Them.
- Can I Delete My Facebook Social Channel, How?
- Why My Facebook Page Appear as Inactive, How to Fix it?
- Can I post a Facebook or Instagram Story?
- Can I Post from my Personal Facebook Profile Using Nuelink?
- Reauthorizing the Connection for Facebook or Instagram on Nuelink.
- How to create and schedule a post on Nuelink
Finally, if you happen to have any additional inquiries, please read through our Frequently Asked Questions section.
Check our Help Center for further tutorials. We offer several videos and articles on effectively getting the maximum benefit out of Nuelink.
Still need help? Contact Us.